Thanks! Definitely going to look into that.
You might have better luck with doing a segmented stave if you want to incorporate veneer, as the thickness get measured in mils at times, but opps there goes another vortex. :bananen_smilies051:JT
Thanks. This is yet another vort...err... thing to think about!
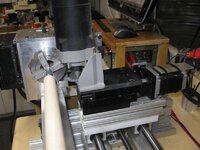
MPEX, By the looks of the cut it appears to mean that you have some movement in your indexing system...
This problem was solved a few weeks ago. It was actually that I was attempting to change the depth of my cuts using the depth gauge (not sure what it is actually called) on my router, rather than doing it by hand. No problems now. Perfect cut every time!
_____________________________________
Now on to new business:
Just finished 2 more. Took the whole week to complete, which is about 20 hours here and there. I'm doing 2-3 at a time for 2 reasons. One, it's more efficient. Don't have to reset things as many times. Two, in case one blows up, I am not completely heart broken and have another to work on. But what is a guy to do when they both blow up?!?!!?!?!?!?!?!?!?
One blank of each pen blew up on the pen mill. Just about cried. Then I picked up the pieces, glued them back together, taped them up and then tried again. This time I used a belt sander (disc would have been better) to get this almost to the brass and then used the carbide pen mill for the last little bit. Going forward, I don't think a pen mill is the way to go on these thin wall segments. Esp. when it's ebony.
Any suggestions would be much appreciated!!!
So, I finished both. Won't have final photos until next week. But here are a few after the blank was built with my plans. I'm thinking about incorporating the sketches into the final photo. I just think there is a certain beauty to the planning process itself.
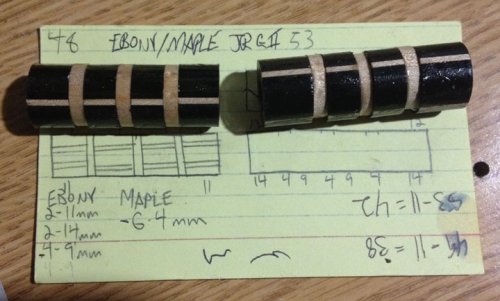
Ebony/Maple Skyscraper Jr. Gent II. After I got to this point, I realized that I didn't need this jig to make this one happen. Going forward, I probably still use the jig as I think it saves a day of gluing over splitting a square blank.
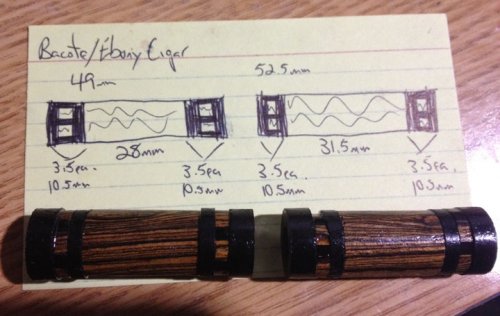
Bacote/Ebony Cigar. My first cigar pen. My wife pointed out it looks like a 35mm film reel with sprokets once it was done. Not crazy about the cigar kit. The Jr.Gents are so far the only kit I've found that I like and even that one I have some major problems with (separate post.) One of the end segments cracked when I assembled it. Freaking sucks when something like that happens at the last minute. Not sure how or if I can repair. Will post photos of that later as well. Need my macro lens.
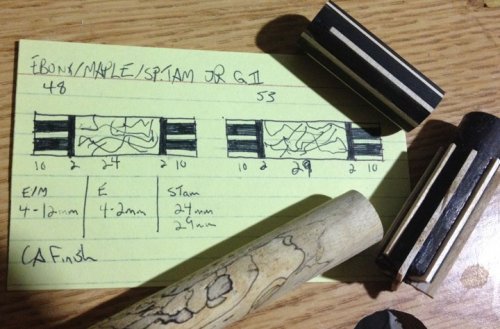
Last photo is the one I am currently working on. You can probably see it just by looking at the segments and the sketch. Won't be able to work on this any more until next week.
Ebony/Maple/Spalted Tamarind Jr. Gent II


") Someone has been following this and for that I hope it has been helpful. Only one person has come forward to telling us they have used this jig setup and even has shown some of his work. I would hope if there are others using this setup that you would maybe give us a headsup or a photo or 2. If you have made any further revisions I would be very interested in them. If you want to stay annominous that is OK too. Just looking for some chatter.
Someone has been following this and for that I hope it has been helpful. Only one person has come forward to telling us they have used this jig setup and even has shown some of his work. I would hope if there are others using this setup that you would maybe give us a headsup or a photo or 2. If you have made any further revisions I would be very interested in them. If you want to stay annominous that is OK too. Just looking for some chatter.