Thanks Max for the help on that.
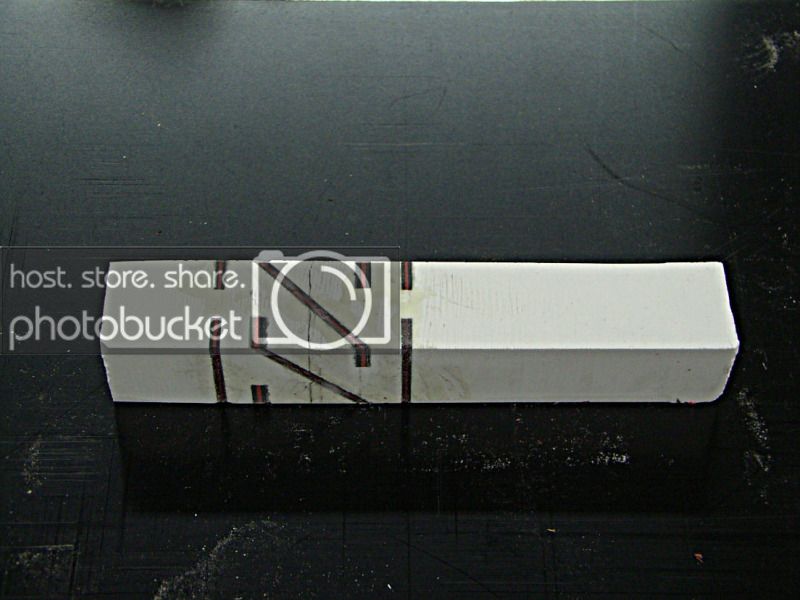
I probably should not have said half way because if I were to cut half way on both the top and bottom rings the 2 halves would meet thus forming a complete ring. It was about 1/8" from the half way line. I made a center mark on the blank which divided the blank in half. I placed the blank next to the saw blade and lowered the blade so that it was about 1/8" below the mark. This is not critical but does affect the outlook. I keep all cuts the same.
Moishe
No router on this one. I used a 7-1/4" saw blade to make the cuts. It just so happened this blade was thin enough to fit the inlay material exactly. This is why I said this is such an easy segmenting project because all you need is a way to cut the slices. It can be done with a tablesaw which I did or even a bandsaw but the kerf would be alot thinner and thus the material for inlay will be thinner. Now of course you can increase the kerf on a bandsaw by just moving your stop block abit.
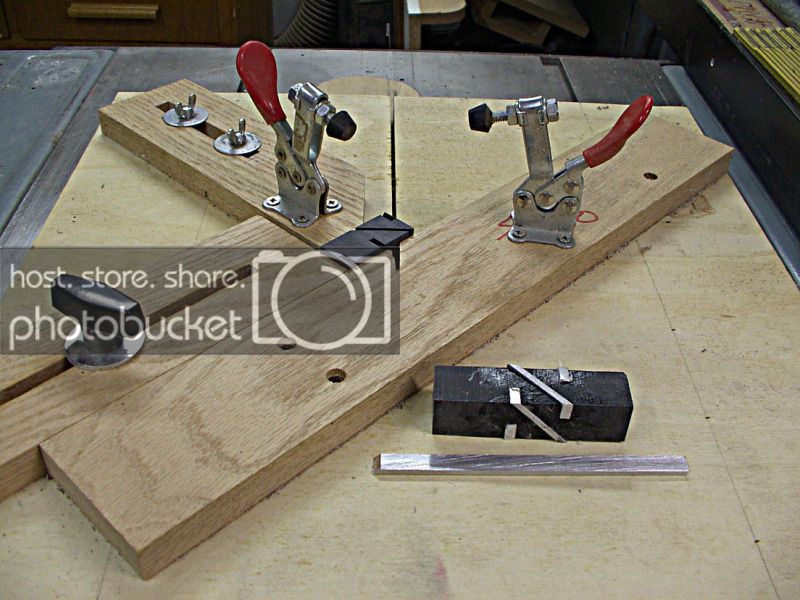
Here is the jig I used to make the angled cuts on my tablesaw. I think I posted this once before but I forget. The angles were cut at 45 degrees but any angle will do. The straight cuts obviously were cut with the miter gauge set at 90 degrees to blade.
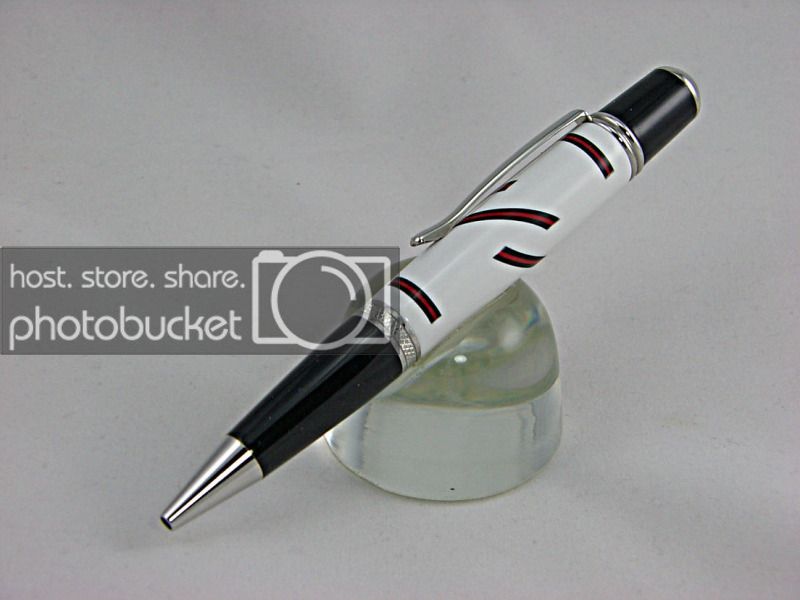
One other note I would like to make mention of. Not sure how many people use pickguard material for inlays in segmenting, but over the years I noticed not all pickguard material is the same dimentions. What I mean is, I found that on some material and in this case I used black-red-black, the thickness of each piece is not the same. The company sandwiches 3 pieces and then must plane or sand one outside edge down to get the true end of the line dimention. Thus leaving one black piece a small amount thicker than the one on the opposite side. I have found a company that is pretty reliable to having exactly what I want and that is equal thickness of pieces. especially the 2 outer ones which tend to show more so. The company is
Blank Pickguard Material
Hope this helps a little. I have another blank ready for turning that I hope to do sometime this week.
I think I may have misspoke. I should have said 45 degree angle cuts and not 60 degree. I hope this did not cause any problems for anyone even though they can be cut at any angle.


")