FlowolF
Member
OK, so I've never turned a pen, kit-less or otherwise.
I HAVE made some interesting little rough cylinders, out of bigger, more interesting and less rough cylinders.
I even made a square rod into a cylinder - yay-go me! Heheh...
I have a little Emco Unimat SL and only just started playing with it.
I am used to using tools and working creatively with my brain and hands.
I do learn quickly.
I really don't fancy working up a wonderful piece of wood or composite by hand, only to put in some mass machine produced metal/plastic bits, no matter how pretty they are, and;
I don't want (couldn't anyway) to pay for the prettier parts anyway.
Anyone reckon they could get me started on what I need to be doing to turn me up one o' them thar fancy-schmancy kitless pens?
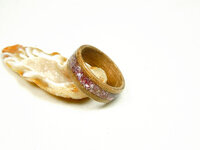
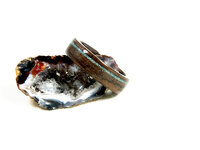
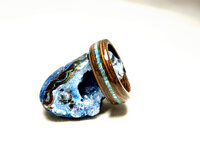
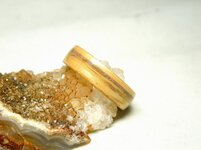
Clips/spacers/bushes etc. I can make no problem outa silver/copper/brass etc. - I got good eyes too which I need already for making jewellery (I'm sure the same eyes will do?!?)
If y'all thin it's too much hard work to teach me then, well just take it as a challenge!
Thanks in all seriousness though, for any hints/tips/pointers to get me going.
Cheers, and Be Well all!
',;~}~
FlowolF
I HAVE made some interesting little rough cylinders, out of bigger, more interesting and less rough cylinders.
I even made a square rod into a cylinder - yay-go me! Heheh...
I have a little Emco Unimat SL and only just started playing with it.
I am used to using tools and working creatively with my brain and hands.
I do learn quickly.
I really don't fancy working up a wonderful piece of wood or composite by hand, only to put in some mass machine produced metal/plastic bits, no matter how pretty they are, and;
I don't want (couldn't anyway) to pay for the prettier parts anyway.
Anyone reckon they could get me started on what I need to be doing to turn me up one o' them thar fancy-schmancy kitless pens?
Clips/spacers/bushes etc. I can make no problem outa silver/copper/brass etc. - I got good eyes too which I need already for making jewellery (I'm sure the same eyes will do?!?)
If y'all thin it's too much hard work to teach me then, well just take it as a challenge!
Thanks in all seriousness though, for any hints/tips/pointers to get me going.
Cheers, and Be Well all!
',;~}~
FlowolF
")