qquake
Member
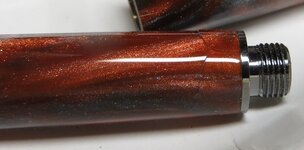
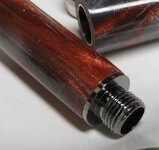
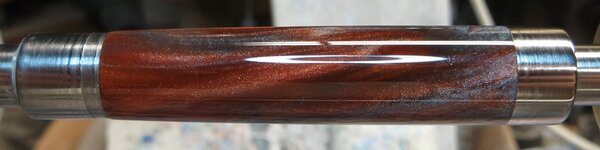
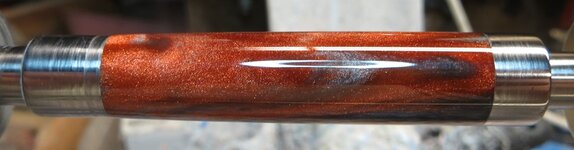
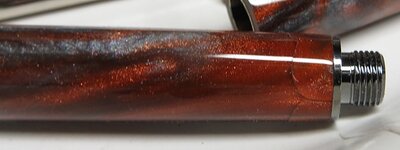
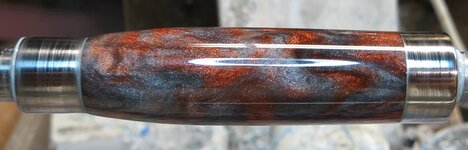
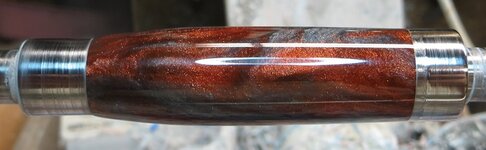
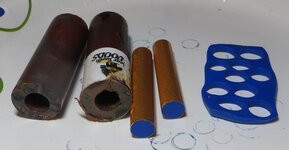
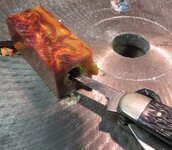
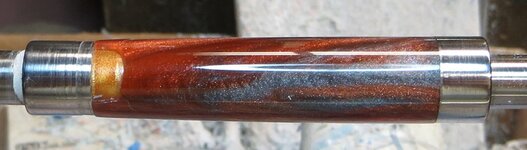
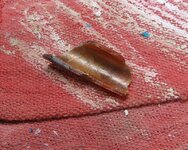
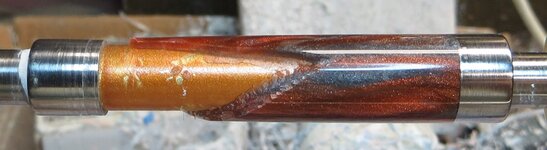
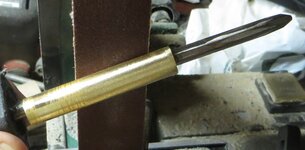
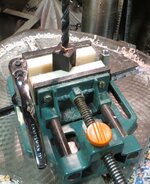
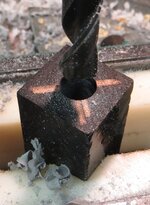
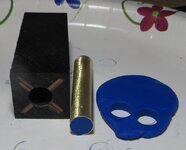
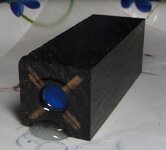
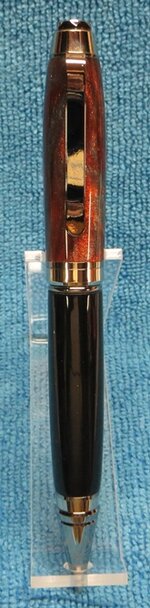
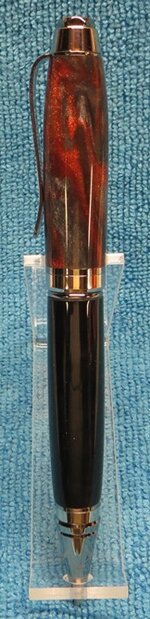
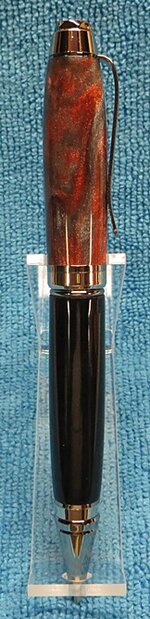
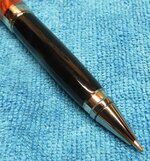
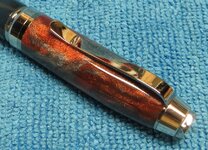
This would have been a platinum Cigar pen. It happened when I was pressing the tip coupler into the lower body. Very frustrating and disappointing. It was a nice looking blank, too. It was a Woodshed blank called Rusty Rebar. It was the second one I turned, and it was hard and apparently brittle. I probably didn't clean out the brass tube enough before I pressed the coupler in. Not sure what I'm going to do with it yet.