edstreet
Member
Hello my name is Ed and I have an addiction to Japanese waterstones!
Ok got that out of the way, now down to business.
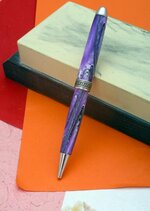
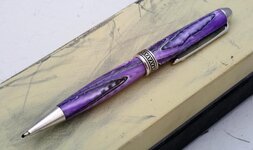
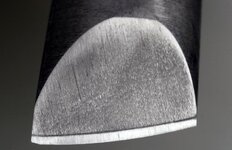
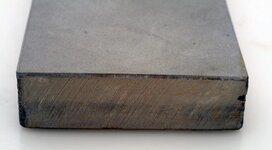
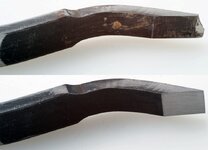
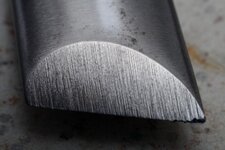
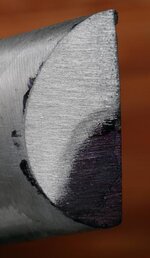
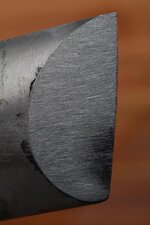
First the chisel is a new skew in HSS steel that I recently bought in a set.
This is how they come from the factory. Yes it can cut but it's like most things, some assembly required.
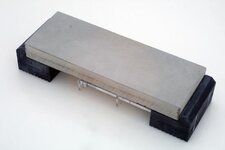
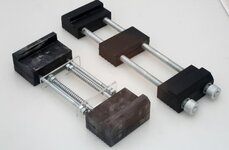
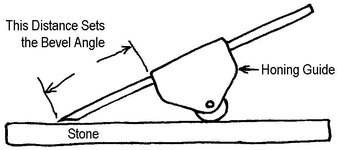
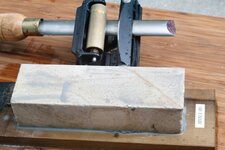
Here we have my Lee Valley MKII hone guide with skew registration jig in place.
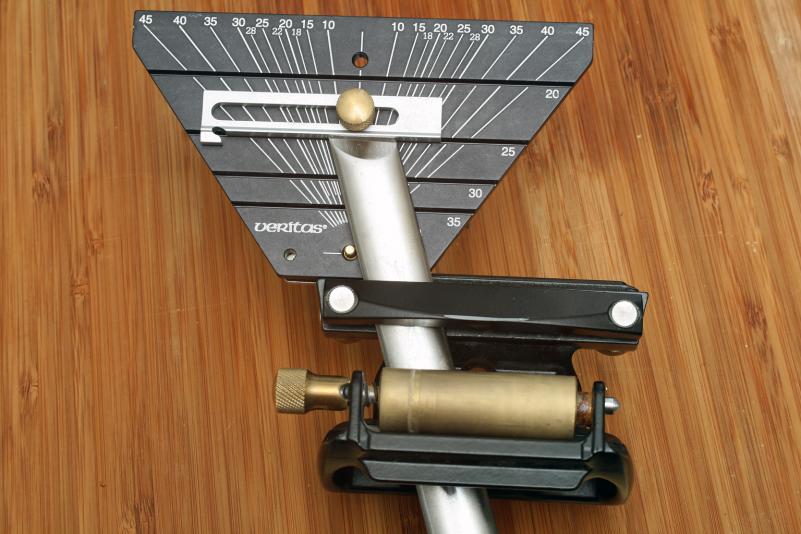

The secret to sharp is consistency. So do yourself a favor and buy a jig of some form.
--
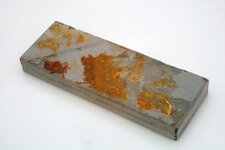
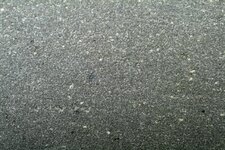
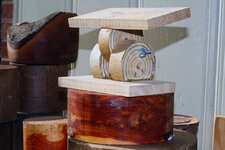
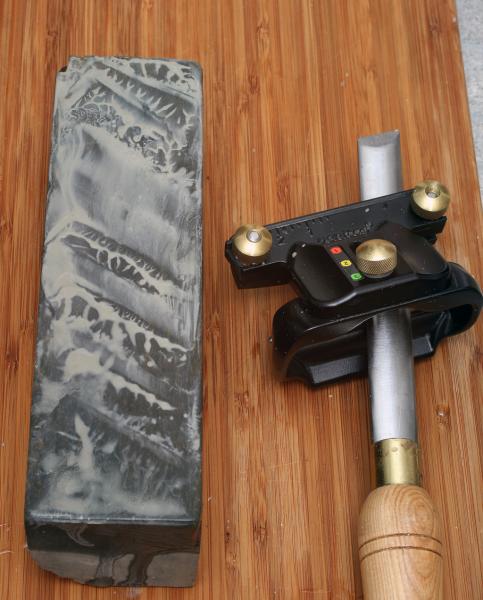
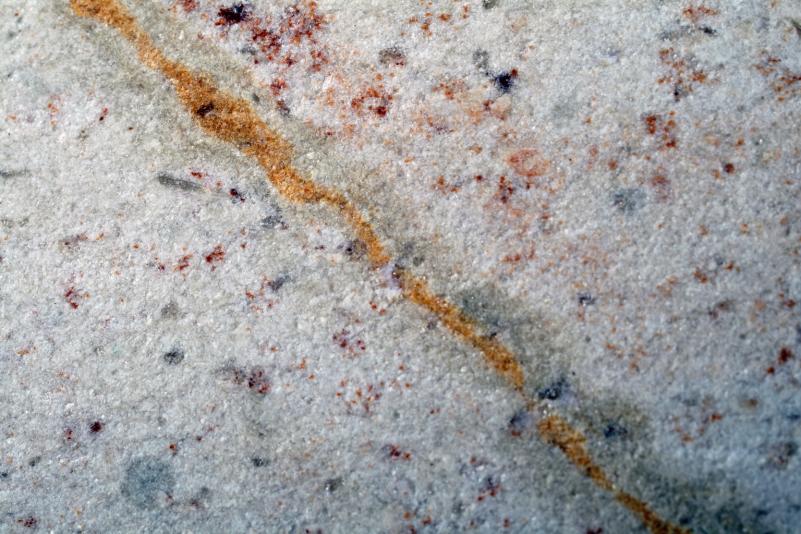
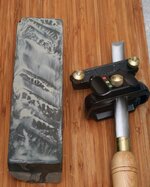
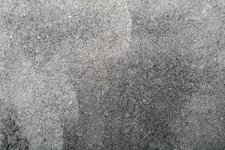
Oh yea this is Aoto, Blue Mountain natural Japanese stone. Approx 2,000 to 3,000 grit range, 5-10 microns. Or so they say. This is a very very fine sedimentary stone and the slurry from this feels like a film. Using this stone literally feels like washing a chalk board, it is smooth and silky. Stones like this is what gives Japanese waterstones that sexy appeal and that calm serene flair.

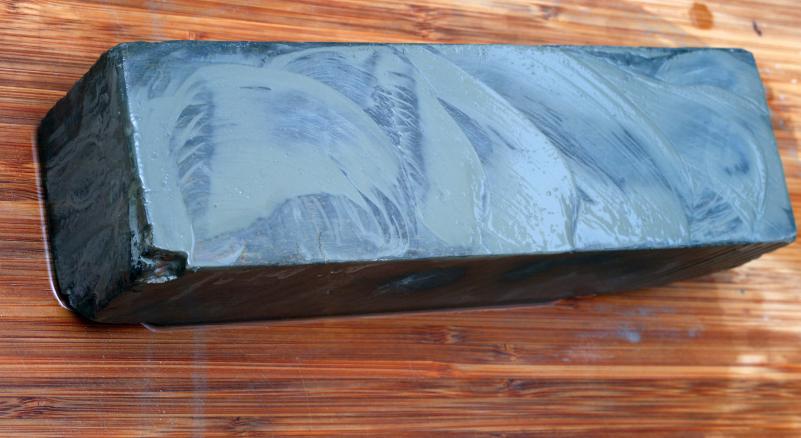
Slurry is made by rubbing another stone on top of the big one. In the above 2 photo's I used 2 types of stones, Omura and Nagura. The white color one (top) is the Nagura, that is around 6,000 to 8,000 grit there about. It helps to remove the finer sediment in the stone. The Omura (bottom) is more of a grinding stone, it is a more coarse grit stone around 150 grit, it brings out the larger grit so you can get a good range of grit from the same stone, try that one with sandpaper! It also flattens the stone. The color here you can clear see why it is a blue stone.
--
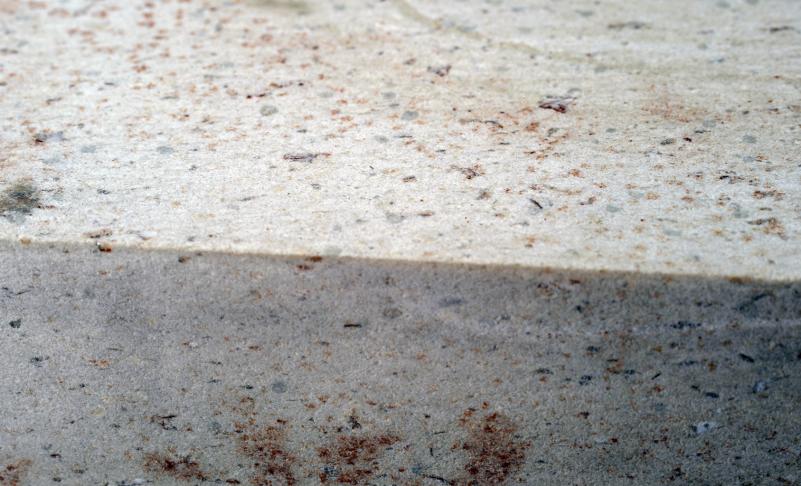
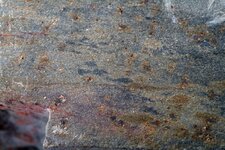
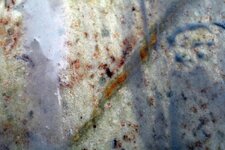
Notice the Su holes or voids, the pockmarks in the stone face, this is gas bubbles that was trapped when the stone was forming however many years ago (read million/billion) They serve several purposes, it traps and holds water and sediment that has broken loose. It can also trap and hold metal shavings from the tool so that must be cleaned off from time to time.

--
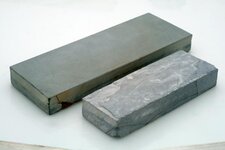
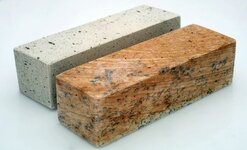
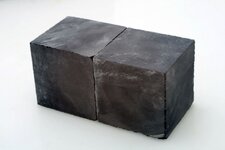
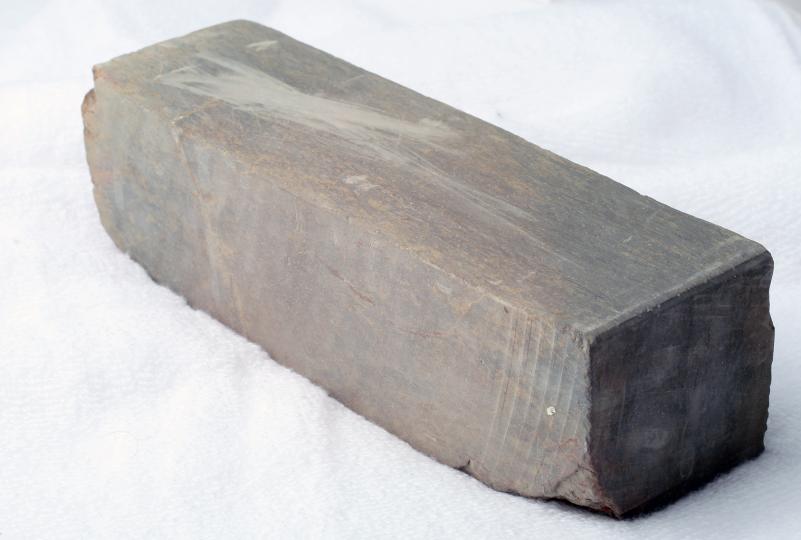
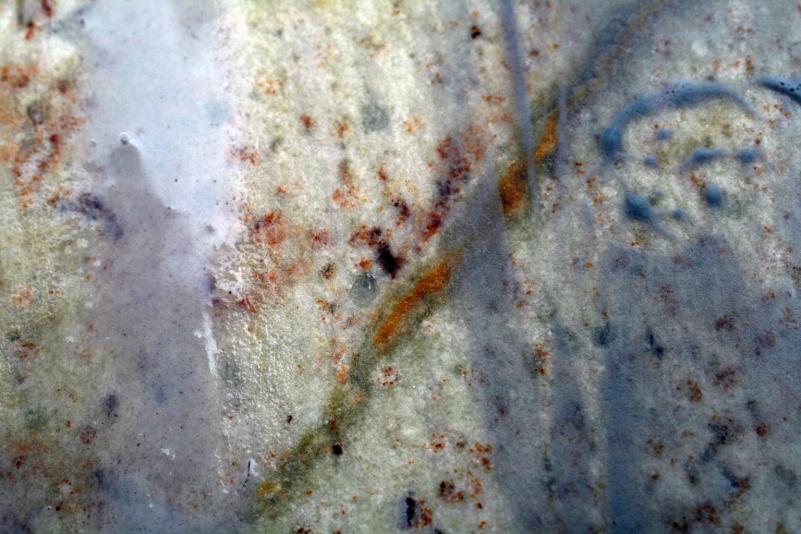
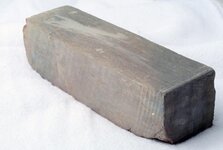
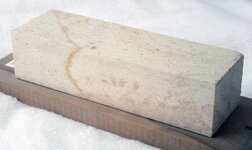
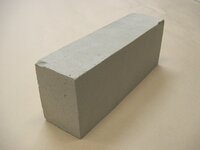
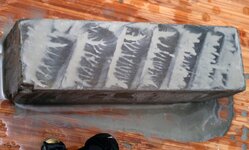
This is a natural Japanese Binsui Stone, approx 300 grit, 60 micron. The slurry from this feels like sandpaper, this particular stone is one of the more advanced stones and not beginner friendly by no means. This is a somewhat coarse grade sandstone.

--

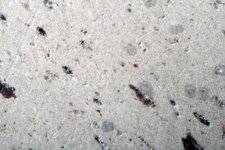
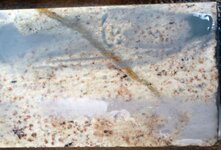
Here we see what the old vs new slurry looks like. The dark is filled with metal shavings from the chisel, some stones like kitayama they leave it on the stone face, others in the slurry like this Binsui.

--
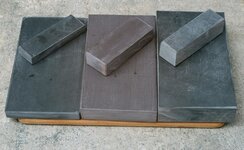
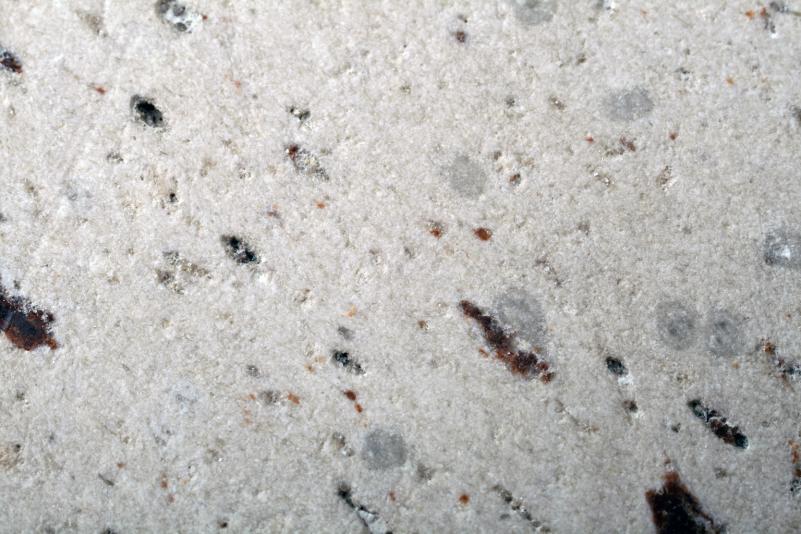
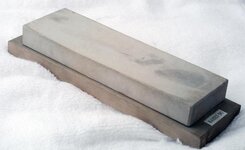
These two is a natural Japanese Kaisei Stone, approx 500 grit, 35 micron. This is a very fine grit sandstone. This stone is a VERY stupidly fast cutting stone. It is over very quickly and you can do some serious metal sculpting with the right work flow. This is like Ao-to (blue mountain) but cuts much faster. Both of these are a dream and a pleasure to work with.


---
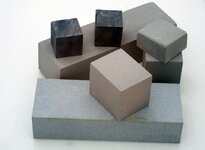
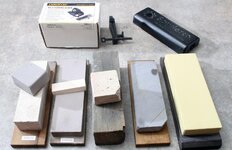
This is a small sample of stones that I have so far. In the back is my MKII hone, a knife hone and the spyderco sharpmaker. The bottom row is Binsui, Kaisei, Aoto blue mountain, Uchigumori and kitayama.

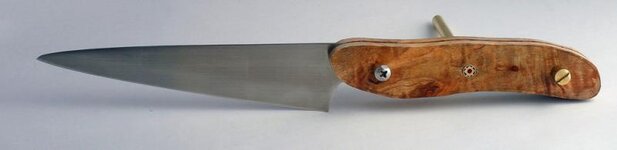
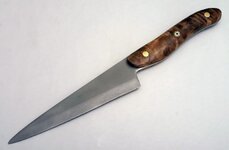
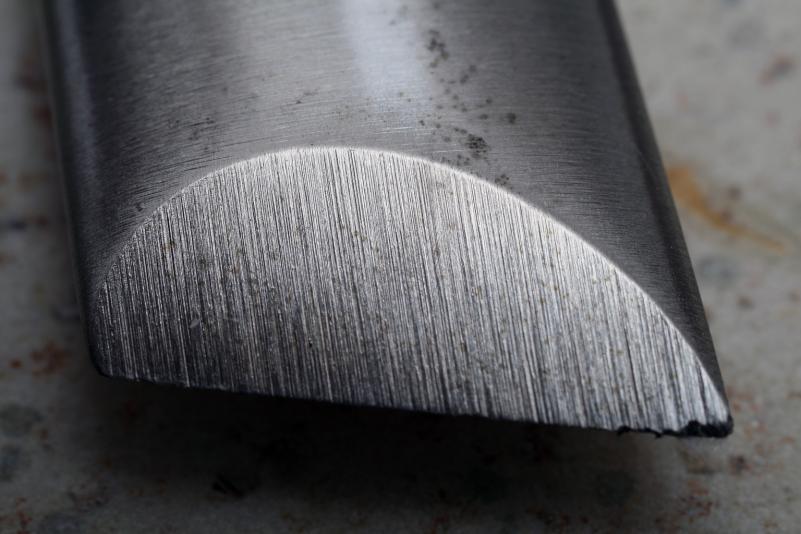
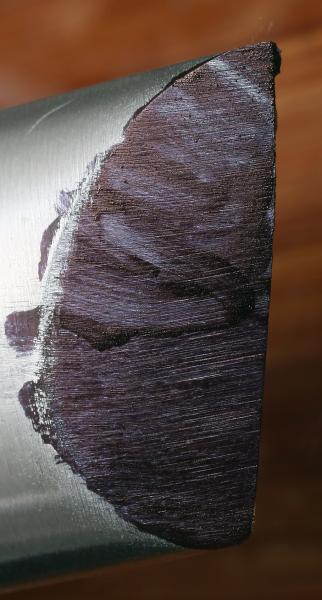
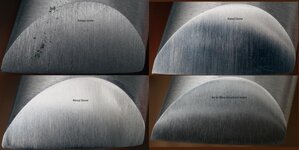
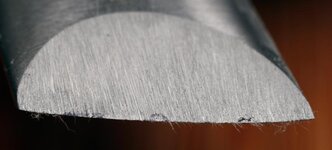
Now lets look at the results they do on the chisel.
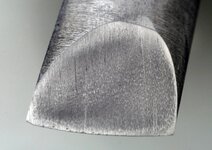
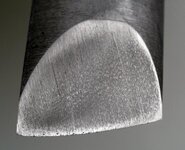
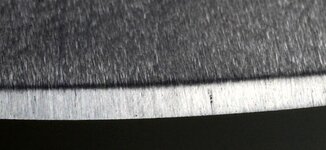
Above I posted the starting look of the chisel. Here we have after using the stones.
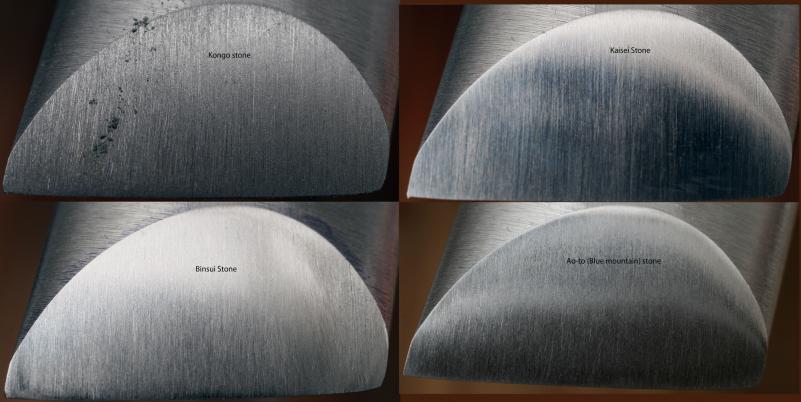
Image is slightly on the small side but enough to barely make out some problems that I encountered along the way. The most notable is Kaisei and Ao-to needed more truing work, need some more Binsui work as well as there are a few scratch marks still that could be removed. However after using Kaisei there is a very sharp edge, after using Ao-to you can shave with the edge.
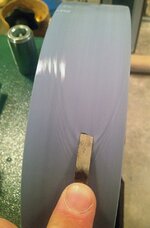
One final thing I wanted to mention. The #1 problem with sharpening on any stone is consistency. This is where a jig comes in handy. This is also where a sharpie marker is very valuable as well. Just mark the edge where you are sharpening.
Then start sharpening, look after 1-3 cuts

Then adjust as needed and do a few more cuts

Then before long you will be done, then move to the next stone. (trash left to show the bur)

I have purposefully left out the final polishing work that is mostly needed on knife and sword surfaces for visual effects. I have added some aspects in but I wanted this to be mostly about sharpening.
As for the type of stone and the type of steel is a very great important factor to consider when you pick which stones to use. Same holds true for man made synthetic stones, if they do not match the progress will be very slow going.
Also all stones requires some type of soak, some just need to wipe water on it with your hand and others need to soak in water. This helps soften them up. What you are looking for is water retention, soak the stone long enough that water will stay on the surface. Synthetic stones with bonding agents need no soak time and wiping them with water will do. Remember each stone has it's own personality and you have to listen and read the stone to see what it needs.
The biggest question that most will likely ask is 'why sharpen this way when 10 seconds on a grinder will work' The answer lies in the fact that a) this is a HUGE stress relief b) it is soothing c) it allows you to sharpen in ways you have never seen before d) you really get to know your tool and e) it is fun and enjoyable.
Ed
Ok got that out of the way, now down to business.
First the chisel is a new skew in HSS steel that I recently bought in a set.
This is how they come from the factory. Yes it can cut but it's like most things, some assembly required.
Here we have my Lee Valley MKII hone guide with skew registration jig in place.
The secret to sharp is consistency. So do yourself a favor and buy a jig of some form.
--
Oh yea this is Aoto, Blue Mountain natural Japanese stone. Approx 2,000 to 3,000 grit range, 5-10 microns. Or so they say. This is a very very fine sedimentary stone and the slurry from this feels like a film. Using this stone literally feels like washing a chalk board, it is smooth and silky. Stones like this is what gives Japanese waterstones that sexy appeal and that calm serene flair.
Slurry is made by rubbing another stone on top of the big one. In the above 2 photo's I used 2 types of stones, Omura and Nagura. The white color one (top) is the Nagura, that is around 6,000 to 8,000 grit there about. It helps to remove the finer sediment in the stone. The Omura (bottom) is more of a grinding stone, it is a more coarse grit stone around 150 grit, it brings out the larger grit so you can get a good range of grit from the same stone, try that one with sandpaper! It also flattens the stone. The color here you can clear see why it is a blue stone.
--
Notice the Su holes or voids, the pockmarks in the stone face, this is gas bubbles that was trapped when the stone was forming however many years ago (read million/billion) They serve several purposes, it traps and holds water and sediment that has broken loose. It can also trap and hold metal shavings from the tool so that must be cleaned off from time to time.
--
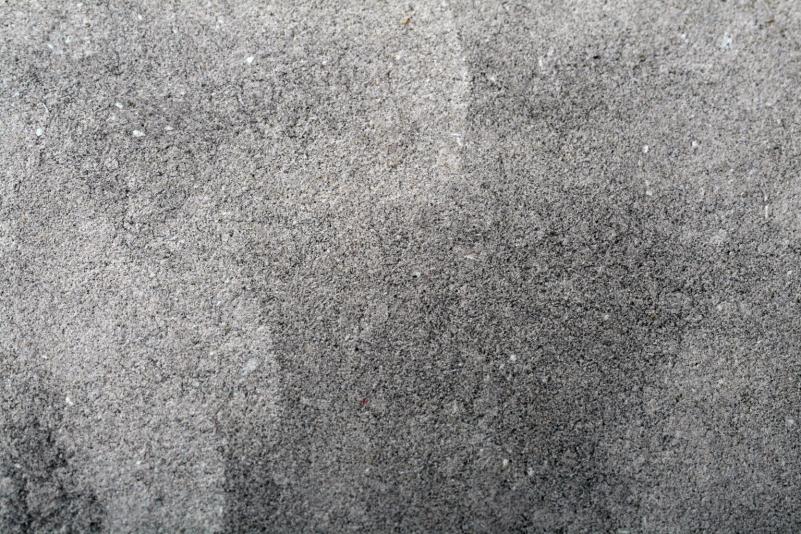
This is a natural Japanese Binsui Stone, approx 300 grit, 60 micron. The slurry from this feels like sandpaper, this particular stone is one of the more advanced stones and not beginner friendly by no means. This is a somewhat coarse grade sandstone.
--
Here we see what the old vs new slurry looks like. The dark is filled with metal shavings from the chisel, some stones like kitayama they leave it on the stone face, others in the slurry like this Binsui.
--
These two is a natural Japanese Kaisei Stone, approx 500 grit, 35 micron. This is a very fine grit sandstone. This stone is a VERY stupidly fast cutting stone. It is over very quickly and you can do some serious metal sculpting with the right work flow. This is like Ao-to (blue mountain) but cuts much faster. Both of these are a dream and a pleasure to work with.
---
This is a small sample of stones that I have so far. In the back is my MKII hone, a knife hone and the spyderco sharpmaker. The bottom row is Binsui, Kaisei, Aoto blue mountain, Uchigumori and kitayama.
Now lets look at the results they do on the chisel.
Above I posted the starting look of the chisel. Here we have after using the stones.
Image is slightly on the small side but enough to barely make out some problems that I encountered along the way. The most notable is Kaisei and Ao-to needed more truing work, need some more Binsui work as well as there are a few scratch marks still that could be removed. However after using Kaisei there is a very sharp edge, after using Ao-to you can shave with the edge.
One final thing I wanted to mention. The #1 problem with sharpening on any stone is consistency. This is where a jig comes in handy. This is also where a sharpie marker is very valuable as well. Just mark the edge where you are sharpening.
Then start sharpening, look after 1-3 cuts
Then adjust as needed and do a few more cuts
Then before long you will be done, then move to the next stone. (trash left to show the bur)
I have purposefully left out the final polishing work that is mostly needed on knife and sword surfaces for visual effects. I have added some aspects in but I wanted this to be mostly about sharpening.
As for the type of stone and the type of steel is a very great important factor to consider when you pick which stones to use. Same holds true for man made synthetic stones, if they do not match the progress will be very slow going.
Also all stones requires some type of soak, some just need to wipe water on it with your hand and others need to soak in water. This helps soften them up. What you are looking for is water retention, soak the stone long enough that water will stay on the surface. Synthetic stones with bonding agents need no soak time and wiping them with water will do. Remember each stone has it's own personality and you have to listen and read the stone to see what it needs.
The biggest question that most will likely ask is 'why sharpen this way when 10 seconds on a grinder will work' The answer lies in the fact that a) this is a HUGE stress relief b) it is soothing c) it allows you to sharpen in ways you have never seen before d) you really get to know your tool and e) it is fun and enjoyable.
Ed
Attachments
-
 skew-reg-1`-IMG_3768.jpg66.3 KB · Views: 2,953
 -
 IMG_3763.jpg53 KB · Views: 3,008
 -
 skew-reg-2IMG_3770.jpg38.7 KB · Views: 2,864
 -
 ao-to-blue-mountain-setup-IMG_3771.jpg45.1 KB · Views: 3,071
 -
 IMG_3616.jpg38.5 KB · Views: 3,869
 -
 IMG_3620.jpg118.4 KB · Views: 2,930
 -
 IMG_3608.jpg43.1 KB · Views: 3,026
 -
 IMG_3610.jpg70.1 KB · Views: 2,815
 -
 IMG_3625.jpg76.7 KB · Views: 2,830
 -
 IMG_3612.jpg88.7 KB · Views: 2,826
 -
 IMG_3602.jpg35.9 KB · Views: 2,821
 -
 IMG_3606.jpg131.5 KB · Views: 2,714
 -
 20030404142648.jpg45.8 KB · Views: 2,792
 -
 IMG_3815.jpg72.4 KB · Views: 2,883
 -
 IMG_3816.jpg68.8 KB · Views: 2,907
 -
 binsui-start-IMG_3795.jpg54.6 KB · Views: 2,868
 -
 IMG_3807.jpg55.8 KB · Views: 3,024
 -
 IMG_3811.jpg50 KB · Views: 3,011
 -
 IMG_3753.jpg60.5 KB · Views: 3,252
 -
 kongo-binsui-kaisei-aoto-stone.jpg44.3 KB · Views: 3,028
 -
 arato-1IMG_3778.jpg32.3 KB · Views: 2,706
 -
 arato-2-IMG_3781.jpg29.8 KB · Views: 2,752
 -
 arato-3IMG_3786.jpg30.6 KB · Views: 2,727
 -
 arato-final-IMG_3792.jpg30.3 KB · Views: 2,776
")