Segmenting questions...

Signed-In Members Don't See This Ad

brownsfn2

Member
Joined
Jun 23, 2011
Messages
1,574
Location
Plain City, OH
As I mentioned in a previous post I really enjoyed the segmented entries in the Best of IAP contest. It has me wondering about how a few of those things were done.

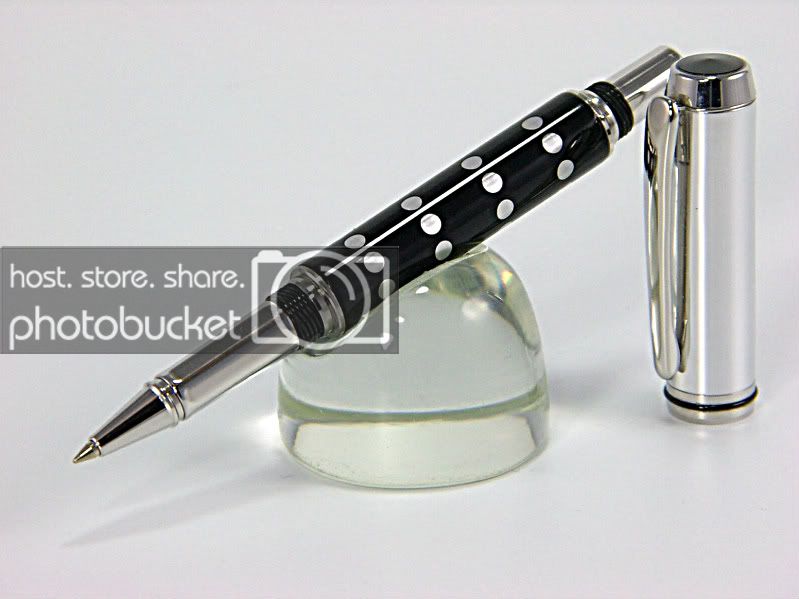
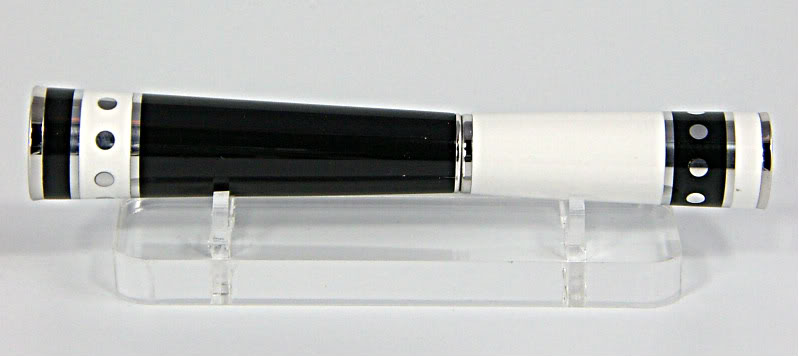
First off I can see a small brass or silver dot in some of the turnings. I am assuming that a hole was drilled and a cut rod was placed in the hole and turned flush with the rest of it. When I have tried this before the rod I used was way to hard and did not cut. What material is usually used for that? Is there an online source for some?

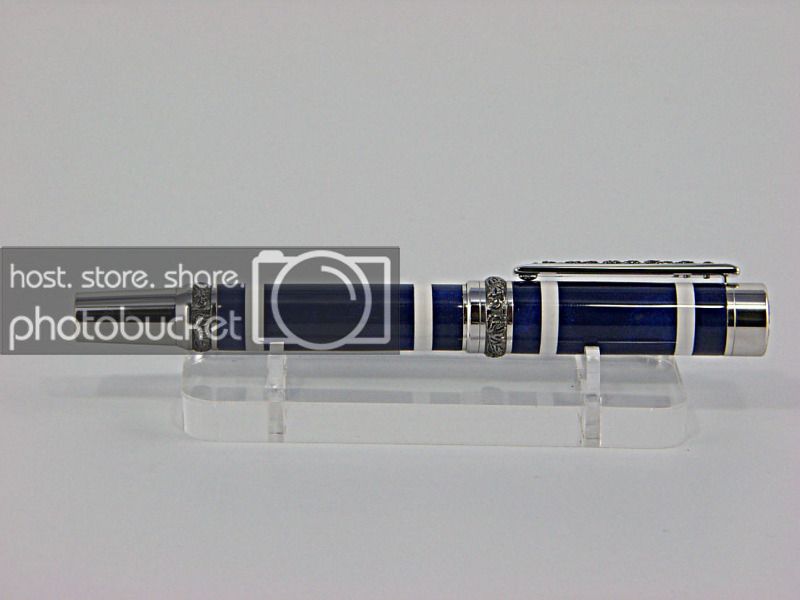
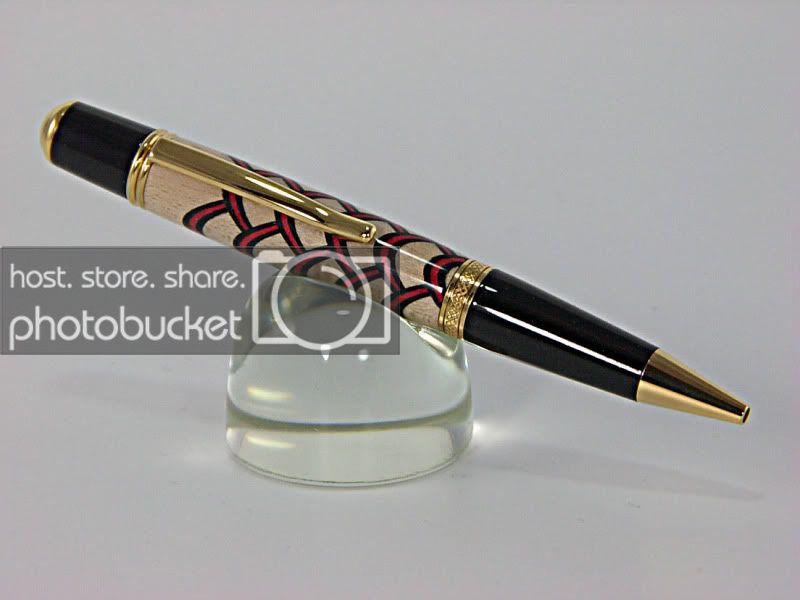
Also I noticed that some of the segmenting had thin black or white accents between the segmented layers. I have seen veneer used in between segments but what black and white material is used to get the thing black or white lines?

Lastly - Do these high end pen makers really use common glues like I would use expoy, CA or Tite bond wood glue to glues the segments? Do they use commonly available glues or is there some stronger type of glue available that is not "off the shelf" at the local woodcraft?
 
Signed-In Members Don't See This Ad

Carl Fisher

Member
Joined
Jun 7, 2011
Messages
2,761
Location
Cape Coral, FL
Hi Ron.

There are only so many types of adhesive available that will adhere the different types of material. You've hit on most of them. CA, Epoxy, Polyurethane, or for wood to wood nothing beats good old yellow or hide wood glue.

The different layers can be just about anything you can think of that can be adhered together. Woods, plastics, metals, etc... It really is just trial and error to see what works and what gives you the desired effect.

As for the dots, as long as your tool is of a material harder than what you are cutting and have a good edge, you should be fine. Aluminum, brass, and copper all turn well enough with wood turning tools. Anything hardened or of significant hardness would be better on a metal lathe with the appropriate cutters.
 
Last edited:
Joined
Aug 5, 2009
Messages
3,229
Location
Millersburg, OR
A lot of different types of materiel can be used for accents. Soda cans, plastic report covers, pick guard, old credit cards, and just about anything else. When segmenting it is important to make sure the surface is rough enough and clean enough so the glue will hold. Best thing to do is try a few ideas and see what happens when you turn a square segmented blank round. It is hard to get some things to stick to others and heat generated by drilling and sanding can cause the glue to let go.
Another thing to think about is longevity. I have a wood and acrylic segmented blank that not 2 years after it was made there are visible gaps between the wood and the acrylic. Other than that, jump in, have fun, and just see what happens.
 

brownsfn2

Member
Joined
Jun 23, 2011
Messages
1,574
Location
Plain City, OH
Thanks for the ideas guys.

I am going to try a brass rod. last time I used one where I did not know what material it was. I bet a catch on a brass rid in your blank would have catastrophic results.

I decided to start on a segmented one tonight. I am finding it is difficult to cut small pieces and be square. I had to resaw a few and none of my blanks are square to start with so it made the process really hard.

For you guys that segment do you use a jointer or drum sander to square your blank first to start with something square to make sure your subsequent cuts are good? Any ideas if you do not have a jointer or drum sander?

Thanks again!
 
Joined
Aug 5, 2009
Messages
3,229
Location
Millersburg, OR
If the piece is going across the width of the blank I glue it to the blank then cut it to the size I want it. Woodcraft sells wood in several thicknesses. Be careful when working with small pieces that your fingers don't get too close to the blade.
 

TerryDowning

Member
Joined
Apr 27, 2011
Messages
520
Location
Newhall, CA
Also be mindful of wood grain orientation end grain vs long grain.

Accents are not always required

If gluing end grain to end grain, common in scallops, then you definitely need some kind of accent material as end gran to end grain is the weakest glue joint. Various plastics and metals are good choices but wood veneers on the long grain can be used as well.

If gluing long grain to long grain, like stripes going the length of a pen body, an accent is not required. Long grain to long grain glue joints are very strong.

As stated in previous post, you just have to experiment.
 

jttheclockman

Member
Joined
Feb 22, 2005
Messages
19,148
Location
NJ, USA.
There are so many ways to do segmenting and also many materials to do it with. If I may suggest you start simple. Do not try so difficult pieces. You do not mention what tools you have. If doing any segmenting with metals you will find tooling them with carbide tools to be more efficient and easier to do. Not that wood tools won't do the job but will dull alot faster and you need to be proficient at sharpening. Heat is your enemy. Remeber that when drilling and cutting.

You mention brass, I suggest trying aluminum first. It is softer and turns easier and you will get a feel for turning metals better. It takes drilling slower and sharp bits is a must. Do some searches here for other topics in this area.

Segmenting woods is easy but always remember wood moves even at those small pieces. Use good quality glues such as fresh CA and epoxy. Gluing woods together yellow glue is fine. You got some good answers above.

I cut most material either on a tablesaw or a bandsaw. Making jigs to hold small parts is essential. There is many hidden things that take place when segmenting it is hard to list them all so practice and learn them as you go. Each person learns at a different pace and comprehends things differently.

If making specific patterns then not only squareness is a factor but also trueness is a factor. Things need to be kept square to the sides and ends. Drilling must be done absolutely down the center of the pattern design.

Here are some example of some segmenting I recently did. Good luck and have fun.

IMGP0952.jpg


CopyofIMGP0924-1.jpg


CopyofIMGP0937-1.jpg


IMGP0918.jpg
 

D.Oliver

Member
Joined
May 10, 2011
Messages
3,531
Location
Faith SD
Hey Ron here is a great link if you don't have a thickness planer or drum sander.

http://www.penturners.org/forum/f30/homemade-thickness-sander-48700/


As other have stated. Start simple and build the skills as you go. I'm not near the segmenter some of the others here are but here's my first two. Doesn't get any simplier than this.

http://www.penturners.org/forum/f13/couple-laminated-pens-81022/

Granted I haven't progressed to far from that yet!

Here's the last couple I did:
http://www.penturners.org/forum/f13/just-another-segmented-pen-92112/

http://www.penturners.org/forum/f13/just-another-segmented-pen-ii-96183/
 

randyrls

Member
Joined
Feb 2, 2006
Messages
4,829
Location
Harrisburg, PA 17112
I decided to start on a segmented one tonight. I am finding it is difficult to cut small pieces and be square. I had to resaw a few and none of my blanks are square to start with so it made the process really hard.

Ron; I'm not sure if you have a Table Saw or a Band saw. A table saw is preferred for segmented work. Make sure your saw cuts square to the table. Take straight scrap 2x4 wood and cut through on the saw. Keep the cut edges together and rotate one end 180 degrees and check the cut. If both cut edges line up with no gaps like this: || then the saw is cutting square. If not, adjust tilt on saw until you get a perfect cut. You can also use an accurate square to check the cut lines. It doesn't matter if the saw is square to the table, only whether the cuts are square.

Start with an oversize 7/8" blank or a 1" turning square. You absolutely want straight square blanks before you start. Shave down one side so it is flat and level. Put that side against the table and reset the fence and shave that edge. Repeat twice more and you should have a straight, flat, level blank. Reset the fence one more time and run through the saw on two adjacent sides at the same setting. Now you have a straight, square blank to start with.

PLEASE use a push stick or handle to push the pieces thru the saw blade. They can be replaced. Fingers can't!:eek:

To make the segments make a jig with a length stop and clamp to hold both the offcut and the blank stock. There are several here in the IAP library, and on the internet.

A digital or dial caliper is indispensable for measuring lengths.

Hope this helps.
 

brownsfn2

Member
Joined
Jun 23, 2011
Messages
1,574
Location
Plain City, OH
Thanks again for all the advice guys. I tried cutting some segments on my table saw last night and I think my blade needs replaced. It actually took rough chunks out of the smaller segments and there was a lot of tear out. I made a sled for my band saw in the mean time and I may try to see if I can get a square cut on that as well.

Thanks again!
 
Top Bottom