CabinetMaker
Member
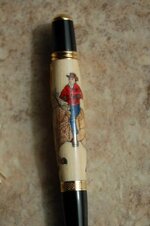
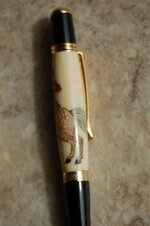
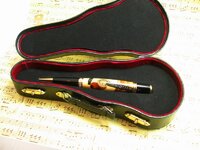
I just finished assembling the Cowboy blank from LazerLinez. I was careful to get all the pieces as flush to the blank as I could. Its not perfect, but its close.
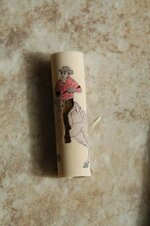
This blank has a lot of lightly etched detail on it that will easily disappear even with very light cuts or sanding.
How do you turn and finish these blanks to maintain the fine detail in the laser cut pieces?
This blank has a lot of lightly etched detail on it that will easily disappear even with very light cuts or sanding.
How do you turn and finish these blanks to maintain the fine detail in the laser cut pieces?