inlay

Signed-In Members Don't See This Ad

dirtrider

Member
Joined
Apr 4, 2008
Messages
6
Location
nashville, TN.
Hello to all my fellow pen turners! I hope you're all having a great day. I've been lurking for a while and have finally made a few pens with the help of all the great advice here.

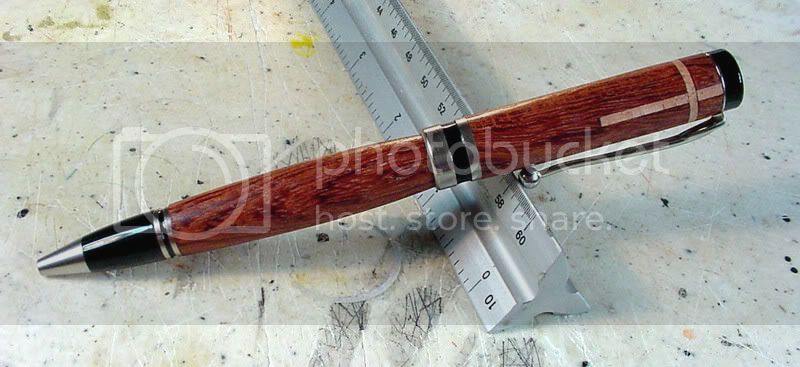
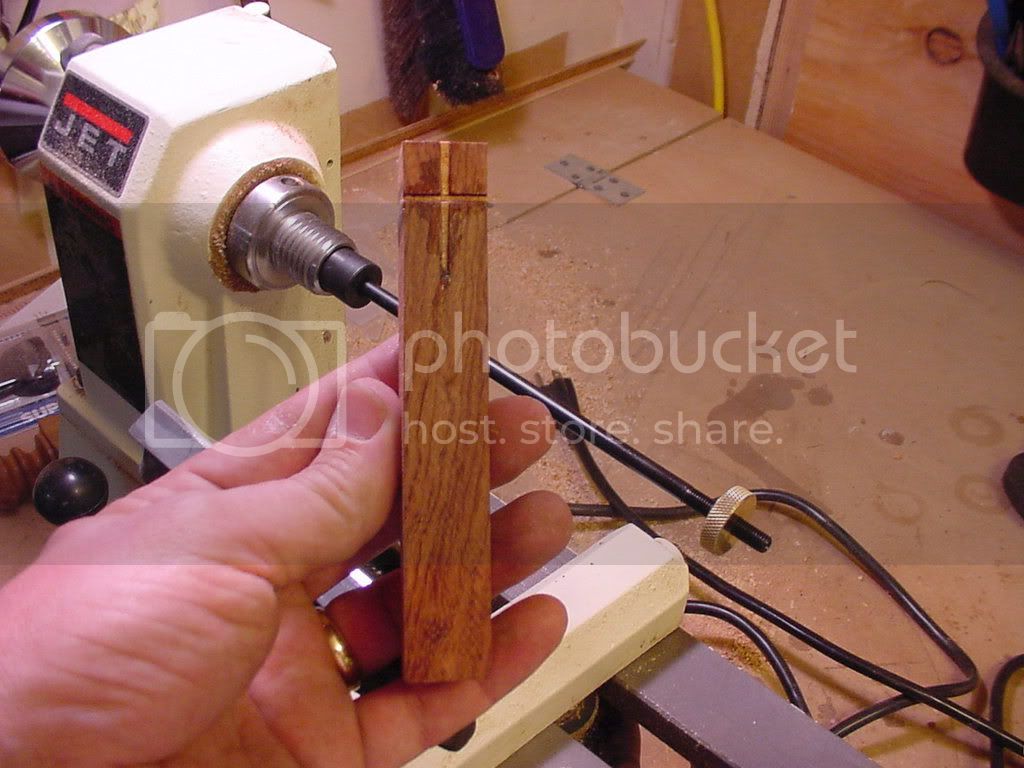
My question is this: I would like to make a pen for our minister with a cross inlay in the top section of a European style pen. I tried drilling/mortising with a 3/32" bit for the vertical cut, but that didn't work very well. It actually looked very sloppy and was a real bugger. Any suggestions for this? I didn't have any problems with the perpendicular cut, except cutting it too deep (easy fix). This will be a Purple Heart pen w/Maple inlay. So far trials are pine w/maple insert.
 
Signed-In Members Don't See This Ad

ESwindell

Member
Joined
Mar 4, 2008
Messages
195
Location
Northwood, NH, USA.
Travis,
Do you have a scroll saw? If so you can use that to make you cut out. Just have the table at a slight bevel so that your cross will slide upwards a little and fill in the saw kerf. Just use the smallest blade possible so that the drill hole won't show. I would stack cut them so that the cross goes completely through the pen blank. Hope this helps.
God Bless,
Eric
 

jdarragh

Member
Joined
Apr 16, 2008
Messages
15
Location
Dallas
Just thinking out loud, could you use a drill saw bit in a drill press with a fence of some kind? I would think that higher speed and a steady fence would produce the desired result. I haven't tried anything like this mind you, but was thinking this might work. You could make a v-groove type jig for holding the blank in the drill press for the long axis and then use the same jig with the blank stabilized in the v-groove and push it along the fence of the drill press to get the horizontal cross beam.
 

ahoiberg

Member
Joined
Apr 10, 2007
Messages
1,763
Location
Ames, IA, USA.
hi there. i think rherrell (member name, if i remember correctly), made some really nice looking cross pens. and i think how he did it was basically setting his table saw so it didn't saw all the way through the blank, but just deep enough to keep the cross in there, almost like a small dado. so, cut a groove lengthwise, glue in your strip the width of the kerf, then cut a groove widthwise and glue in the other strip. you might search the archive to see his examples.
 

ahoiberg

Member
Joined
Apr 10, 2007
Messages
1,763
Location
Ames, IA, USA.
hopefully rick won't mind, but here's an example of one of his cross pens:

IMG_4695_edited-1-a.jpg


if you go to the member list and click on rherrell's profile, you can see his photo album where there's a few others. i emailed him about the process and he wrote me back a while ago, so i'm sure if you want to PM him, he'd tell you exactly how he did it.
 

great12b4ever

Member
Joined
Jul 22, 2007
Messages
1,196
Location
Houston, Texas, USA.
I use my table top drill press, set to a HIGH speed, and bought some Dremel/Foredom tips of the correct size. I then mount my blank in a machinists cross cut vise ( the Harbor Freight 6x6 size. I set the cross slide at the low point so when I pull my drill press down, I am at the depth I want. You may have to make 2 or three passes to get the depth you want. I usually turn my blank about 1/8" larger than finished size first. I then turn my cross slide 90 degrees and do the same for the cross piece, trying to keep my sizes of the vert/horiz pieces close to the Golden rule for looks. If you need the width slightly wider than the available bits, just adjust your cross slide and make more passes. I don't have and haven't posted pictures, but I hope you can follow my description.
 

arjudy

Member
Joined
Feb 27, 2005
Messages
1,209
Location
Springfield, Ohio, USA.
Here's one I did on the table saw a while back out of BOW and purpleheart. I cut the grooves on the saw and then glued in the purpleheart to make the cross.

20086133532_IAPpurpleheartBOW.jpg
 
Joined
Mar 16, 2008
Messages
165
Location
Hayward, CA, USA.
Here's my cross pen... I think it turned out very nice and the recipient is very happy!

MVC-197F.jpg


I cut the wood with a band saw and glued the parts together using CA. The top was cut off first, and the horizontal piece was glued in, then the cut off segment was bisected with a piece glued in between. Then the top part mated to the bottom. Here is a picture of the assembled parts prior to turning:

MVC-189F.jpg


This is an easy segment project because it involves all straight cuts :)
 
Top Bottom