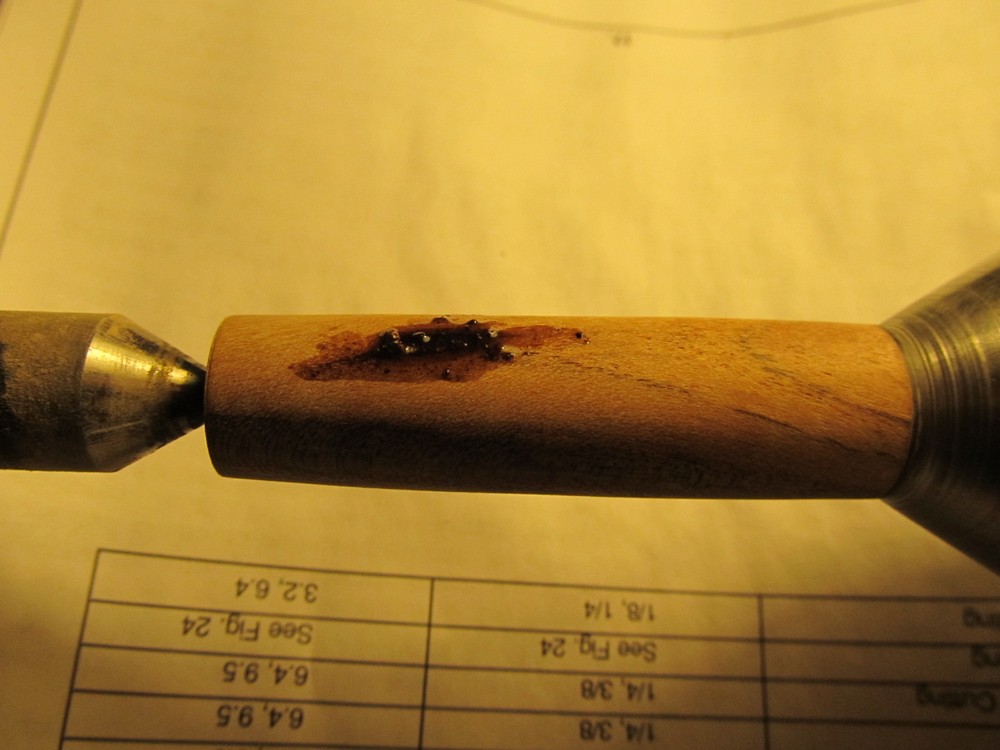
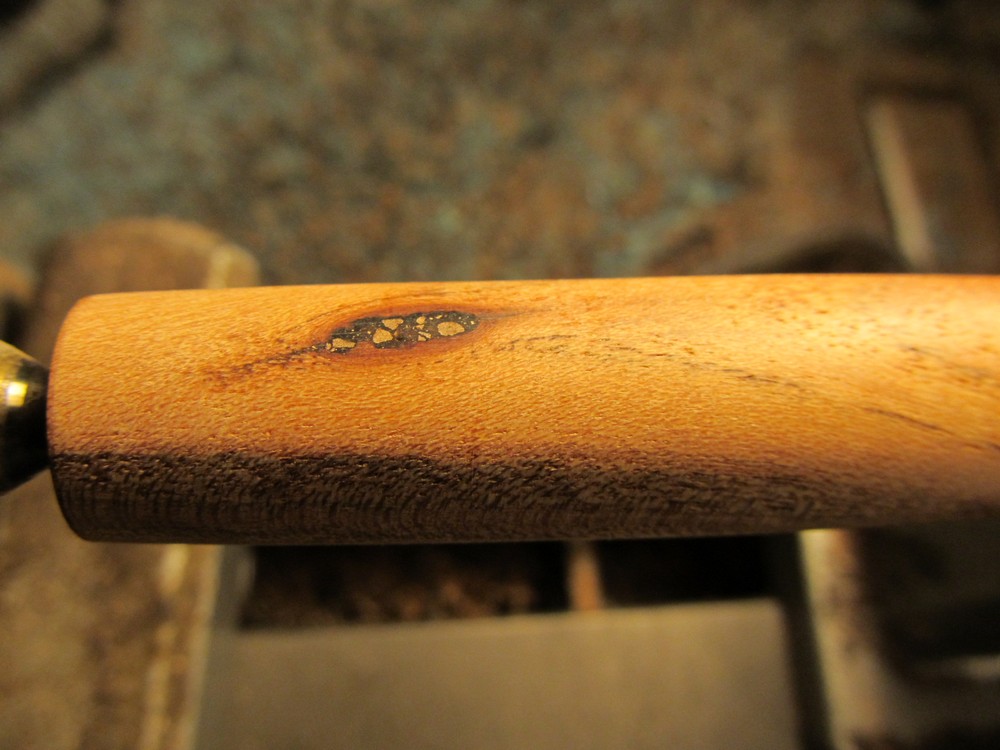
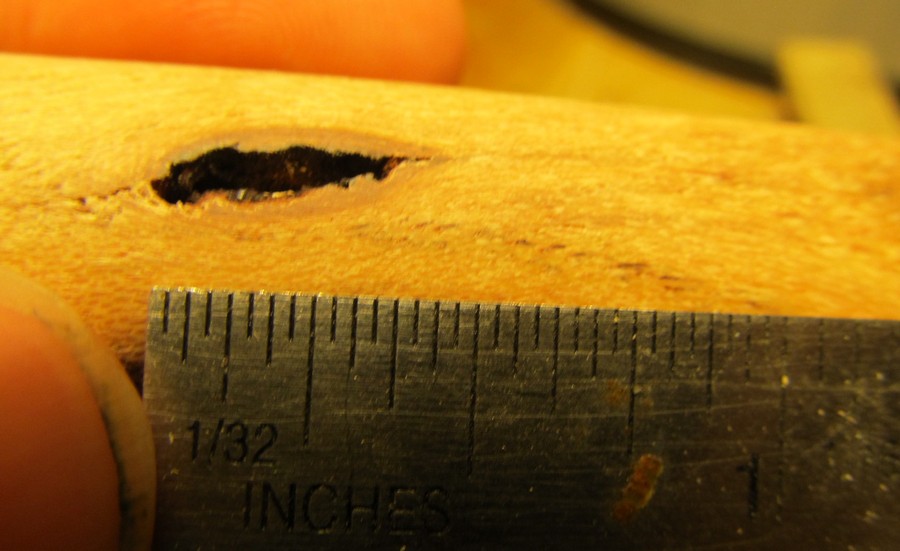
Okay, since I've got the drill doctor I've been able to easily drill the Acacia and have a cap made but -- there's a huge hole from a crack or knot or something in the wood. I can see the plastic insert through the hole. I'm thinking of just filling with my regular ole 2 part epoxy.
It's a pretty big hole. Maybe 1/2" long and 3/16" wide and deep.
What do you do when this type of thing hits you? Epoxy? Wood filler?
Chuck it in the garbage and start over?
No no no, my friend...! that crack may the be the best feature in the whole blank...!
Pictures in these cases, do help considerably for a suitable suggestion(s) but, there are an enormous variety of materials that can be used to fill wood, the most common being crashed stone, Pearlex or equivalent powders/colorants, metal powders, sawdust, wood shavings, etc, etc...!
Some times a contrasting material is better, other times a matching colour and material is preferred and when it comes to using sawdust as fillings, starting the turning with a clean work space/lathe, will allow for sawdust or shavings collection for the fillings.
I also suggest that people keep a small portion of sawdust from every different woods they turn as sometimes, the sawdust/shavings form the same blank, are not always the best option, for various reasons so, if you have the space get some glass jam jars and use them to store the sawdust. If storage space is a problem, the plastics bags the pen kits come on, are enough to get you out of troubles, particularly with pens where a small amount is all is required.
To store those bags, a normal shoe box or equivalent is plenty...!
Just remember to right clearly on the bag, what wood that sawdust belongs to...!
Good luck...!
Cheers
George

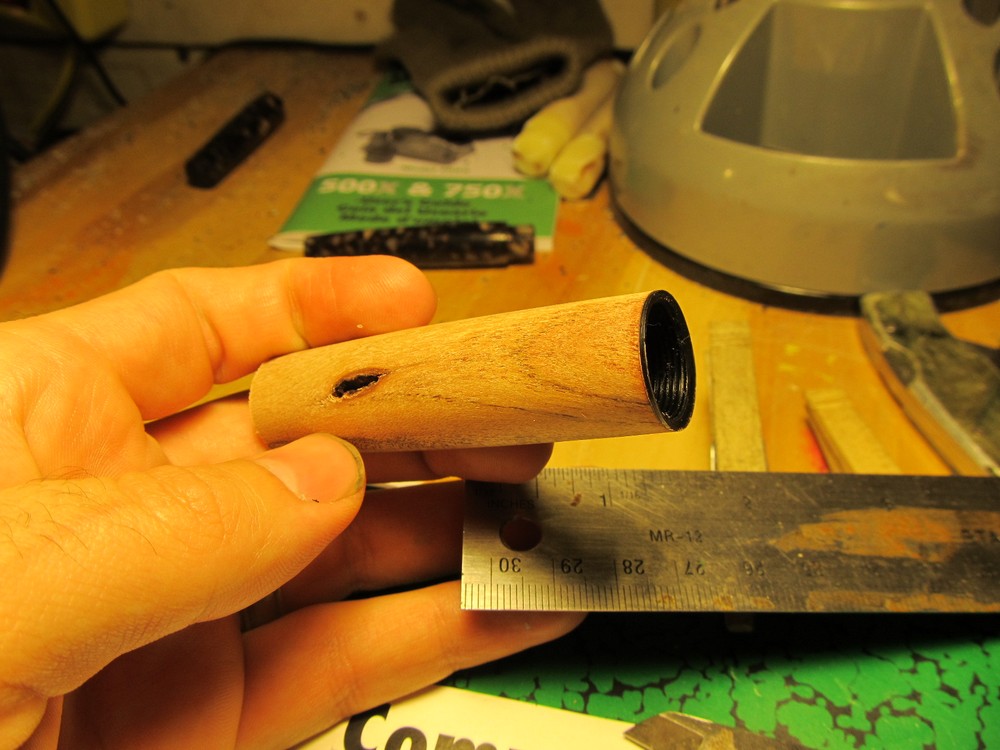
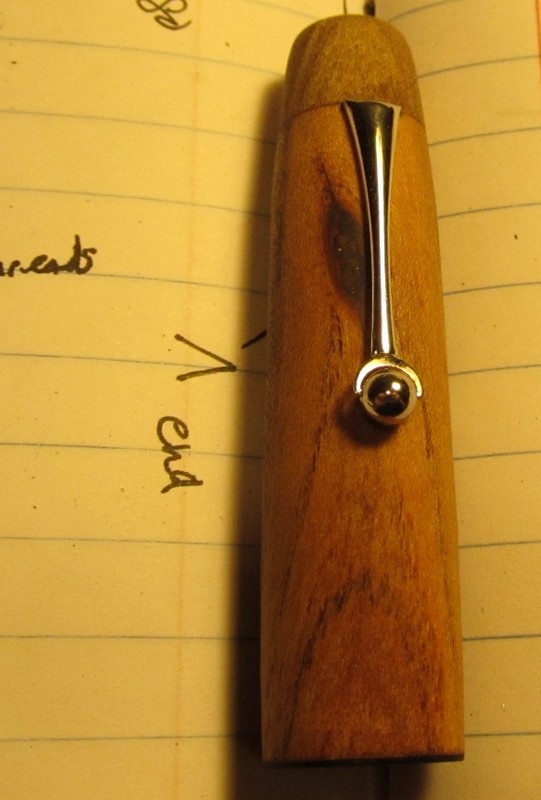
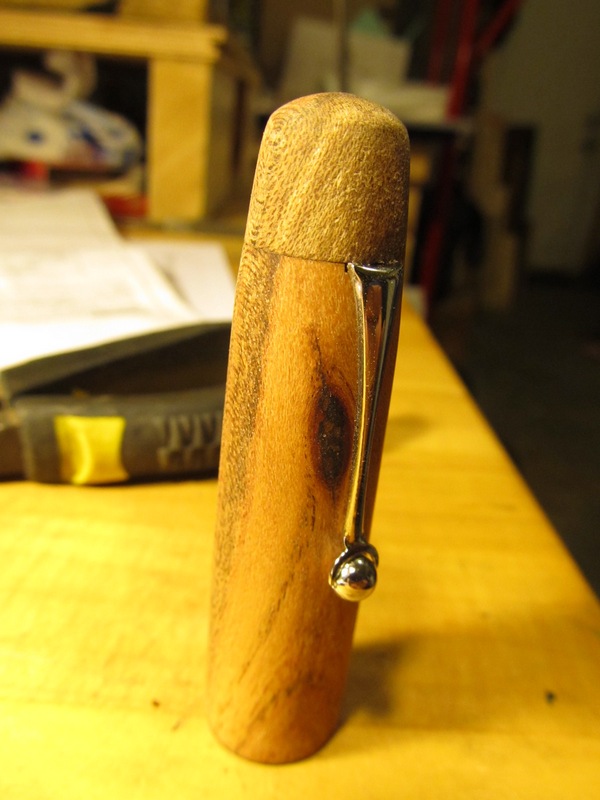
") All I have to do now is drill and thread the end to take a finial and a clip.
All I have to do now is drill and thread the end to take a finial and a clip.