Drill Press Runout

Signed-In Members Don't See This Ad
Status
Not open for further replies.

sandking

Member
Joined
Oct 16, 2006
Messages
217
Location
Hauppauge, NY.
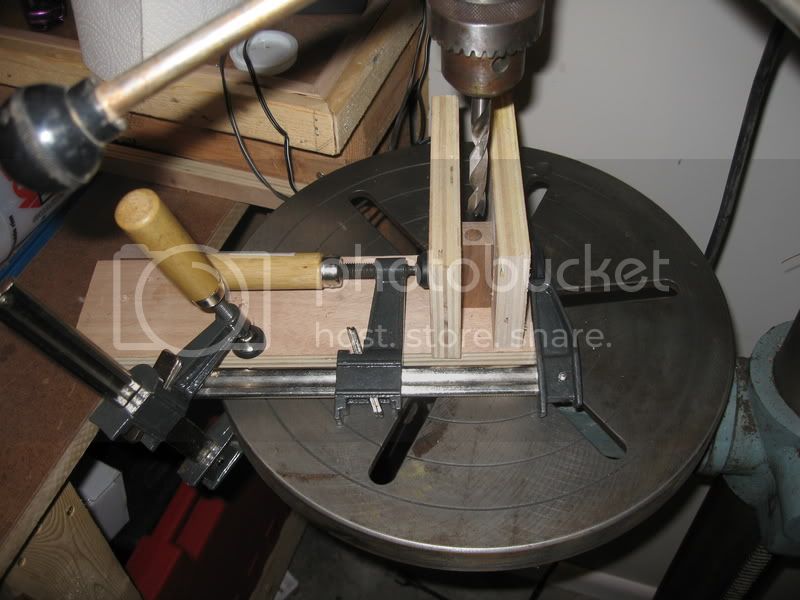
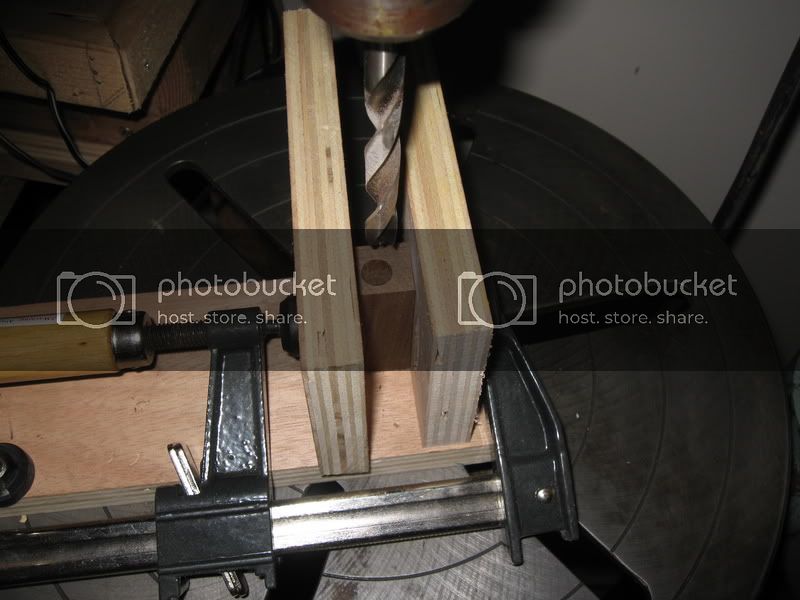
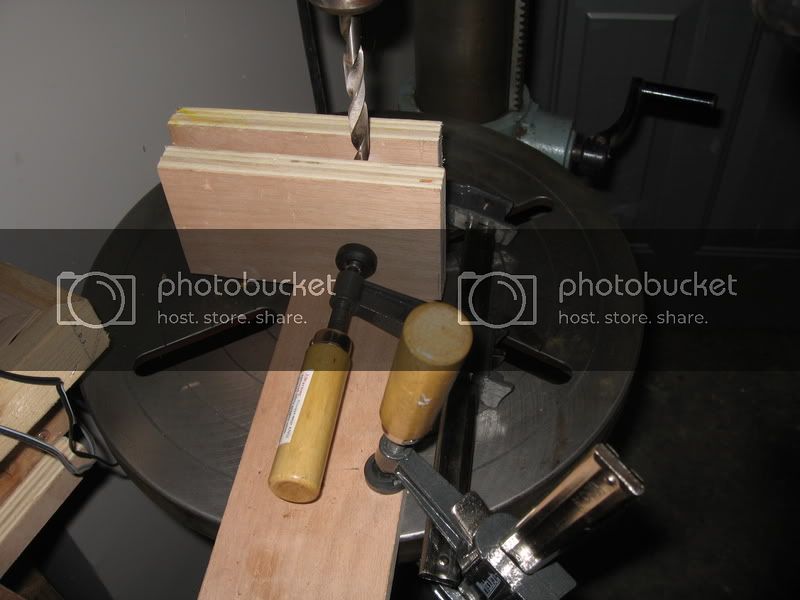
Well I bought a floor standing drill press used on craigslist. I've tried using a dial caliper and it looks like I have too much runout b/c I tried drilling two pen blanks and they were too close to the side.

Do you folks get perfect holes when you drill out the blanks? I am getting ready to sell this one and get a Ridgid with my birthday certificates.
 
Signed-In Members Don't See This Ad

JimGo

Member
Joined
Jan 24, 2005
Messages
6,498
Location
North Wales, PA
I assume you have ensured that the table is square to the quill (or to a bit or rod held in the chuck), and that the vise holds the blank along the direction of the quill's travel?
 

kenwc

Member
Joined
Feb 4, 2006
Messages
364
Location
Dallas Texas
What vice are you using? Also what type of drill bits are you using?

I "think" and someone could correct me if I'm wrong, but it would take some REALLY severe runout to drill such an angled hole as I'd seen before I got a good vice and the right drill bits. I don't think I've ever read where the problem was actually diagnosed as DP runout. Again, I'd like confirmation on this.
 

sandking

Member
Joined
Oct 16, 2006
Messages
217
Location
Hauppauge, NY.
Here is a picture of what happens when I drill the blank. I already lost a $4.00 acrylic blank b/c it cracked.

blank1.jpg
 

martyb

Member
Joined
Aug 21, 2006
Messages
188
Location
Des Moines, IA, USA.
That happens to me with the larger bits. I attribute it to the extra pressure I exert with a large bit since I'm impatient and the bit isn't as sharp as it should be. Extra pressure and the table itself flexes ever so slightly. It wouldn't take much at all to get that little bit of wander on the bit.

Then again, it could just be my cheaper benchtop craftsman DP.
 

pete00

Member
Joined
Nov 17, 2005
Messages
1,523
Location
methuen, massachusetts, USA.
well

i used to do that exeact same thing. Most of the time it was because i didnt have the blank lined up with the drill bit. I would take out all my squares, rulers, laser beams and try to get eveything line up, it only worked half the time.

Then one day i put a new blank in the vise it was loose and i lowered the drill bit on the side of the blank just touching it, down about two inches past the top.
I accidently hit the blank against the bit. and all of a sudden the blank was straight and lined up with the drill bit. It was still a little crocked in the vise but the drill bit was happy. Locked it down in the vise, raised the bit and centered the blank under the bit and drilled slowly. almost perfectly straight all the way through....

hope this helps.....pete
 

sandking

Member
Joined
Oct 16, 2006
Messages
217
Location
Hauppauge, NY.
I made my own vice really. I took a piece of 12" x 4" 3/4" ply as the base, then used my kreg kit to put a piece of 6" x 4" 3/4 ply on top at 90*. I then had another 4" piece, put the blank on the base between the two plywood walls and used a clamp to make it nice and tight. I then lined up the brand new 10mm brad point bit on the "X" and drilled. First blank was the plastic one and cracked at the bottom. The next were the walnut as practice that came out crooked. Do the plastic blanks tend to crack often?

Here is my jig:

IMG_2312.jpg


IMG_2313.jpg


IMG_2314.jpg
 

Ron Mc

Member
Joined
Feb 2, 2005
Messages
2,138
Location
USA.
When drilling plastic blanks be sure to not drill all the way through the blank. Drill it short then cut to length.
 

DCBluesman

Passed Away Mar 3, 2016
In Memoriam
Joined
Aug 22, 2004
Messages
7,679
Location
WOODBRIDGE, VIRGINIA
1) You've started off center. Make an "X" from corner to corner on your blank. That should give you maximum clearance on all four sides. 2) I see where you are square on one vertical plane, but not on the other. You need at least one additional vertical support and it will need to have a level of adjustability to accomodate different sizes of blanks. A better setup would be to have your two vertical pieces for a corner which is perpendicular to the base. 3) You must make sure your base is square to the throw of the quill. Get a length of coat hanger and bend it into the shape of a straight back chair (two opposite right angles). Checuk one end of the coat hanger in you drill press and raise the bed until the coat hanger barely clears the table. Slow rotate the chuck by hand and make sure the clearance is identical all the way around the table. If not, re-quare your table. 4) Ron is right for plastics. Cut each blank a good 1/4" or more longer than the tube. Drill to proper tube depth and the cut the piece to the correct length. If these tips don't get you there, visit www.woodturnerruss.com . He covers a lot on his site and can give you many solutions to common problems like this.
 

johncrane

Member
Joined
Jan 17, 2006
Messages
9,657
Location
Melbourne, Victoria, Australia.
JOE
Sometimes the blanks arn't cut square' this can cause a bit of run off' pushing on your drill will cause blank blowout and run off too just when you think your nealy thru' you put a bit more presure and then ban!! blowout you can also put a bit of timber under the blank yor drilling it will support your blank on the end that will stop some blow outs' what the other members are saying is also very good just take it steady and you will be right mate. dont worry we have all had the same problems.
 

loglugger

Member
Joined
Sep 21, 2004
Messages
625
Location
Lebanon, Oregon, USA.
Sandking
The hole doesn’t need to be exactly in the center if you have enough wood thickness to go a little past the bushing with the tube in the wood and on the mandrel. You don’t need to glue the tube to check. If your drill press has run out it will more than likely drill a bigger hole than the bit you are using by quite a bit, if ever thing else is ok. I have found that most drill press run out is in the drill chuck and not the spindle. Try it on a flat board instead of on a pen blank on end. What drill press do you have?
Bob
 

ctEaglesc

Passed Away Jul 4, 2008
In Memoriam
Joined
Jul 5, 2004
Messages
3,238
Location
Camden, S.C., USA.
YOur JIg has a lot of "variables" built into it that could cause your "off center problem"
Start from square one and make sure the table is 90* to the qulii as DC suggested.
After that I wuold add a 90* stop block to the inside to line up the blank perpen dicular to the base of the "jig"
Personally I drilled a LOT of blanks with a home made "v" block.It might me a good idea to incorporate that idea into your "vice"Onve the cener of the "V" in 90* to the base there is no guess work.
 

ctEaglesc

Passed Away Jul 4, 2008
In Memoriam
Joined
Jul 5, 2004
Messages
3,238
Location
Camden, S.C., USA.
I use a Combinations square like this one(the middle section) to find center.I rotate it around all sides and try for someplace in the middle.[:D]
HF has them on sale quite often.
http://www.harborfreight.com/cpi/ctaf/displayitem.taf?Itemnumber=92471
It doesn't have the capacity of the WC "gizmo" but I only uuse it for pen blanks
 

sandking

Member
Joined
Oct 16, 2006
Messages
217
Location
Hauppauge, NY.
Originally posted by DCBluesman
<br />1) You've started off center. Make an "X" from corner to corner on your blank. That should give you maximum clearance on all four sides. 2) I see where you are square on one vertical plane, but not on the other. You need at least one additional vertical support and it will need to have a level of adjustability to accomodate different sizes of blanks. A better setup would be to have your two vertical pieces for a corner which is perpendicular to the base. 3) You must make sure your base is square to the throw of the quill. Get a length of coat hanger and bend it into the shape of a straight back chair (two opposite right angles). Checuk one end of the coat hanger in you drill press and raise the bed until the coat hanger barely clears the table. Slow rotate the chuck by hand and make sure the clearance is identical all the way around the table. If not, re-quare your table. 4) Ron is right for plastics. Cut each blank a good 1/4" or more longer than the tube. Drill to proper tube depth and the cut the piece to the correct length. If these tips don't get you there, visit www.woodturnerruss.com . He covers a lot on his site and can give you many solutions to common problems like this.

Thanks.

1) The picture I put up there was just for show. I did find the center with an "x" and start the bit on it. I kind of just setup the blank that way for the picture to explain my setup.

2) So if I understand correctly, the piece of ply that is not screwed down should actually be screwed to intersect the back piece to form a corner which will give two surfaces to meet incase the blank isn't cut square.

3) I should mount my dial indicator in the chuck and use it to make sure the table is square as I spin the chuck by hand. I used a machine square to check the bit, but the dial indicator would be better correct?

4) Leave the plastic tubes long and cross cut them instead of drilling all the way through.
 

JimGo

Member
Joined
Jan 24, 2005
Messages
6,498
Location
North Wales, PA
Actually, the easiest thing is to contact Paul Huffman and get on the list for one of his vises. They aren't cheap, but they are very well made, and will eliminate much of the variability that's in your current set-up. Then all you'll have to do is square the table using the approach DCBluesMan suggested using the coat hanger. I'm not sure mounting a dial indicator in the chuck will do you much good in that regard.
 

bjackman

Member
Joined
Jul 13, 2004
Messages
506
Location
Salt Lake City, Utah, USA.
Joe, I suggest you either spring for, or make yourself (pretty easy, it was the first penmaking tool I made when I started in this hobby/business/obsession [:I] )

http://grizzly.com/products/H2327

I know some basic instructions can be found on making these, or they can be purchased from several suppliers. It's actually not a bad setup to start out with until you get a little more experience and decide you are ready to spring for (and wait for) one of Paul Huffman's. I used my less than perfect home-made version for more than a year before I moved to one of Paul's.
 
Status
Not open for further replies.
Top Bottom