qquake
Member
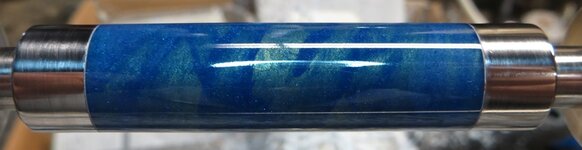
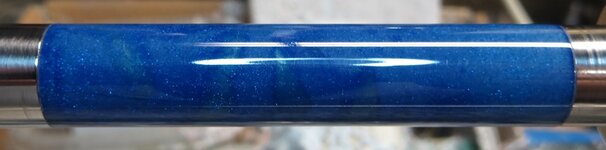
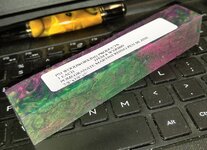
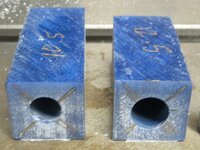
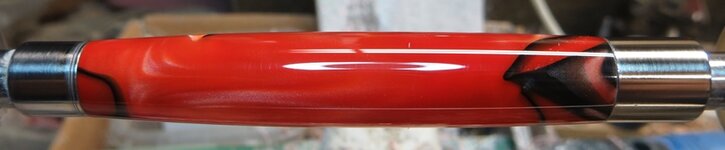
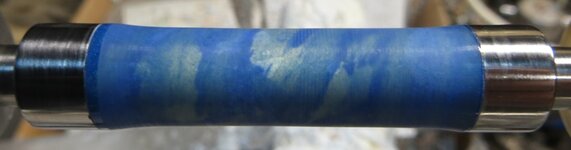
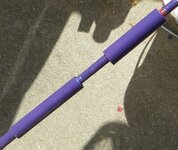
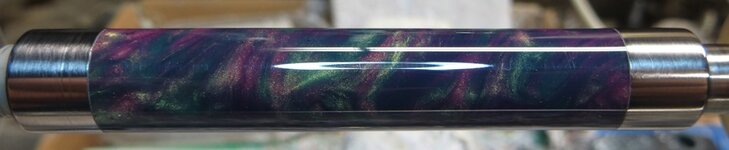
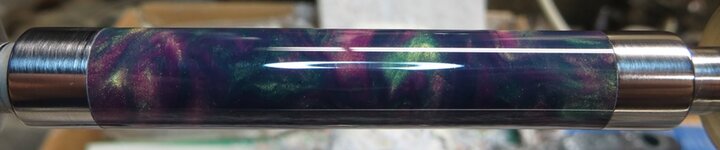
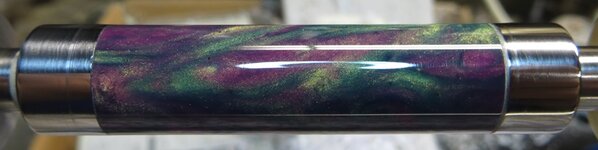
Or does it look like the gold is part of the blank? I can't tell for sure. Either way, it doesn't look good to me. This is a Rhino Paradise Blue blank. I reverse painted and colored the epoxy with acrylic paint.

Best to just start over.
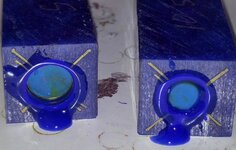
Jim, See my first post regarding the marker possibly being the culprit here. I enlarged your pic to show the gold on the tube plugs.
Looks like a possibility to me.
")
Jim, See my first post regarding the marker possibly being the culprit here. I enlarged your pic to show the gold on the tube plugs.
Looks like a possibility to me.
I think detective Charlie is right. Somehow that marker came into play. That color is what is showing. Weather it dissolved with the paint or the epoxy. Maybe it was transferred when drilling also. Loose the markers.
I think it looks like a 'ghost-flame' in gold. I love it!
Paint both the tube and blank and put a drop of paint into the glue to tint it to match.
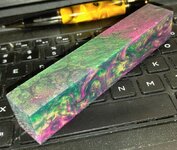
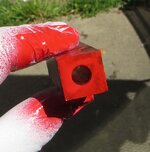
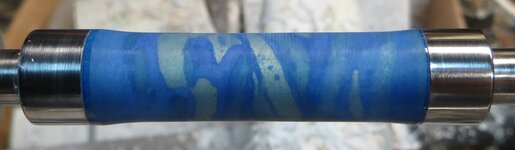
My wife loves that blank. I painted it green.
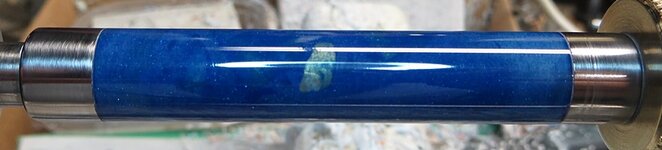
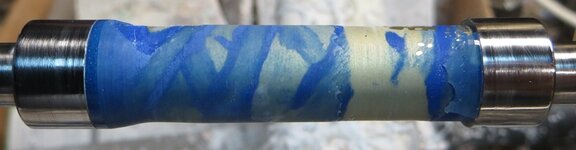
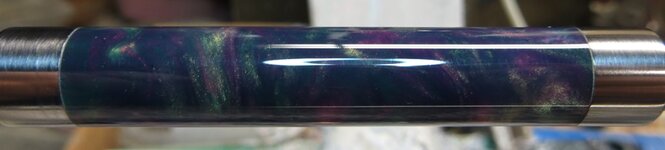
Well something other than a tube showing is happening there. That is not tube showing. Because then that material would have to be very translucent and it does not look that. Maybe there was contamination when that blank was made or the blank was mislabeled. If you decide to lose the blank and destroy it see if you could get it off in chunks to look at the inside. May help solve the mystery.
Yup!
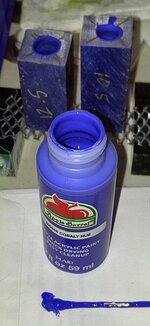
Also, a control test would be good here. Take your gold marker, make some marks on the side of an acrylic blank, let it dry, and them mix some epoxy and apply over the marker.....then smear the epoxy around over the gold marker to see if that is dissolving it.
I am sure others will be interested in your results. If I were to try the same test, I would need the same exact gold marker and the very same epoxy to see what happens.
Remember that a scuffed/sanded tube will have a sharp edge on the ends and become a scraper when inserting.
Good luck
(I was working on this as you added your to most recent posts)
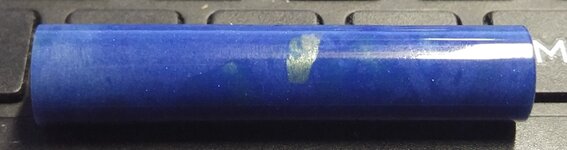
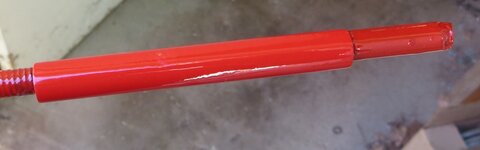
If epoxy was acting as a solvent for the marker, then I'd expect there would be smearing on the ends in the photos in post #14.
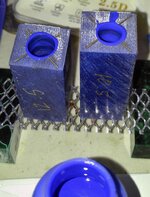
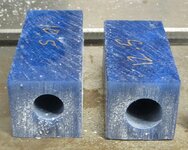
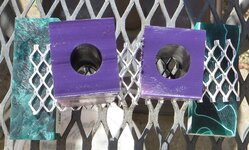
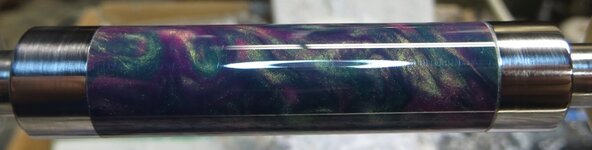
What are you using for tube plugs? If I had to guess, it looks like playdough, and the debris on the ends of the plugs looks like dust from sanding the tubes.
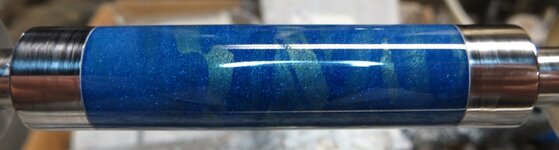
When I study the pictures in post #5, I notice that you have a swirled pattern of paint, as if some of the paint is applied thicker in a swirling method. The mark in the hole of the left barrel looks to be a missed spot that the paint didn't find.
Do you use q-tips and apply the paint by swirling the q-tip down the hole? I drag the q-tip along the length.
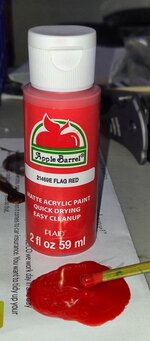
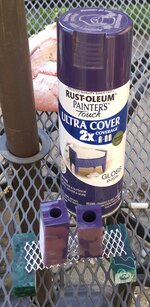
How thoroughly do you stir the paint before applying it? I don't think a few vigorous shakes of the bottle is enough. I've noticed that, for some colors, the pigment settles to the bottom and needs to be physically stirred to mix completely.
I'm thinking that the paint layer isn't as evenly pigmented or as thick as it could be.
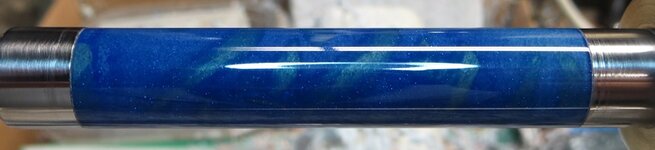
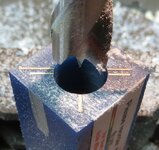
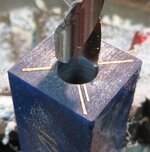
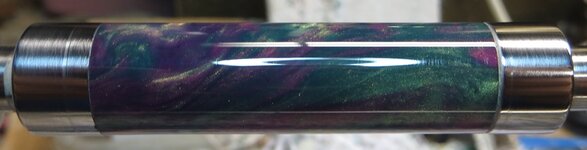
I stopped adding acrylic paint to the epoxy because it causes it to start curing faster and makes it rubbery. Instead, I dip my epoxy-stirring toothpick into polyester resin dye before stirring the epoxy. I can see the cross lines for drilling behind the overflow of tinted epoxy. This tells me that the tinting wasn't dark enough.
An epoxy coloring option is available at PSI (PKCOLOR9). I haven't used it.
Overall, I think you're experiencing an aggregate of small problems that show up as one big problem (marks from drilling means variable paint coverage, paint needs to be stirred more thoroughly, paint application flaws, insufficient tinting of epoxy).
You make great pens, though. Maybe this is one time where something mucked your mojo for some reason.
Well I have to say then that blank was very very transparent. Next time when you drill a blank out and before you insert the tube, hold it up to a strong light source and you should be able to tell right away how translucent that material is and you then know you will have to approach with much more care. I am surprised though that it was that transparent from your photos. Good luck as you move on. and chalk it up to a learning experience. Maybe others have followed this and they too learned something.
Wearing both suspenders and a belt is overkill to me:biggrin:
you really dont need to use the brass tubes
drill to inside diameter of brass tube, turn between centers. make blank longer than needed then trim off the ends that the centers for turning fit in.
put pen tegether