bloodwood problem

Signed-In Members Don't See This Ad

jkeithrussell

Member
Joined
Oct 20, 2008
Messages
1,277
I tried to make a pen last night from Bloodwood that I cut myself from stock purchased a couple of years ago. The wood is very dense, the grain is stable and tight, and the moisture content is about right (around 8%, I think). Long story short, I blew up 3 blanks when I tried to square up the tubes with the pen mill. The wood simply shattered. Is this common with bloodwood, or did I do something stupid (again)?
 
Signed-In Members Don't See This Ad

JimB

Member
Joined
Mar 18, 2008
Messages
4,683
Location
West Henrietta, NY, USA.
Your pen mill could be getting dull. Have you sharpened it? How many blanks have you squared with it? A dull mill will take chucks out of the blank.
 

Skye

Member
Joined
Jan 3, 2006
Messages
3,487
Location
Rock Hill, SC
As said, could be a dull mill.
What angle was the blank cut at?
Can you dribble some thin CA on the ends to stabilize it?
Don't push on the mill too hard. Let the blades do the work. If it's dull, you can get lucky running a sharpening stone along the blades, works ok for me, but that's another way to screw it up.
 

jkeithrussell

Member
Joined
Oct 20, 2008
Messages
1,277
The wood is not angle cut.

I tried to sharpen my pen mill, and I bet I got the angle screwed up.

Unfortunately, the blanks were destroyed beyond what could be repaired with CA. I have plenty of wood, so it's not a big deal. I just don't want to keep repeating the same mistake.

I'll see if I can repair the cutting edges on my pen mill, or maybe just get a new one.
 
Last edited:

VisExp

Member
Joined
Oct 1, 2007
Messages
2,738
Location
Palm Coast, FL, USA.
Unfortunately, the blanks were destroyed beyond what could be repaired with CA.

I think Skye means to drizzle thin CA on the ends of the blanks before you try and mill the blanks square. The thin CA will soak into the end grain and once it dries will stabilize and provide some support to the end grain.
 

jkeithrussell

Member
Joined
Oct 20, 2008
Messages
1,277
I think Skye means to drizzle thin CA on the ends of the blanks before you try and mill the blanks square. The thin CA will soak into the end grain and once it dries will stabilize and provide some support to the end grain.

Got it -- BTW, I like your website.
 

JimB

Member
Joined
Mar 18, 2008
Messages
4,683
Location
West Henrietta, NY, USA.
I think you may be sharpening the wrong part of the mill if you have changed the angle. You want to sharpen the long flat part not the short angled edge. You also need to sharpen each of the 4 edges with the same number of strokes so they are all even otherwise not all will be in contact with the wood.

Here's a link I pulled from another post on how to sharpen.

Here you go:http://penmakersguild.com/articles/p...harpening1.pdf
 

marcruby

Member
Joined
Feb 22, 2008
Messages
1,175
Location
Warren, Michigan, USA.
Truth is that bloodwood is a wood that does crack and shatter. On top of sharpening the mill go VERY slowly. Better might be to set up to sand the blank down. It turns beautifully and takes a great finish, so it's worth it.
 

leehljp

Member Liaison
Joined
Feb 6, 2005
Messages
9,327
Location
Tunica, Mississippi,
I use bloodwood often and yes it does catch and crack like that. I have two carbide toothed 4-bladed mills and they will do that. While it can be your mill, it is a characteristic of bloodwood, which is brittle of sorts. A note - in using pen mills, make sure you are using the blank vise to hold it. A vise holds it steady; holding by hand is for doctor visits, or at least band-aid usage.

What needs to be considered is the "way around" this, if you are having trouble. I do have a saw jig in which I can safely cut the ends to within around 1/64 of an inch of the tube - to get it close. After that I use a sander.

Sanding down to the tubes is the best solution and can be done in two basic ways:

1. Manually on a sander, or a sanding jig to square the ends up.

2. Lee Thomas (firefyter) makes a "sanding pen mill" in which adhesive backed sandpaper is used. You can reverse the cutter head on your pen mill and use the flat back side this way. Just add a small adhesive backed piece of sandpaper to the mill in this configuration and sand it smooth.

This takes a few minutes longer, and as long as you are not in a tight production schedule, works great.

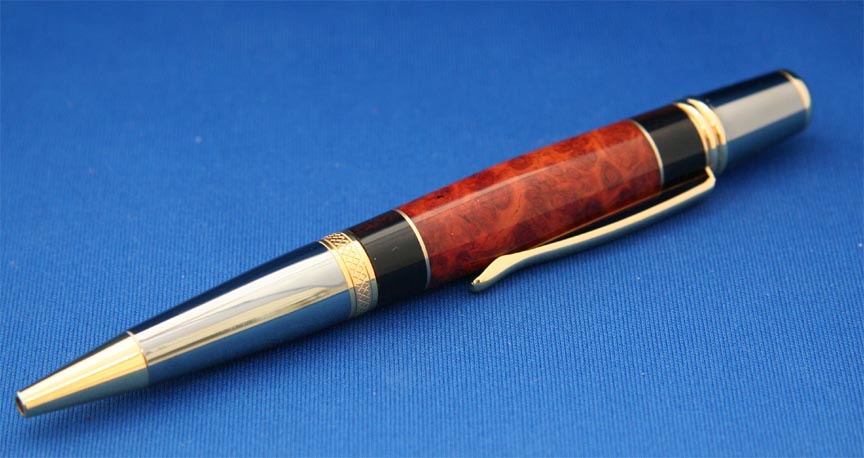
Here is a link to an ebony segmented pen in which the ends were sanded down to the tubes, and ebony cracks just like the bloodwood does with pen mills (DAMHIKT):
http://www.penturners.org/photos/images/940/1_Best_pen.jpg
When doing a nice pen, it doesn't hurt to take extra time to get the "just right" fit and finish.
 
Last edited:
M

monkeynutz

Guest
Ditto what others have said about milling the bloodwood. I cut my blanks as close as practical with a bandsaw, then finish with a squaring jig on my disk sander. Pen mills, even when sharp, tend to compress the wood. Some woods can take it, while others can darken (the dreaded dark ring effect), and still others, like bloodwood, will blow out more often than not.
 

altaciii

Member
Joined
Jan 17, 2008
Messages
1,238
Location
corpus christi, texas, USA.
I had a problem with a dull pen mill and had to get three pens made in a very short time. I drilled my blanks with 1/4" drill bit and put them on the mandrel to round them out. I then chucked the rounded blanks in the lathe and drilled my holes there. Put in the tubes and back to the lathe to square them up. Works great, everything is squared up and true.
 

randyrls

Member
Joined
Feb 2, 2006
Messages
4,829
Location
Harrisburg, PA 17112
I think Skye means to drizzle thin CA on the ends of the blanks before you try and mill the blanks square. The thin CA will soak into the end grain and once it dries will stabilize and provide some support to the end grain.

This is something I do with Dymond wood and it's cousins. It also works for splintery woods. Just make a small puddle of thin CA, and dip the end of the blank in it. If you are careful, the CA will not even get onto the tube.

To mill the ends square, clamp the blank in a vise with the smallest amount sticking up above the vise jaws. This will support the blank
 
Top Bottom