mark james
IAP Collection, Curator
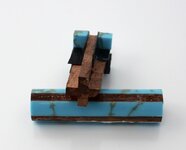
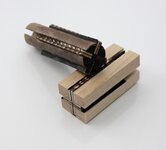
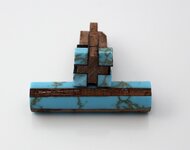
Been wanting to try this combination - the second attempt came out nice.
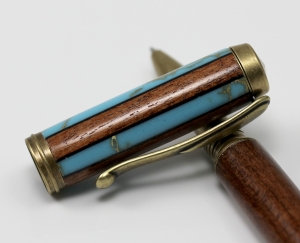
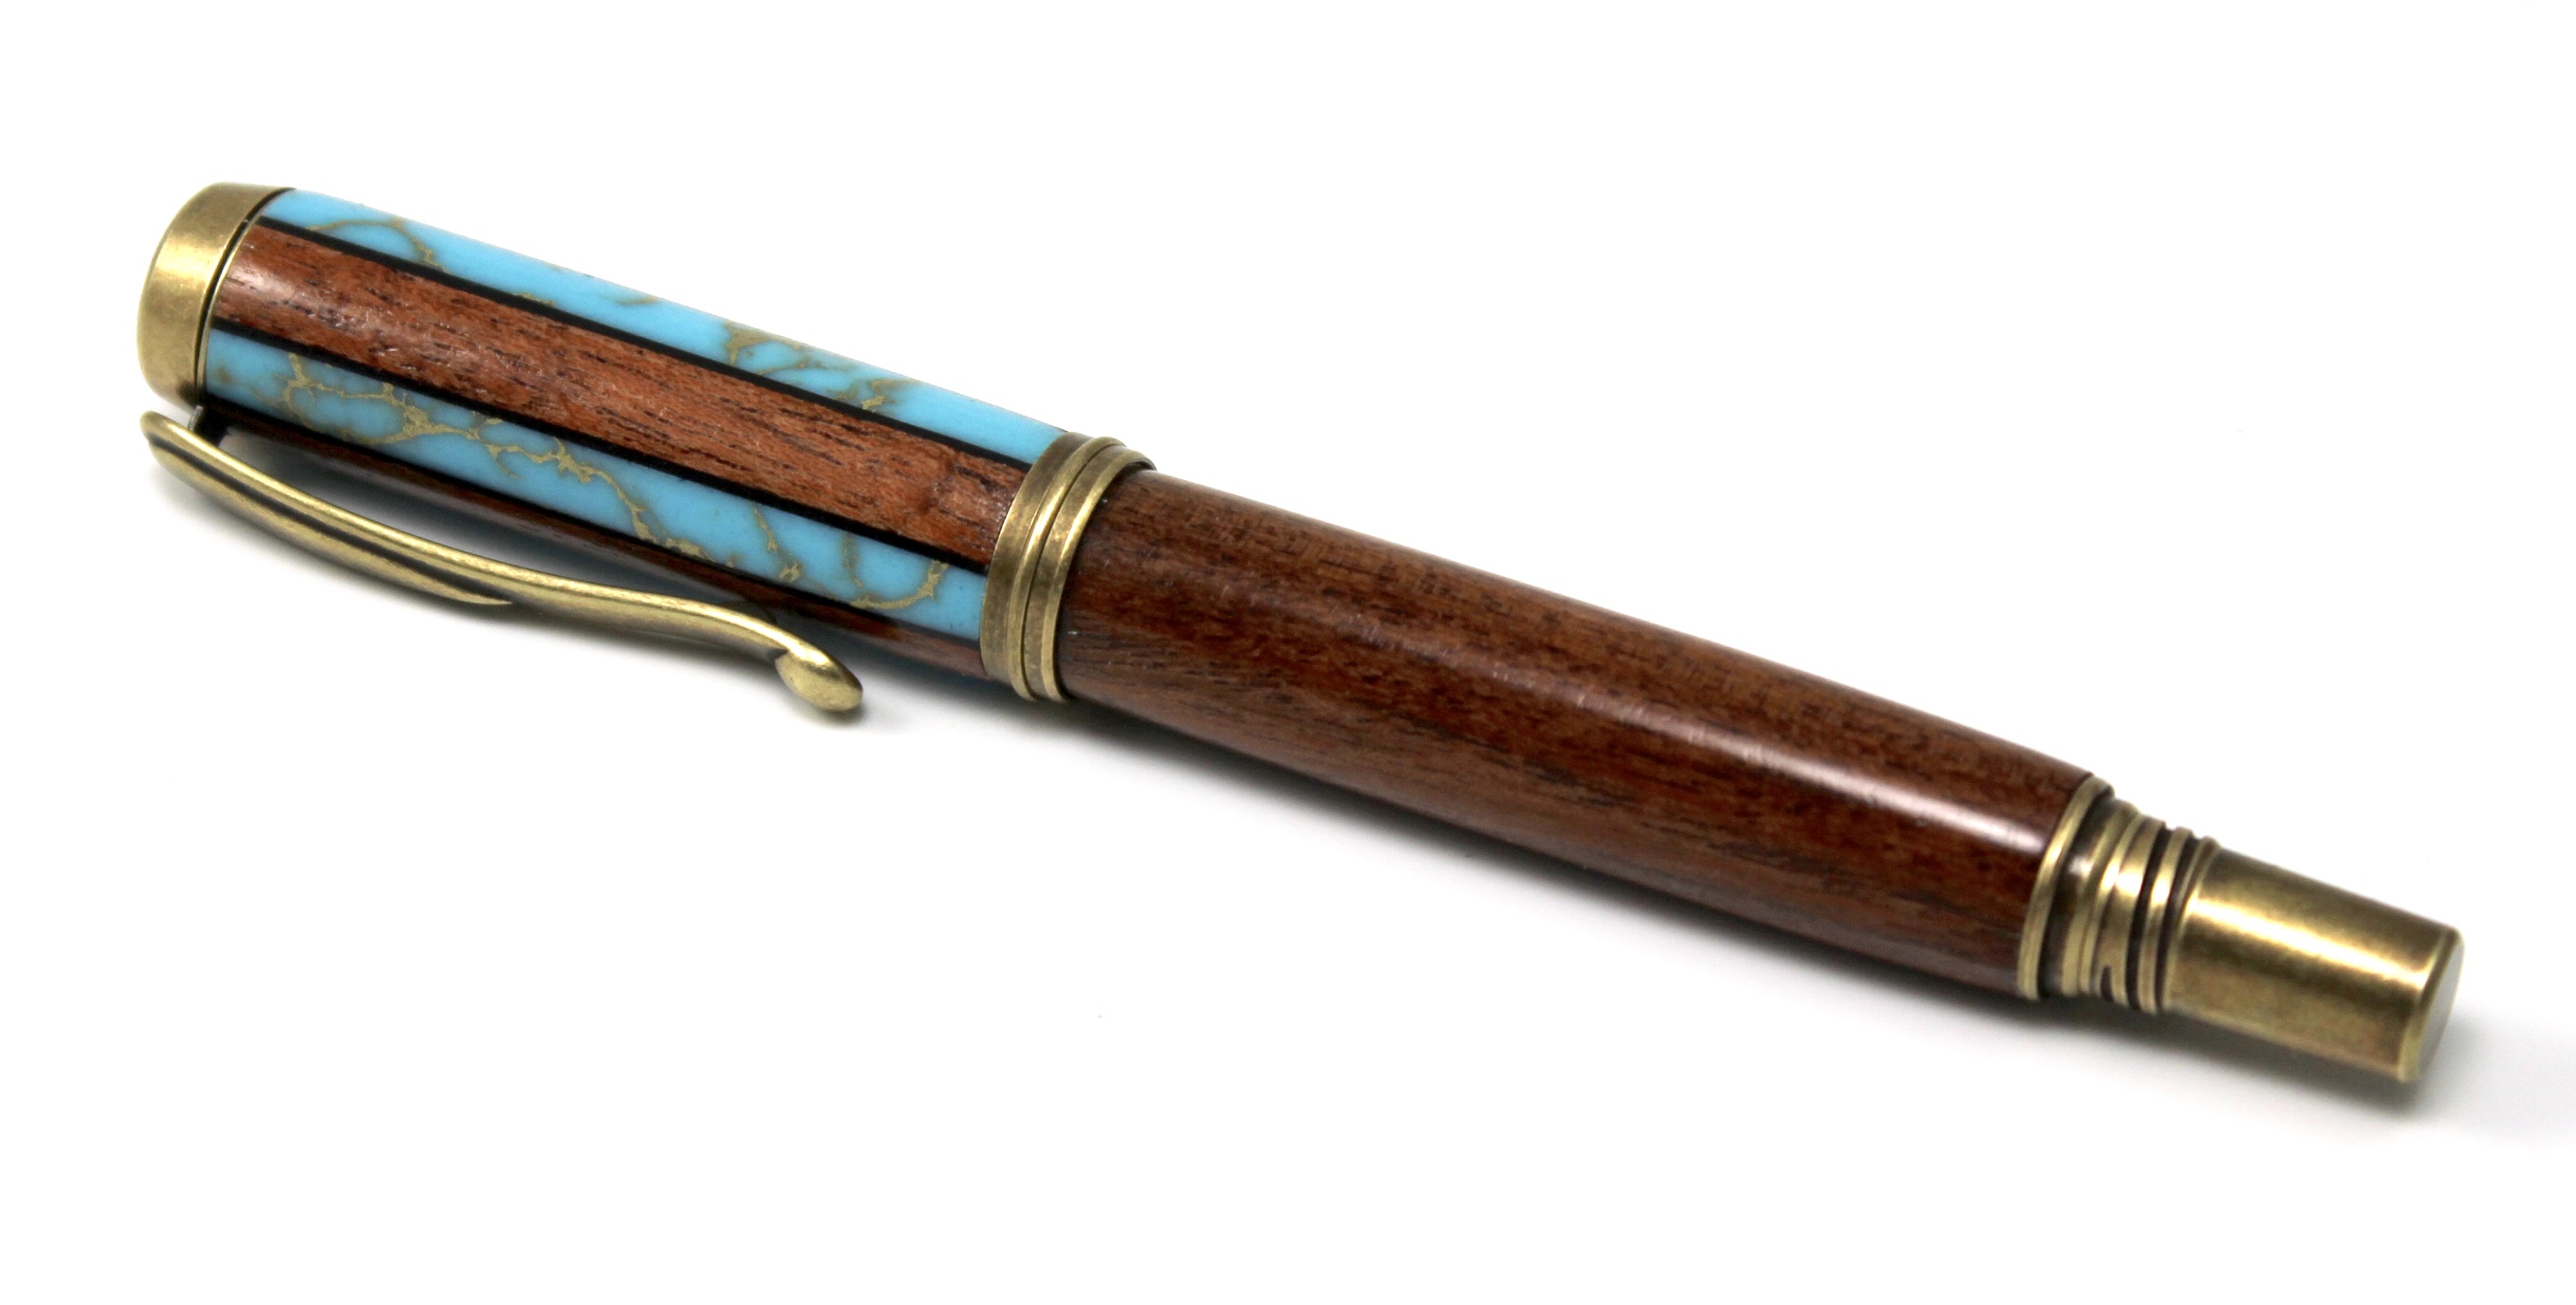
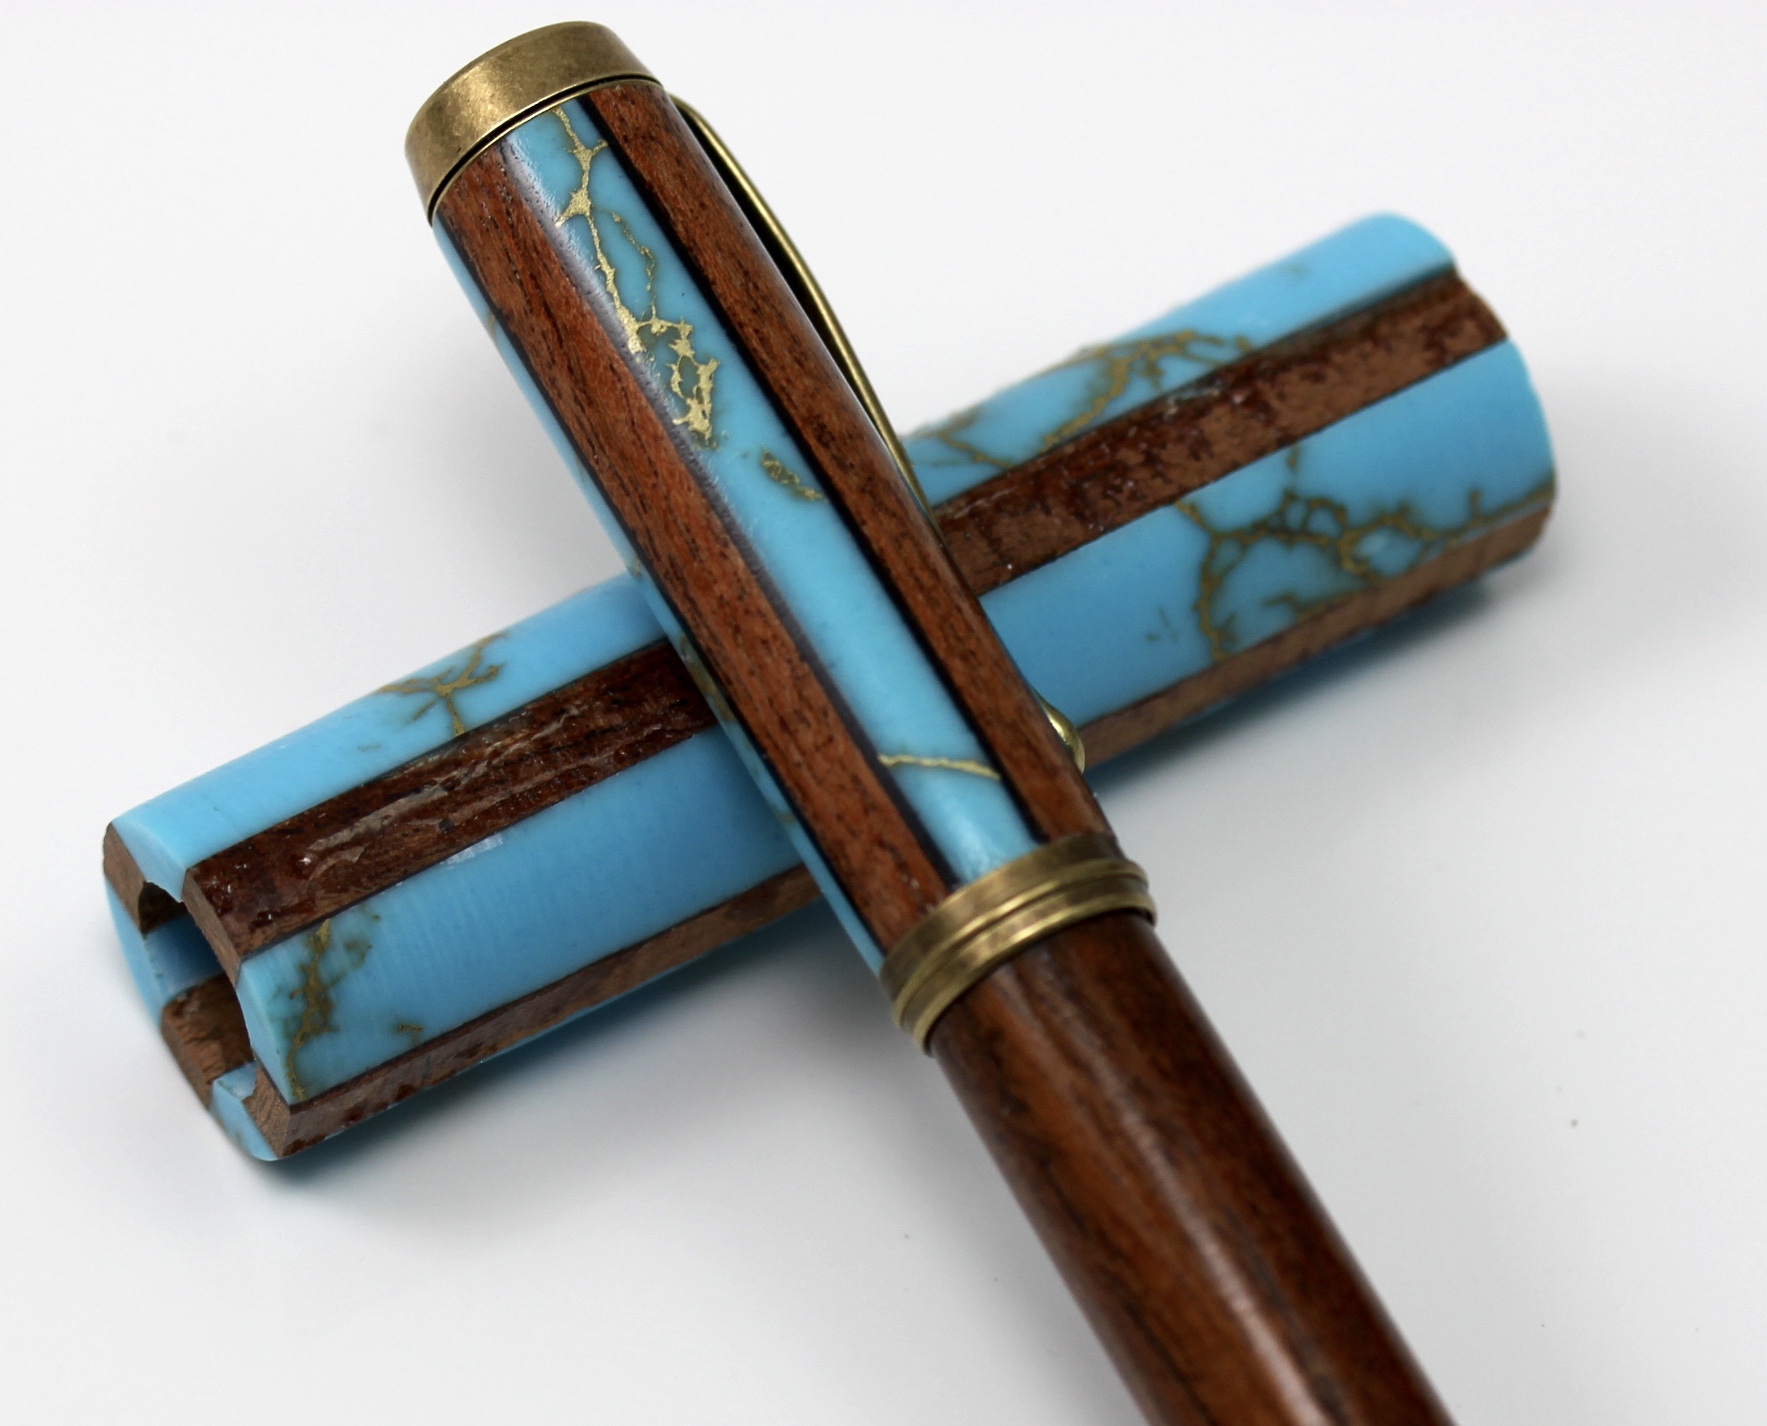
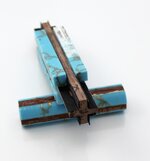
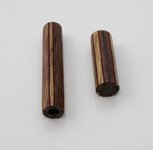
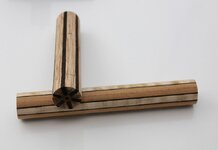
Torquoise with Gold Matrix (3-4 year old blank, so the older material) Truestone with black veneer and Mesquite.
Finally tweaked my lighting, has been a struggle lately.
C and C welcome.

View in Gallery
View in Gallery

View in Gallery
Torquoise with Gold Matrix (3-4 year old blank, so the older material) Truestone with black veneer and Mesquite.
Finally tweaked my lighting, has been a struggle lately.
C and C welcome.
View in Gallery

View in Gallery
View in Gallery
Last edited:


")