Simple Segment

Signed-In Members Don't See This Ad
See more from moke

moke

Member
Joined
Dec 30, 2009
Messages
1,225
Location
Cedar Rapids, Iowa
Haven't shown anything in while, thought I might. This is a simple segment that I made for a principal friend of mine in the school colors. I modeled it after their "letter jackets". I just took a cell phone photo in the shop. ( It was late and I am too lazy to set anything up!)
It is on a Gran Torino kit.....Acrylic and pickguard. C & C welcomed.
 

Attachments

  • IMG_2516.jpg
    IMG_2516.jpg
    177.8 KB · Views: 276
Last edited:
Signed-In Members Don't See This Ad

thawkins87

Member
Joined
May 15, 2017
Messages
77
Location
McKinney, TX
Very nice.. Last time I tried to segment a blank like that I ended up with my "stripes" not perfectly perpendicular to the centerline of the pen tube. Still not entirely sure what I did to create that problem but it looks like yours turned out very well!
 

Talltim

Member
Joined
Mar 12, 2017
Messages
650
Location
Tennessee
Very nice.. Last time I tried to segment a blank like that I ended up with my "stripes" not perfectly perpendicular to the centerline of the pen tube. Still not entirely sure what I did to create that problem but it looks like yours turned out very well!


Not perfectly perpendicular is sometimes created if your hole is not drilled dead center or your ends squared exactly.

Nice looking pen Moke. I like that the white pick guard is sandwiched in the darker wood.
 
Last edited:

moke

Member
Joined
Dec 30, 2009
Messages
1,225
Location
Cedar Rapids, Iowa
thawkins87-
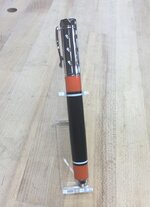
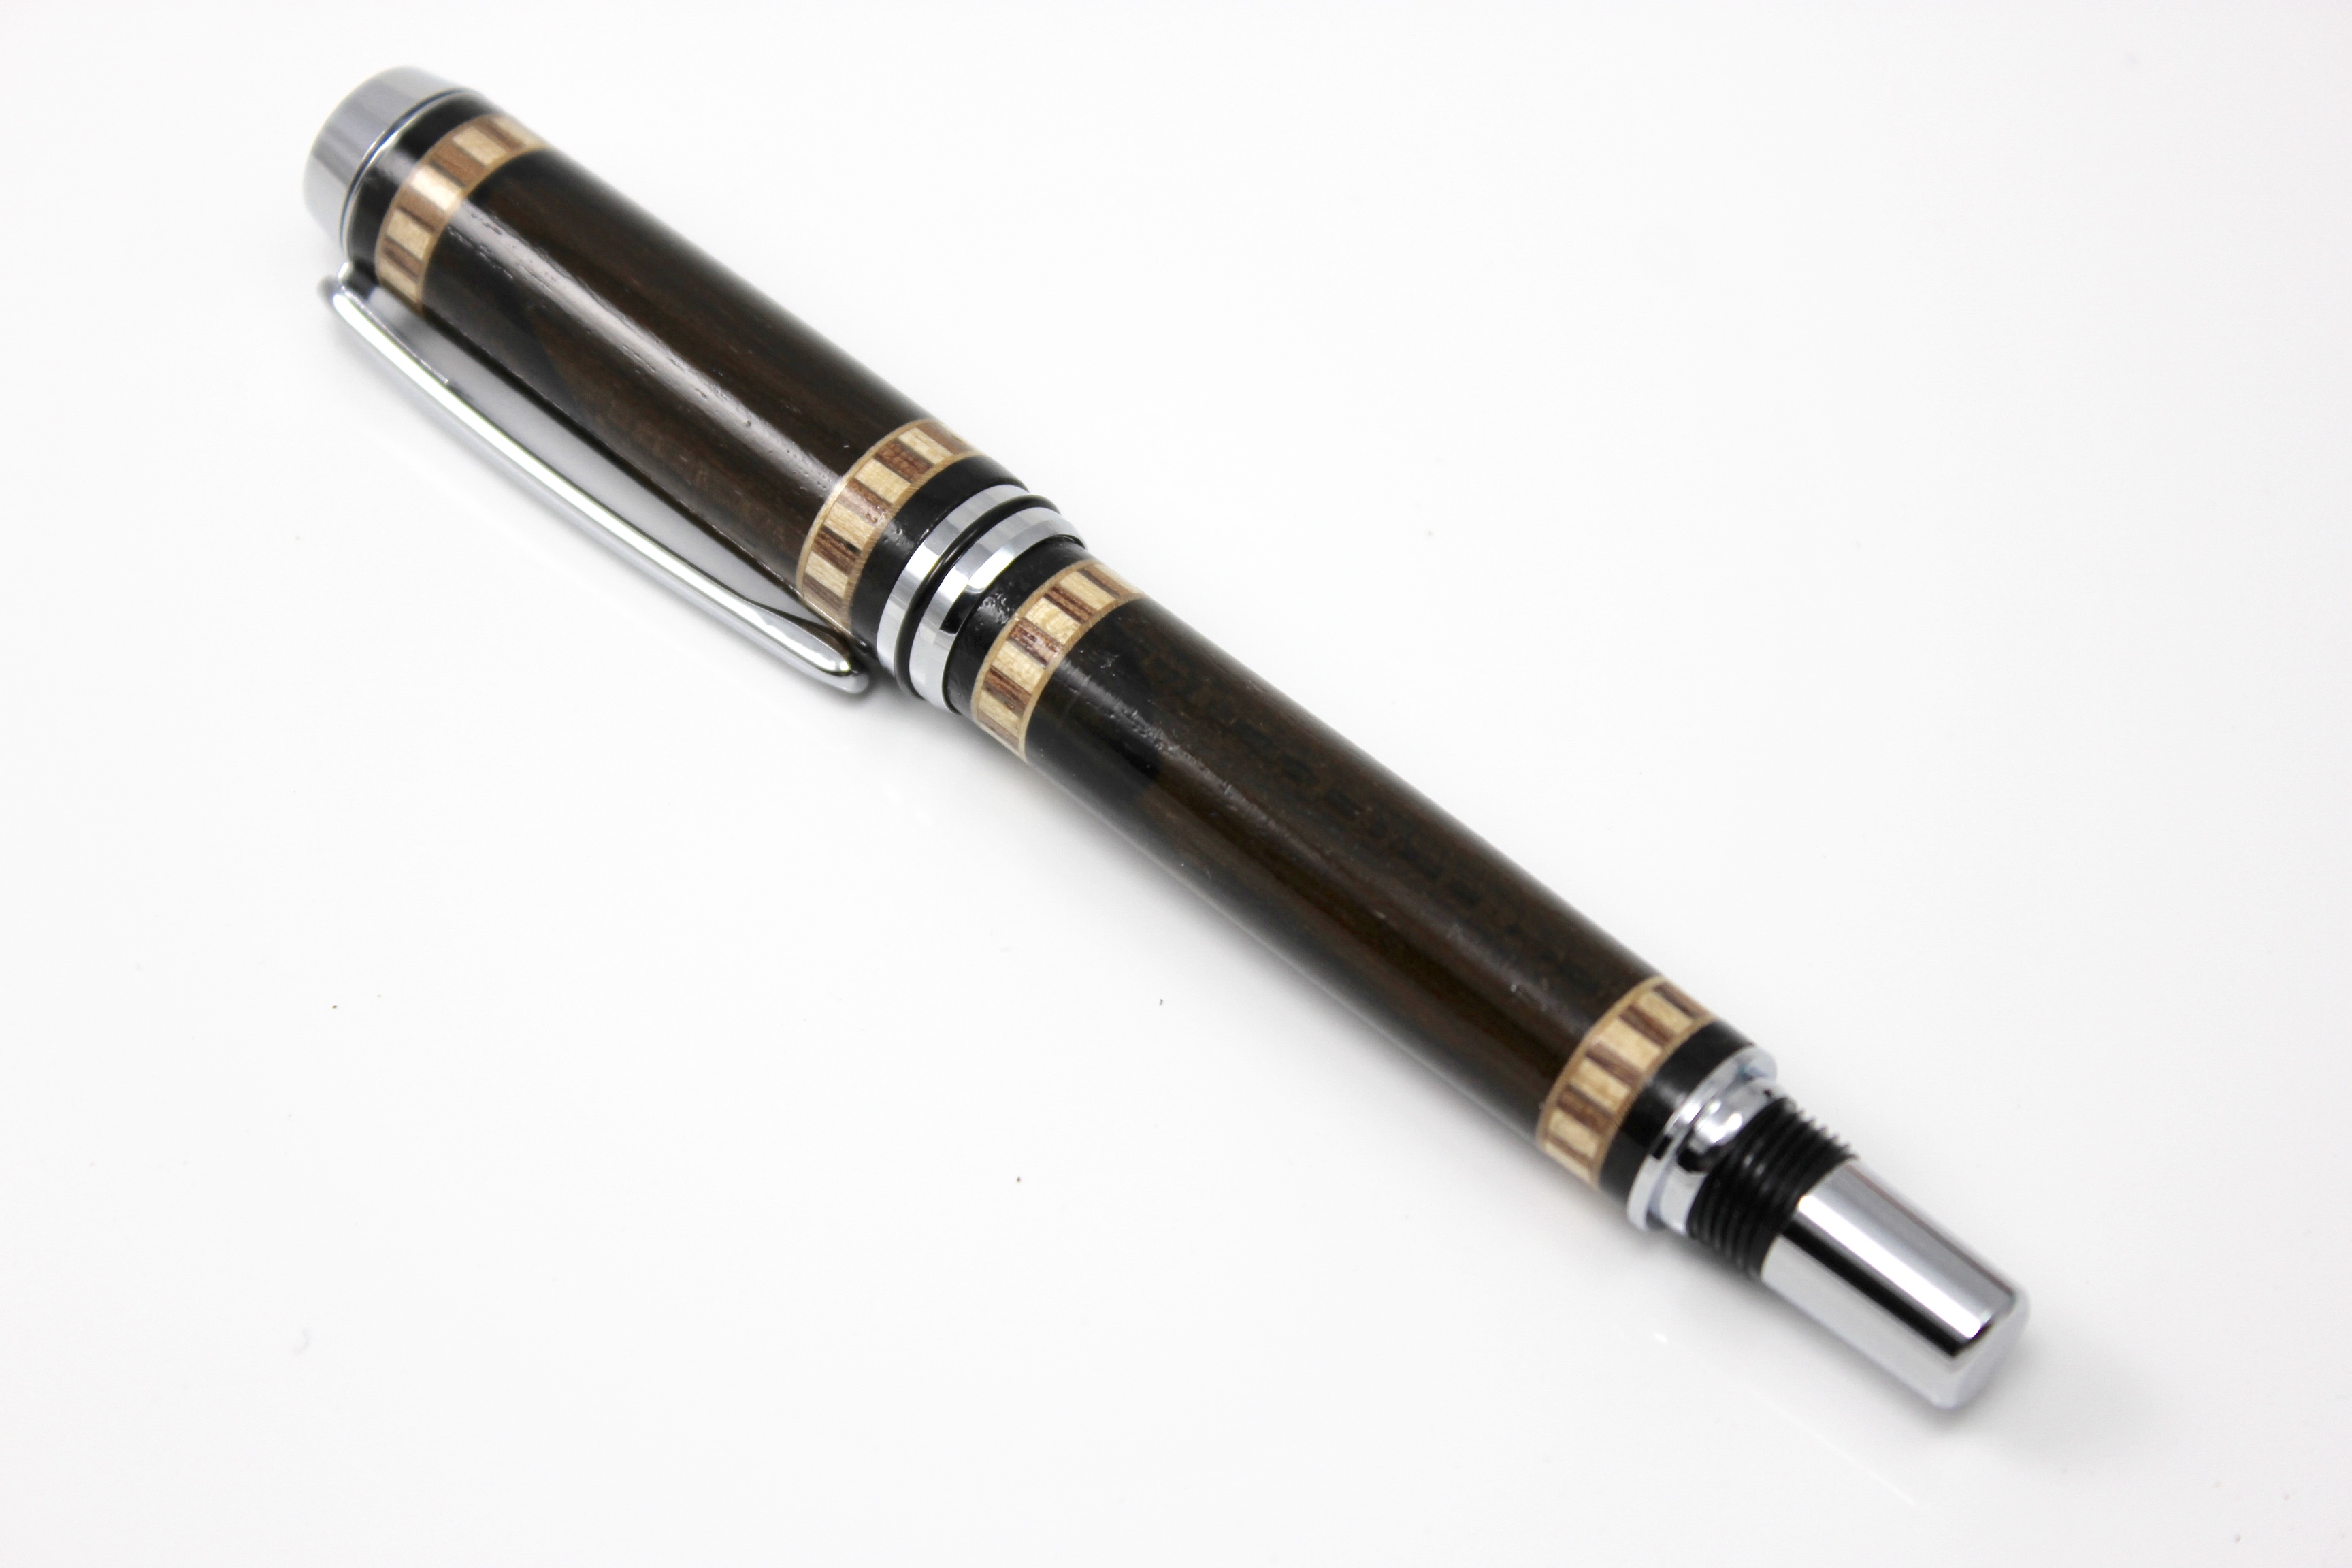
Thanks for the nice comment....but full truth be known this is my second try at this. As I mentioned I modeled this after their letter jackets, the orange sleeves, black torso and the stripes on the shoulders, except their jackets actually had two white and black stripes. I used black and white edging for melamine, which is in rolls and as it turns out is not a consistent width, so it got "wonkey" and thus it made my "box of failures". (When I get thinking I really got this figured out, I look in there)

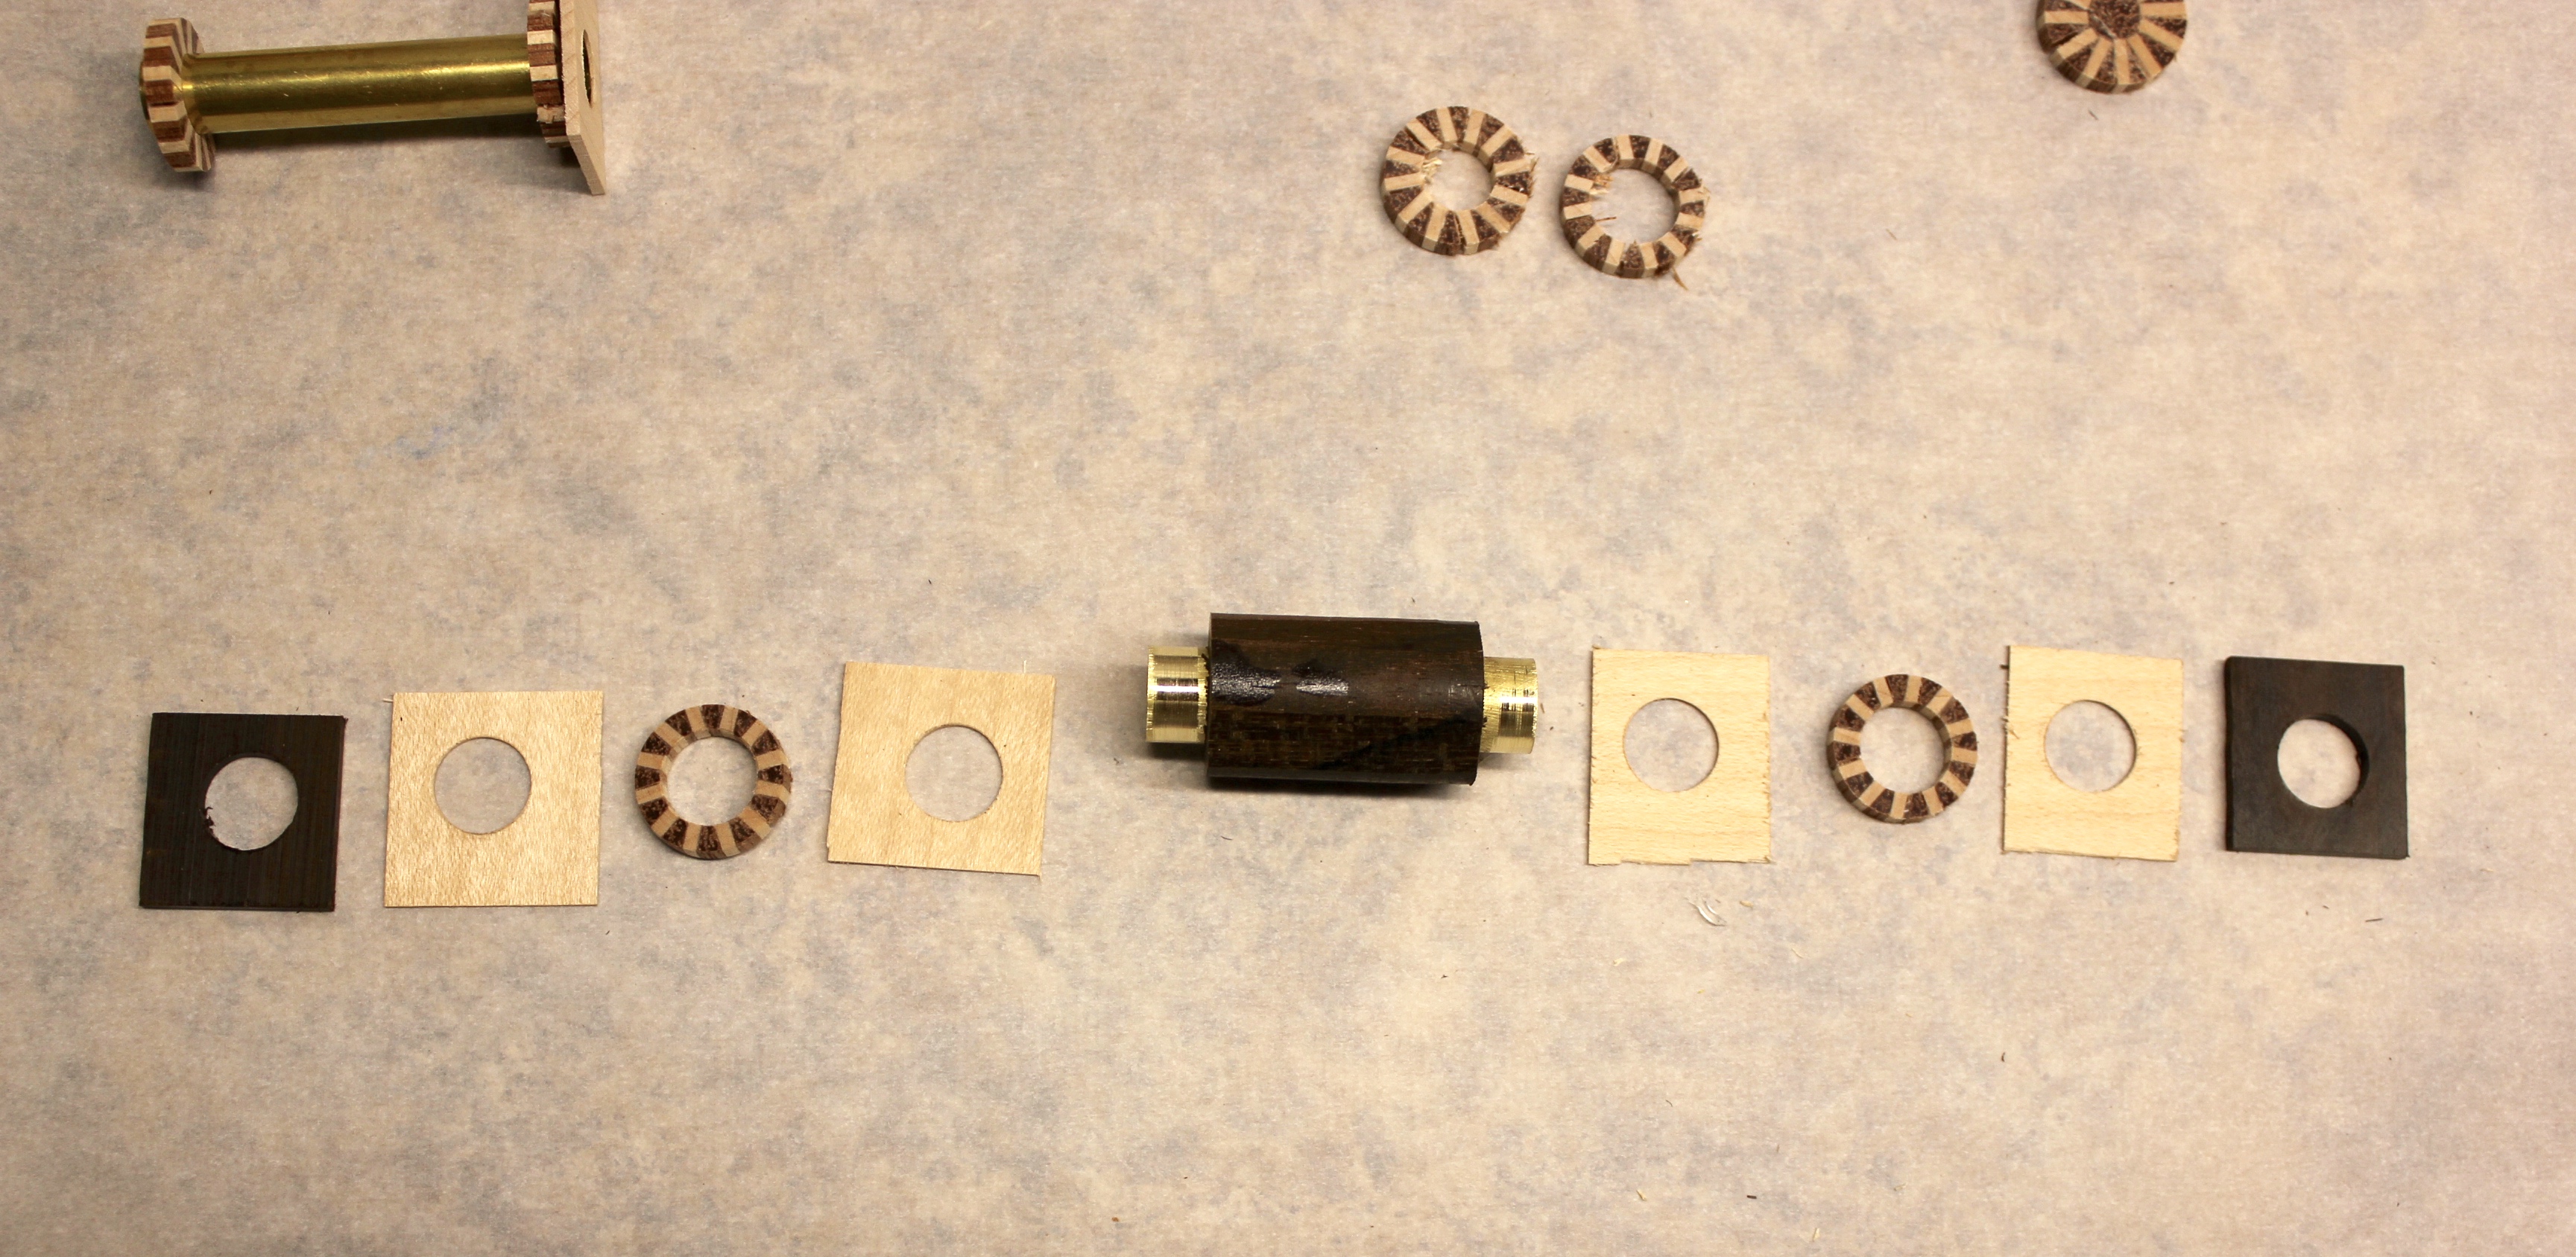
I might do it different than some here, but I got the ideas from here....I drill all segments, I leave the outside segs long, and put it together on a longer tube, but just slightly shorter than my total length of all my segs, so I can clamp the ends...then I sand to the appropriate length on my disc sander. The tube keeps it in register.

If I have a length wise segment, I try and put it in the middle section and I support it while drilling in a square collect chuck on my metal lathe after I have sanded it to 3/4 square. Prior to having the square collet I just used a Penn State drilling chuck.

Once you get it drilled it is pretty stable on a mandrel if you have used ample glue. I have turned between centers but I like the extra stability that bushings provide.

Someone on the site told me once that they periodically flood the outside of the blank with thin CA, so it would go down inside the blank and support it too. I have done that with some success too.

Just some suggestions, there are certainly many ways of doing it.
 

magpens

Member
Joined
Feb 2, 2011
Messages
15,911
Location
Canada
Nice work, Mike !!

And, of course, so is yours, Mark !! . But if it were me, I would put the ends on first .. :tongue:
 
Joined
Aug 13, 2016
Messages
1,460
Location
Surprise, Arizona
Very nice, and not quite so simple as one done at angles, which masks any inaccuracies. I had a wobble on the last two I made.

Well done Mike! Looks very well spaced.

Try gluing your tube in the typical fashion, then part down the middle wood to the tube, and glue your segments on. This way, the sections will be exactly round.

*Palm to forehead* Why didn't I think of that? So much easier than gluing up the blank first, only to find it's just a tiny bit off. To make matters worse, this is how I make my segmented shaving brushes only I build it up from the end that's in the chuck, but never once did I think to do it like this with pen blanks. Thanks for making me see the forest through all the trees!
 

moke

Member
Joined
Dec 30, 2009
Messages
1,225
Location
Cedar Rapids, Iowa
Great idea Mark...thank you!

Tattooed Turner...One very important thing is to use a good sled. I use my table saw sled. If I am making a "normal" pen, I cut on the band saw....but I feel like the table saw sled is more accurate. It definitely wastes more of the blank though, but I just think it gives me better control. I got the design for the sled from this site, just make sure you do not scrimp on the hold down....when making a cut that leaves a small piece it really pulls!

Thanks to everyone for the nice comments.
 
Last edited:

mark james

IAP Collection, Curator
Joined
Sep 6, 2012
Messages
12,752
Location
Medina, Ohio
Great idea Mark...thank you!

Tattooed Turner...One very important thing is to use a good sled. I use my table saw sled. If I am making a "normal" pen, I cut on the band saw....but I feel like the table saw sled is more accurate. It definitely wastes more of the blank though, but I just think it gives me better control. I got the design for the sled from this site, just make sure you do not scrimp on the hold down....when making a cut that leaves a small piece it really pulls!

Thanks to everyone for the nice comments.

I will second your opinion about the table saw. For me, it is a challenge to get set up for consistent cuts, but when all is aligned, it is dead accurate and I like the product.
 
Top Bottom