
I had made the family members pens for last years Christmas but My youngest daughter and my nieces pens blew apart at the last minute. I Made my Nieces pen and gave it to her earlier this year but never got on emade for my daughter.
I finally made her a pen and gave it to her today.
This pen fought me all the way also. I forgot to check clearances between the refill top and the cap on the upper tube. The part of the cap that fits in the tube was to long and the pen wouldnt close all the way. If I hadnt made the center band so thin it would not have been a problem but I had already epoxied the cap in place when I discovered my mistake. SInce silver is one of the fastest metals for transfering heat I used a hot plate to heat the cap and soften the epoxie and eventually removed the cap and fix the problem. Fo course the small silver band also came loose and had to be remounted. then resanded and refinished again.
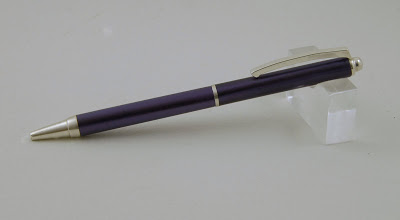
Its done and she liked it she had chosen the blank a metalic purple from Exotics and wanted the slim line style.
The first picture shows the center band area. I tuned a tenon on the upper blank and glued it on, Then I cut a small lip on the lower blank and a matching recess in the silver band, This allows the silver band to cover the joint. I dont like the slim line transmissions because they wobble so badly when you turn them making it hard to keep the pen body aligned in use.
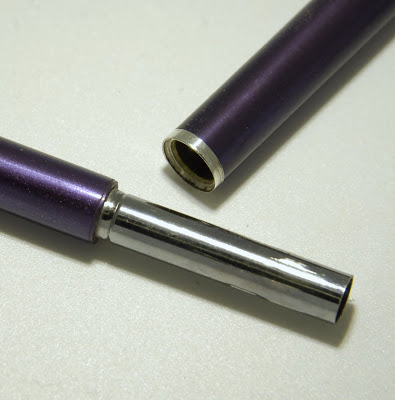
After I press the tranny in place, I epoxie the nose cone in and then sand the entire pen to final dimensions. This eliminates any gap or lip at the parts.
I chuck the pen up using the tranny and stick a live center gently into the nose cone.

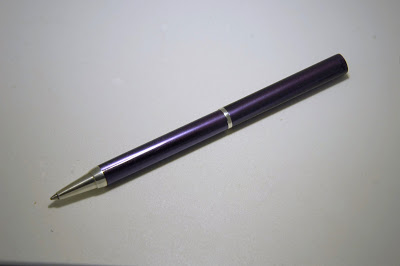
the clip is a little heavier than I anticipated but over all Im pleased with the pen. The next one I will make the clip thinner to match the design
Coments and questions are welcome
I finally made her a pen and gave it to her today.
This pen fought me all the way also. I forgot to check clearances between the refill top and the cap on the upper tube. The part of the cap that fits in the tube was to long and the pen wouldnt close all the way. If I hadnt made the center band so thin it would not have been a problem but I had already epoxied the cap in place when I discovered my mistake. SInce silver is one of the fastest metals for transfering heat I used a hot plate to heat the cap and soften the epoxie and eventually removed the cap and fix the problem. Fo course the small silver band also came loose and had to be remounted. then resanded and refinished again.
Its done and she liked it she had chosen the blank a metalic purple from Exotics and wanted the slim line style.
The first picture shows the center band area. I tuned a tenon on the upper blank and glued it on, Then I cut a small lip on the lower blank and a matching recess in the silver band, This allows the silver band to cover the joint. I dont like the slim line transmissions because they wobble so badly when you turn them making it hard to keep the pen body aligned in use.
After I press the tranny in place, I epoxie the nose cone in and then sand the entire pen to final dimensions. This eliminates any gap or lip at the parts.
I chuck the pen up using the tranny and stick a live center gently into the nose cone.
the clip is a little heavier than I anticipated but over all Im pleased with the pen. The next one I will make the clip thinner to match the design
Coments and questions are welcome