Reverse Painting Differences

Signed-In Members Don't See This Ad
See more from firewhatfire

firewhatfire

Member
Joined
Mar 7, 2011
Messages
3,813
Location
Columbiana, Alabama
Here are 4 pens that were basically made from the same pen blank. It is from a home cast pour where I can pour 6 blanks at a time with same set of colors mixed. Here is the dramatic difference that can be seen by reverse painting different colors. 1 was done in black, 1 in Navy Blue, 1 in Grey, and 1 in light blue. Comments and Critiques are always welcome and as always thanks for looking.
reversepaintingdifference003.jpg

reversepaintingdifference002.jpg

reversepaintingdifference001.jpg
 
Signed-In Members Don't See This Ad

cwolfs69

Member
Joined
Apr 24, 2011
Messages
916
Location
portsmouth, va
yeah is is amazing t o me the differences you can get from just a different background. whenever i cast i always try to use a normal back paint and then something new and different. you get some wild stuff sometimes.
 

ghostrider

Member
Joined
Feb 3, 2011
Messages
952
Location
Grand Rapids, Michigan
I agree. Some time ago I turned one of Woodcraft's Opal blanks, and used three or four different colors to paint the tube. It turned out real nice. There's a lot of things you can do with different color paints.
 

cwolfs69

Member
Joined
Apr 24, 2011
Messages
916
Location
portsmouth, va
i paint both. just takes few seconds. just make sure to allow time to completely dry. i let them set at least overnight.

Sent from my Galaxi via forerunner
 

hehndc

Member
Joined
Jan 9, 2007
Messages
258
Location
Davison, Michigan, USA.
A much greater difference than I would have thought. Do you have a pic of the original blank by chance? I would like to get look at that.

Thanks for posting.

Steve
 

firewhatfire

Member
Joined
Mar 7, 2011
Messages
3,813
Location
Columbiana, Alabama
the last blank in the bunch

Someone asked to see the blank before being used. Here it is. The other one I cracked because I was in a hurry. These are a suspended animation blank. Pour clear resin in the mold first then pour your colors in and dont swirl.
penblank002.jpg

penblank003.jpg
 
Last edited:

toyotaman

Member
Joined
Jun 24, 2010
Messages
925
Location
NW Georgia (USA)
OK, I'm a little confused I think. Is the clear blank the same as the colored ones from the 1st post? If so, I'm not following it somewhere. I need more explaining. Sorry, but this is new to me., and I like what I see but trying to figure out the process is something else.
 

firewhatfire

Member
Joined
Mar 7, 2011
Messages
3,813
Location
Columbiana, Alabama
It is one and the same. I take that blank and reverse paint it.(paint inside the blank) I then put in the tube and turn and dinish as normal. I have the other 2 that cracked that are drilled and painted without tubes installed that I can add photos of tomorrow afternoon.

OK, I'm a little confused I think. Is the clear blank the same as the colored ones from the 1st post? If so, I'm not following it somewhere. I need more explaining. Sorry, but this is new to me., and I like what I see but trying to figure out the process is something else.
 

MikeyMike

Member
Joined
Feb 25, 2008
Messages
18
Location
.
I've had some nice results using the pre-painted tubes I get from Beartoothwoods. Ernie has White, Chrome, and Gun-metal tubes. When I use them, I don't bother back painting.
 

Jjartwood

Member
Joined
Jan 30, 2011
Messages
697
Location
Chicopee,Ma
Cool effect.
I too love casting multiples and back painting the blanks.
these have great contrast in the colors love the black.
Nice
Mark
 

Wood Butcher

Local Chapter Leader
Joined
Jun 8, 2005
Messages
970
Location
Westfield, IN, USA.
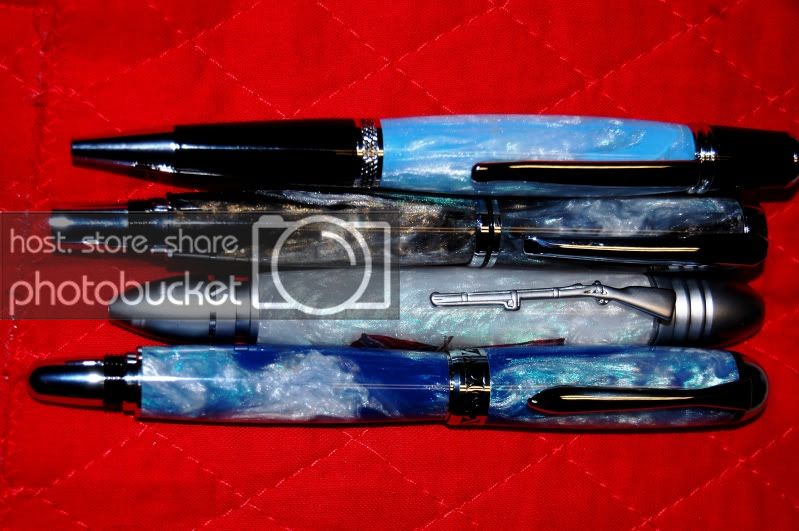
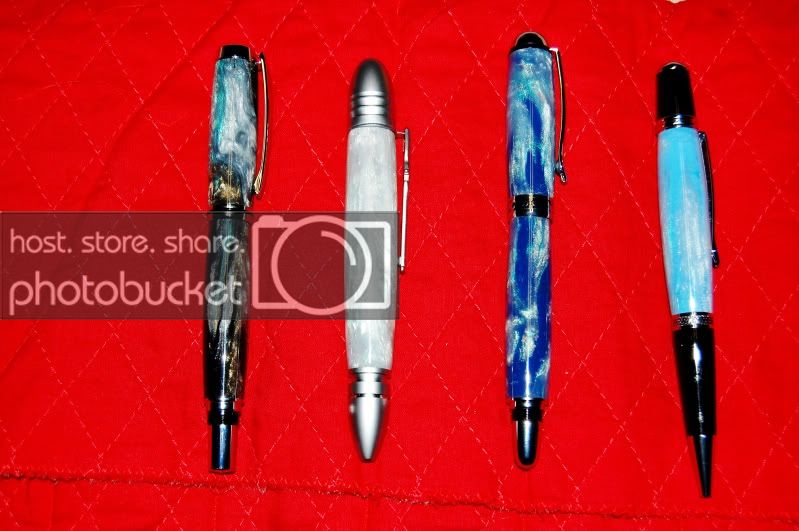
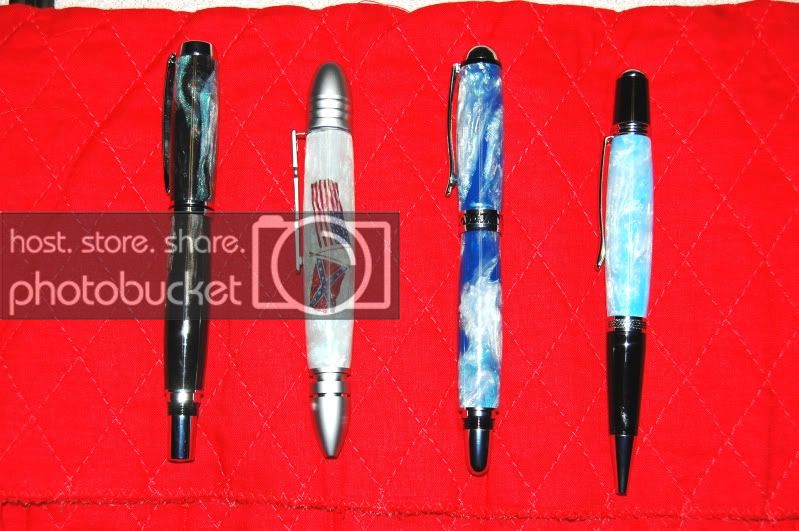
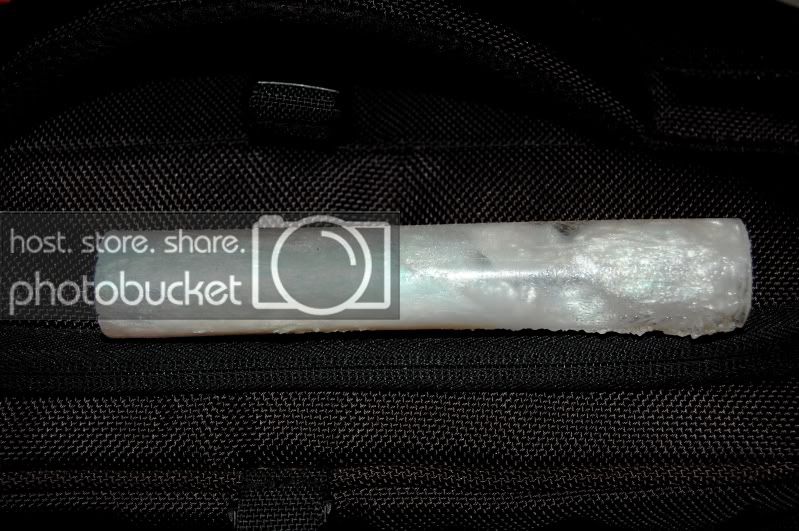
Just my experience here. I finished an order this week that involved orange swirl blanks from Beartooth woods, AA 303 as I recall, and the kits were Sierras. The first batch I worked up I painted the tubes white with Rustoleum gloss spray paint. Through the ends of the finished blanks you could see where the thick CA I used covered the tube and where it didn't It looked like weird swirls. This was not objectionable to the client so we let it go. On the second, and final batch, I repeated the a fore mentioned process and, painted the drilled hole in the blank with model plastic paint, white gloss, applied with Q tips. The finished blanks now showed a "lumpy" sort of beaded surface on the tube at each end of the blank. Again, not a problem for the client so the deal is closed. I, however, am not pleased with this issue. The paint, in all cases, was allowed to dry/cure for at least 2 days. I have tried epoxy with similar results. My conclusion is that, if the blank material is transparent enough, and this includes nearly all plastics, what ever is inside the drilled hole will be visible under close scrutiny. I don't have an answer for this unless one is to stick with wood blanks and avoid the plastics. Solid surface counter material is an exception to this.
Does anyone have an idea, that has been tried and proven, to solve this? If so. please enlighten us. Thanks
WB
 
Top Bottom