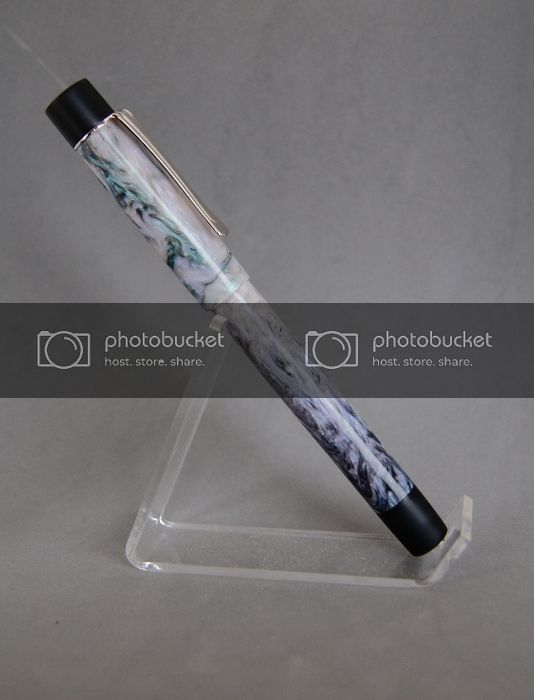
Very nice looking like the accents at the ends.
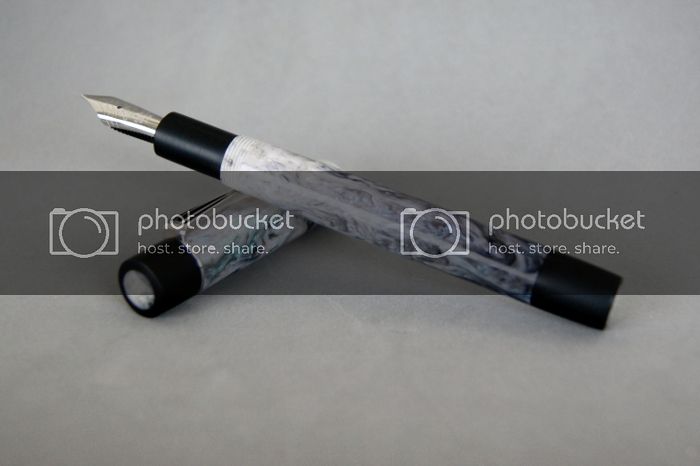
Is that a 12mm thread , I'm trying to get an idea of it's size because there is no lip at the threads and the body
Thanks Don. The cap/body threads are 12mm. I've been trying the no lip look on my past couple FPs. I'm liking it more and more. You can drill out the cap with a larger bit and have the body threads deeper. It helps with those long looking caps to maintain a nice visual while capped.
That is very cool Jonathon. I'm actually working on 1 of those myself. Well, at least I've started working on it. So I may have to call & pick your brain a little. You don't mind do you.:biggrin:
Anytime Bob. You've got my #.
Hi Jonathon - Great design. The cap and body look like they were made from different blanks. Looks good together, but your post sounded like you used one blank. Was there that much color variation across the blank where you cut it for the two parts?
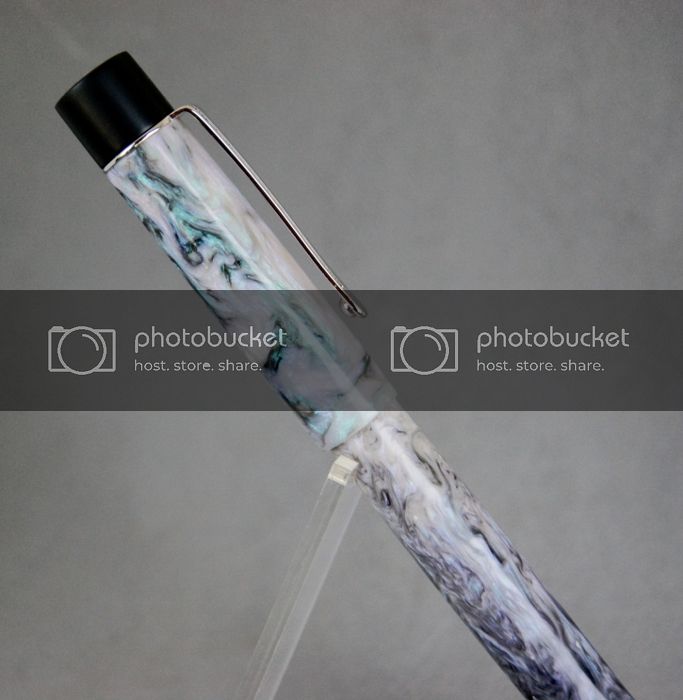
From your second picture it looks like the tip of your clip doesn't contact the cap. I had done some pens like that thinking a loose clip would be better than tight. They constantly fell out of my pocket when I bent over. Of course, we don't wear shirts made from heavy material in my neck of the woods. That might make a difference.
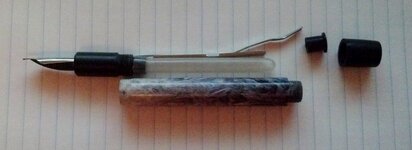
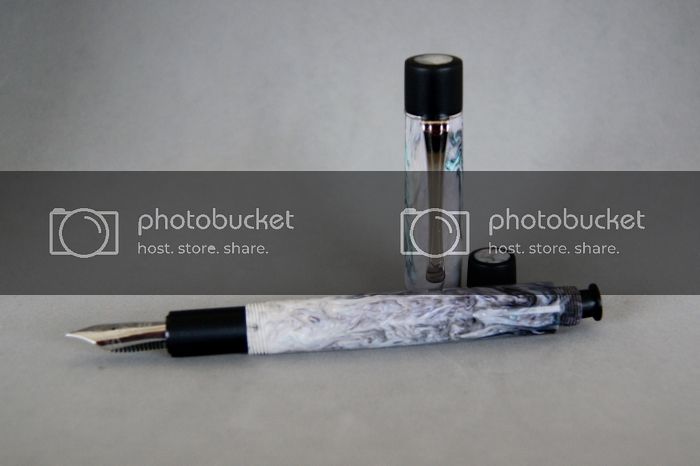
Do you have any pictures of the internals that you could share?
Looks really good.
Ed
Good observation Ed. It is from two seperate blanks. Originally it was from the same blank but the first cap I made got offcenter somehow and was majorly crooked. So I made another blank last night. Sometimes, yes. I do get that much color variation on certain pours. Since I cast vertically gravity plays a big part in the final product. I like it that way though.
The clip isn't quite touching the cap. It'd be fine in my pen case, but if needed I could take off the clip and give it a slight bend to make it tighter to the cap.
I don't have any internal pics taken, but that's another easy fix. Everything's together in a dry fit still. I have put any shellac on the ink sac or put on any talc. I'll see what I can do when I get home.


")