My tenth pen

Signed-In Members Don't See This Ad
See more from Moose22

Moose22

Member
Joined
Dec 19, 2013
Messages
10
This is #10, if I also count the parts I made to leave in the shop to test fit things.

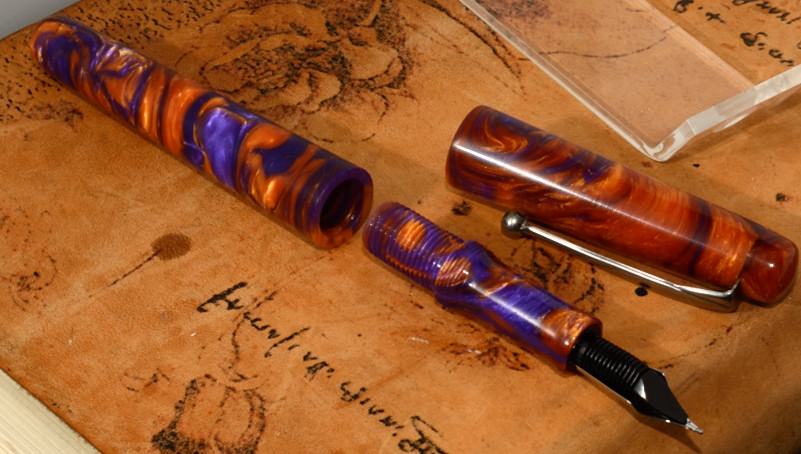
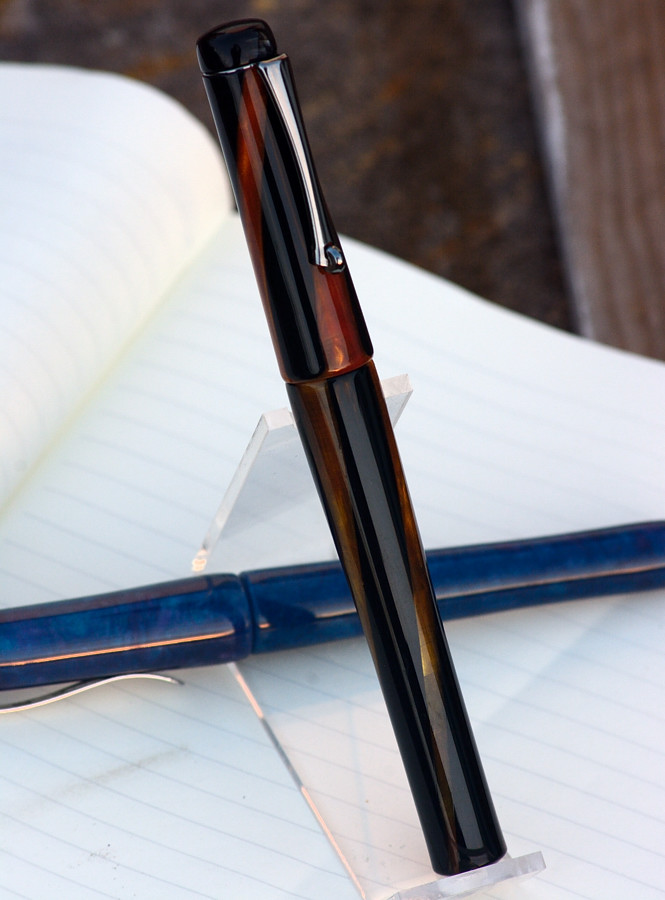
It just came off the lathe, and I haven't even run it through the ultrasonic or soaked the polish crap out of the threads, but I am unreasonably excited about how it came out and wanted to share.

I've been at the scratch-made pens since March, though I haven't been highly productive since I've only made 9 complete pens. Never would have been able to make stuff this nice without the helpful advice of some folks here.

finished_02.JPG

finished_03.JPG

finished_05.JPG

finished_09.JPG


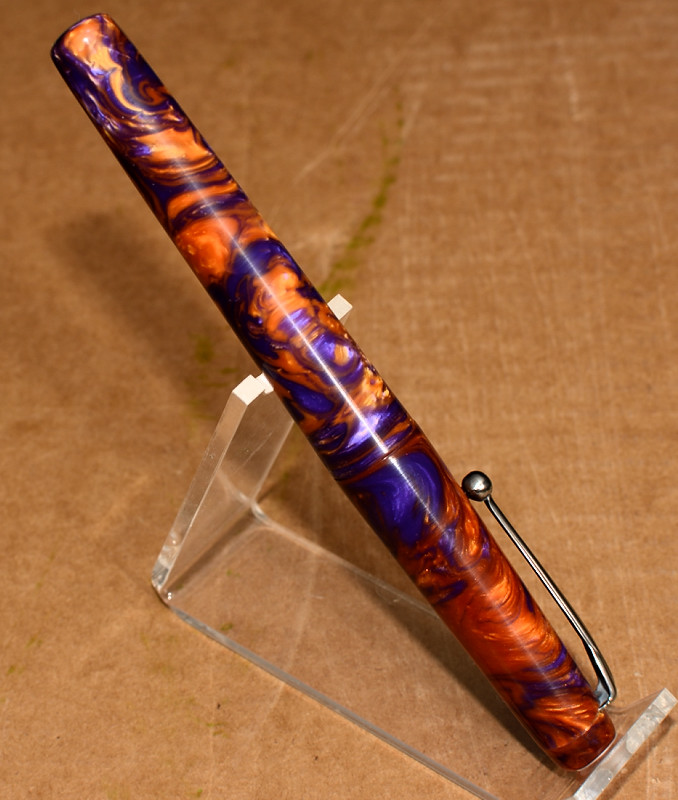
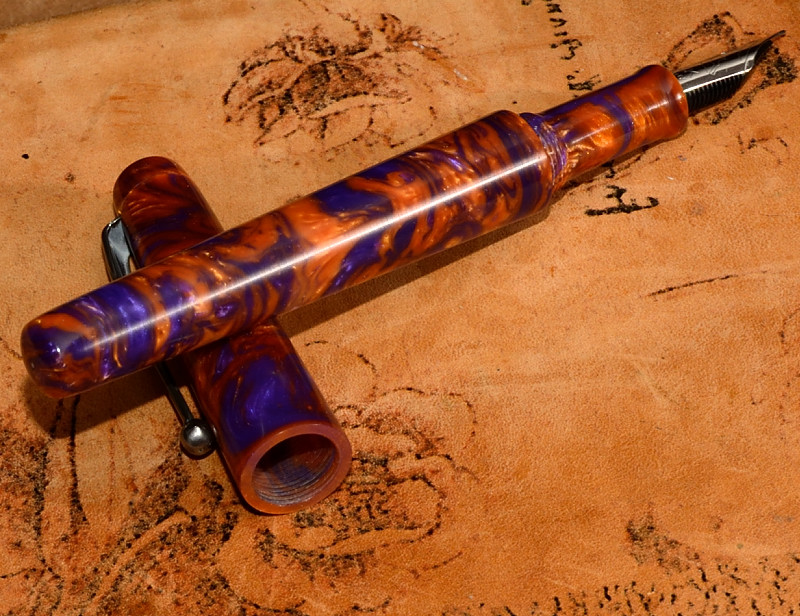
I did this from a Muttblank -- #1, Lava Lamp. It's prettier in person.


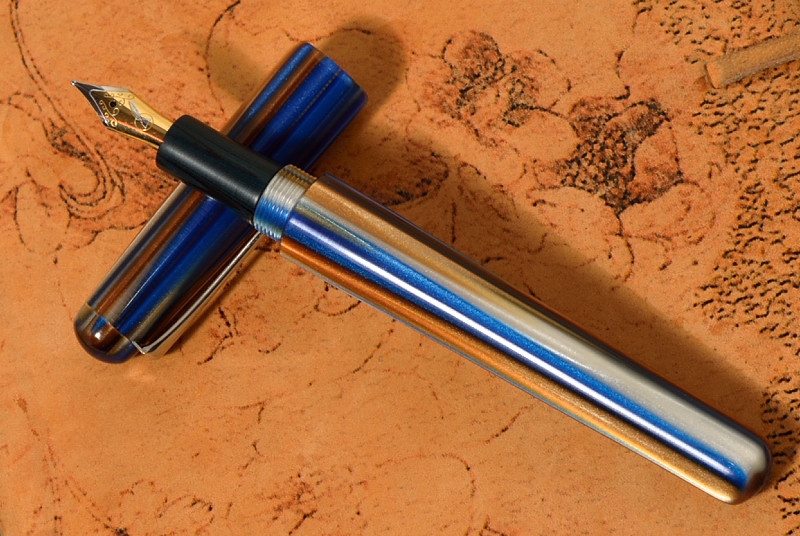
Just to show progress, this is #8 (#9 remains unfinished as it is a bulb filler and I decided I wanted to do the end cap differently and had to pour more resin)

unpolished_02.JPG

unpolished_06.JPG

unpolished_03.JPG


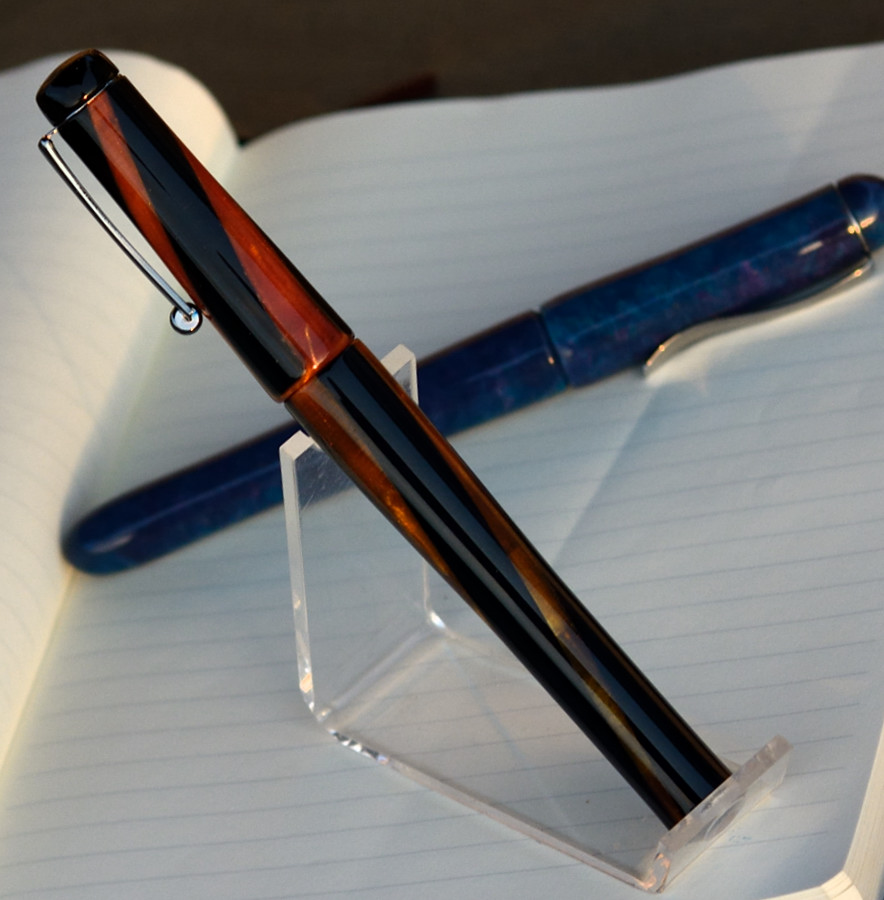
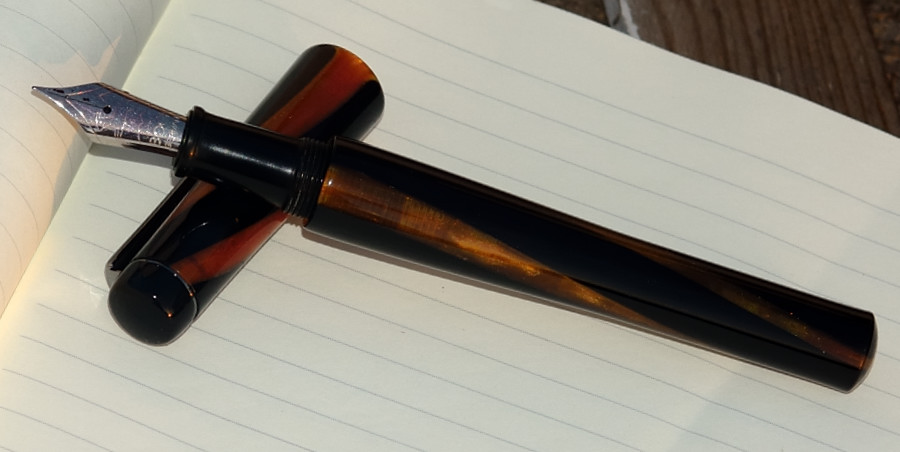
#8 and this new one are finally close to the quality I hoped I could do. #8 is my daily carry pen and amazingly comfortable. Both wear #6 Bock nibs and are standard cartridge/converter pens.
 
Signed-In Members Don't See This Ad

tangoman

Member
Joined
Jan 10, 2014
Messages
75
Location
Australia
Beautiful work !

G'day,

I love what you've done there, well done !!

I am doing similar work but have run into problems cutting the threads on the pen body, 13mm triple start, I find some blanks really brittle and the tiny threads crack easily.

Have you found a way round this or do I have try and avoid brittle blanks ?

Thanks in advance,
Cam
 

cacardon

Member
Joined
Sep 29, 2011
Messages
96
Location
Fallbrook CA.
That's your 10th pen? That's AMAZING!!! I've Benn doing this for a few years and no where near that level. Great looking pens.
 

BSea

Member
Joined
Dec 28, 2009
Messages
4,628
Location
Little Rock, Arkansas
I seem to look at the pictures 1st. I almost suggested you get an ultrasonic cleaner. And then I noticed your other pens with the clean threads. Finally I read your entire post. So, never mind. :rolleyes:

Those are very nice! Great job! :good:
 

Moose22

Member
Joined
Dec 19, 2013
Messages
10
G'day,
I am doing similar work but have run into problems cutting the threads on the pen body, 13mm triple start, I find some blanks really brittle and the tiny threads crack easily.

Have you found a way round this or do I have try and avoid brittle blanks ?

I think we all have this problem. I'm a total beginner at lathe work, too, so I guess I'll share the beginner's perspective.

I have done a few things with the threading.

My other pens are ebonite sectioned. I like ebonite a lot for feel, so it is good to me, but also it is far more forgiving of threading and heat abuse. The plastics can shatter if you overheat them. Alumilite is less brittle than polyesters -- My #6 is the only one with the barrel threaded and it is Alumilite, too.
mountainhigh_04.JPG


So, to start, I'm extra careful about material selection. For one example, I busted half a blank of that black and gold stripey stuff on the first attempt to make a cap and it tended to separate at the joins between the two colors, so I gave up the attempt to do outside threads on it and had to be very careful with it on a mandrel.

Also, I use .75 pitch for cap threads, but I use 1 mm thread pitch for body and finial (I have 8, 9, and 10mm x .1 sets). This one's finial is 8mm x 1 and the body is 10mm x 1. More tolerant of slightly imperfect tenons and I can get extra taps and dies from ebay or McMaster-Carr easily.


The other thing is patience and care with heat. The Lavalamp pen's section is Alumilite, but it is very thin. 1mm at the thin spot, 2mm at the body threads. So, order of the operations and patience was really important.

I cut the 12mm cap threads first, then the 10mm threads to join the barrel. In each case, I learned that Alumilite likes slightly narrower tolerances for diameter than ebonite. Alumilite even slightly too large will just strip out, too small you won't get a bite. Get it just right and it cuts like butter. I started 12.6mm or a touch larger and stripped it, nudged it down to slightly fatter than the stripped out section (12.4ish) and got nice, sharp threads and an easy turning die. Same with the 10mm section. Now I know.

THEN I drilled it, 10mm threads in a mandrel and drilling it from the nib end. I left it slightly oversized, but roughly to shape, piloted it with a really narrow bit, then a 6mm bit, then the final bit. That final bit actually got it hot enough that it would deform, so I dribbled water over it then stopped and let it cool and solidify again before continuing. When it deforms is when it will grab the bit and shatter.

Then I tapped it for the nib housing, holding the section itself with my fingers to rotate. You can feel it getting hotter and trying to expand! This, too, was a revelation to me, but I was able to cut a turn or two, back it out to clear chips, then a turn or two more until it was deep enough. I like to turn it with my fingers on the plastic, not holding the chuck, as I have busted resin at the 10mm section because I got aggressive with the tapping. Warm + torque is a bad combination.

Then I hogged it out for the wide part in front of the threads and was good. I finished the shape with a freshly sharpened skew and a carbon pen tool, VERY gently, then sanded.

I did not waste any material on this pen, but I honestly think this is the first scratch made where I can say that. I usually crack at least one attempt at a cap or section, or even get too aggressive on a finial and ruin it in the mandrel. I've never done two exactly the same way as I'm trying to learn techniques, but that's just an excuse. Mostly it is impatience or bad planning. I have a bag of shattered bits I intend to smash into shards and pour into blanks one day.
 

Moose22

Member
Joined
Dec 19, 2013
Messages
10
I seem to look at the pictures 1st.

Hah, I do too. I like looking at pics of people's work more than anything here.

I was really impatient and someone was hounding me for pics on the thing. I have an ultrasonic at the house, so I'll soak it and clean it. That gets most of the uglies off the threads.

I think in this case there was still a bit of oil on the threads when I quick polished it. You can even see the oil inside the cap threads in one pic. I noticed that the rouge sticks in there good when I do that.
 
Top Bottom