Cherie
Member
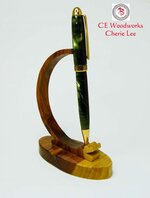
My second European Pen with Green Acrylic. I used a different bushing for the nib part cause I could not get everything to fit on the mandrel right. I have since found out how to fix that, but other than that, I am happy with this.

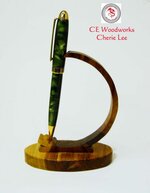
Maybe it's the picture but the center ring does not appear to be flush with the top barrel. Can it be pressed together?
Cherie, my first comments were purely constructive. I relayed it because I was and am still learning, too. I dare not show you what my second pen looked like, but because of the great folks in this group and their help, I have progressed quite a bit. Due to the complexity of learning how to cut a tenon, I avoided making a Euro pen for quite a while.