Getting Better and Better

Signed-In Members Don't See This Ad
See more from SteveAxelrod

SteveAxelrod

Member
Joined
Nov 11, 2015
Messages
640
Location
Oldsmar, Florida
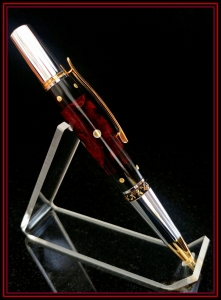
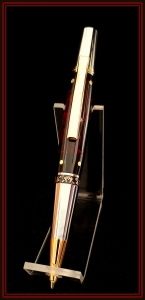
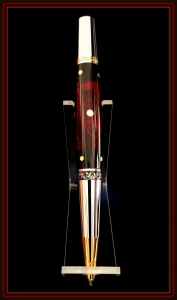
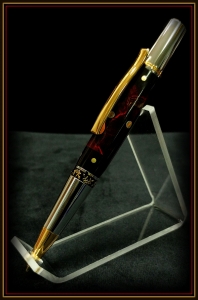
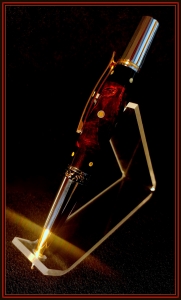
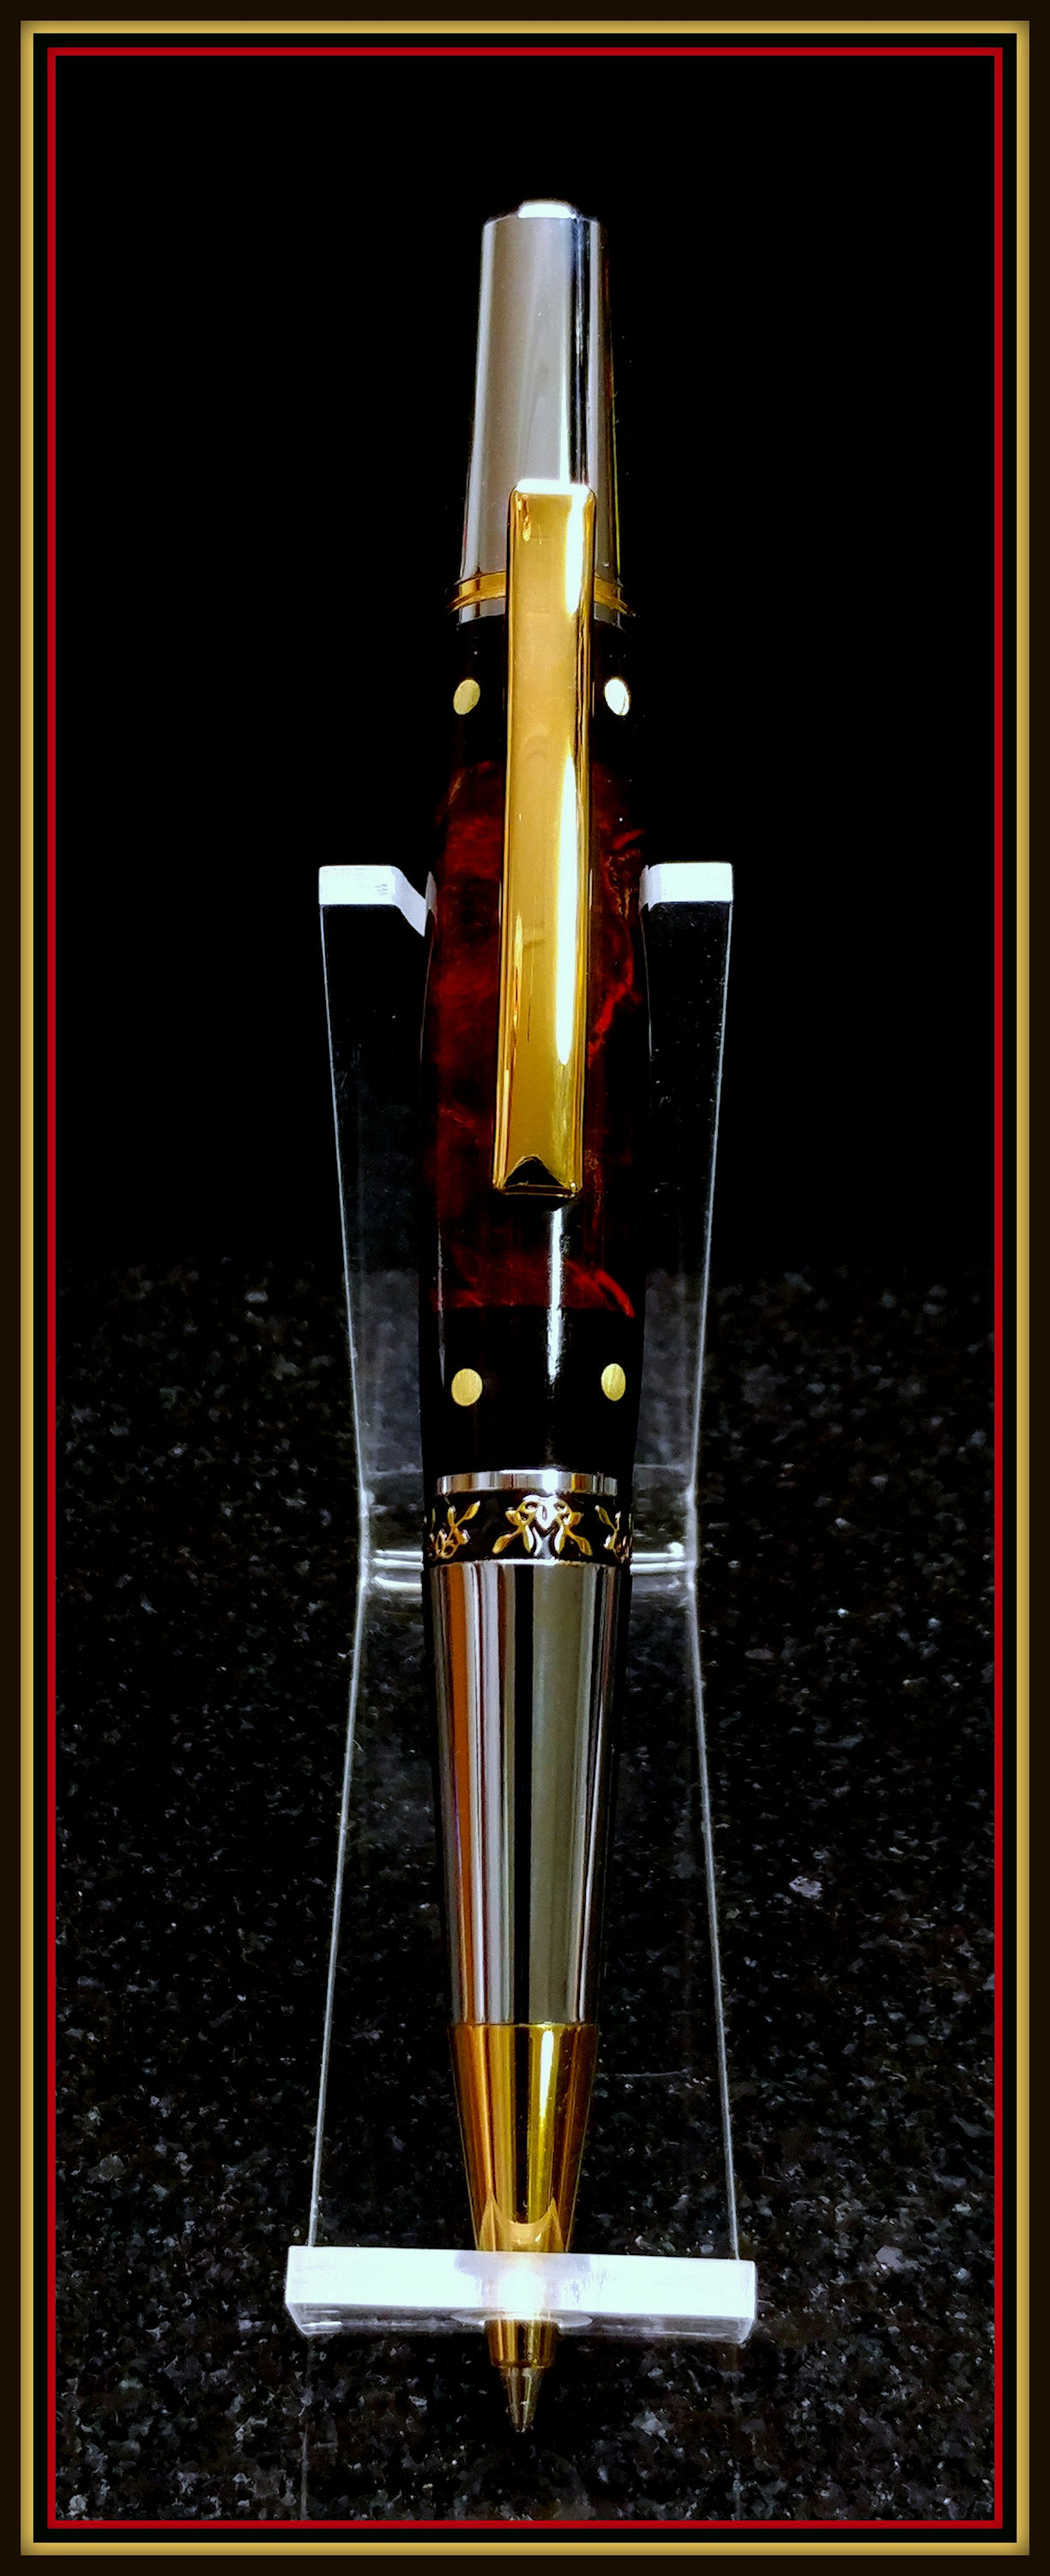
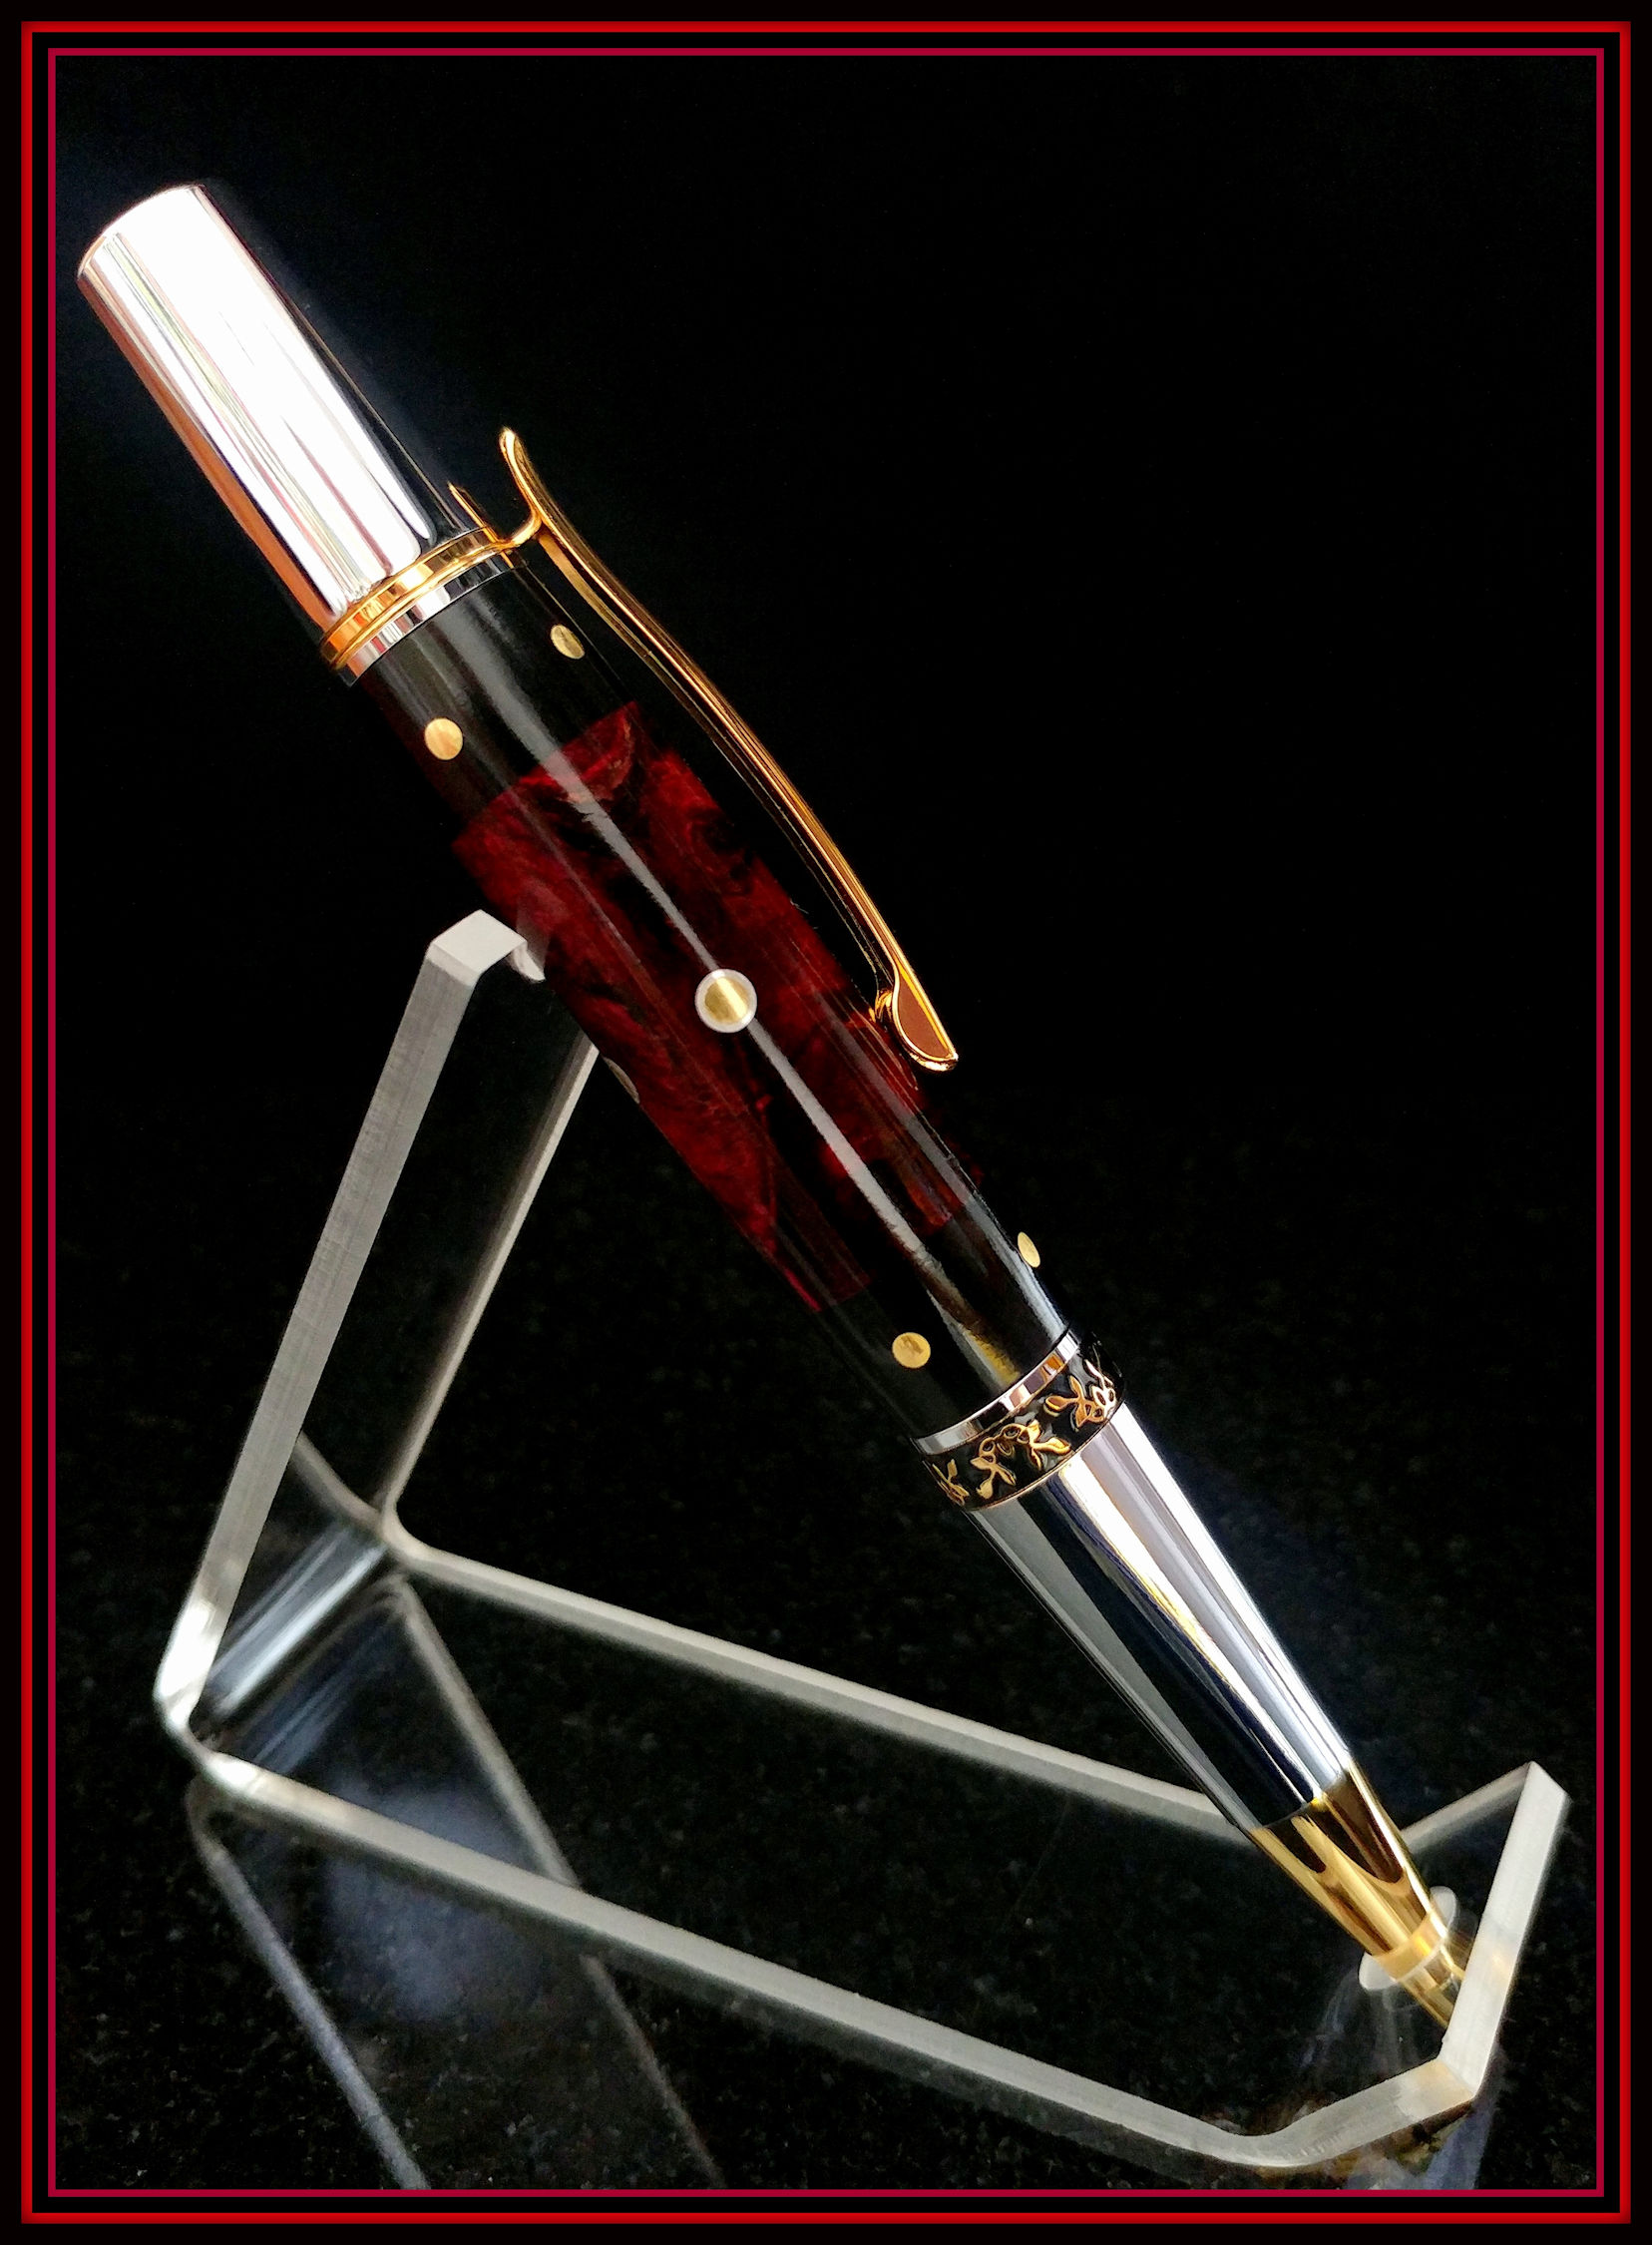
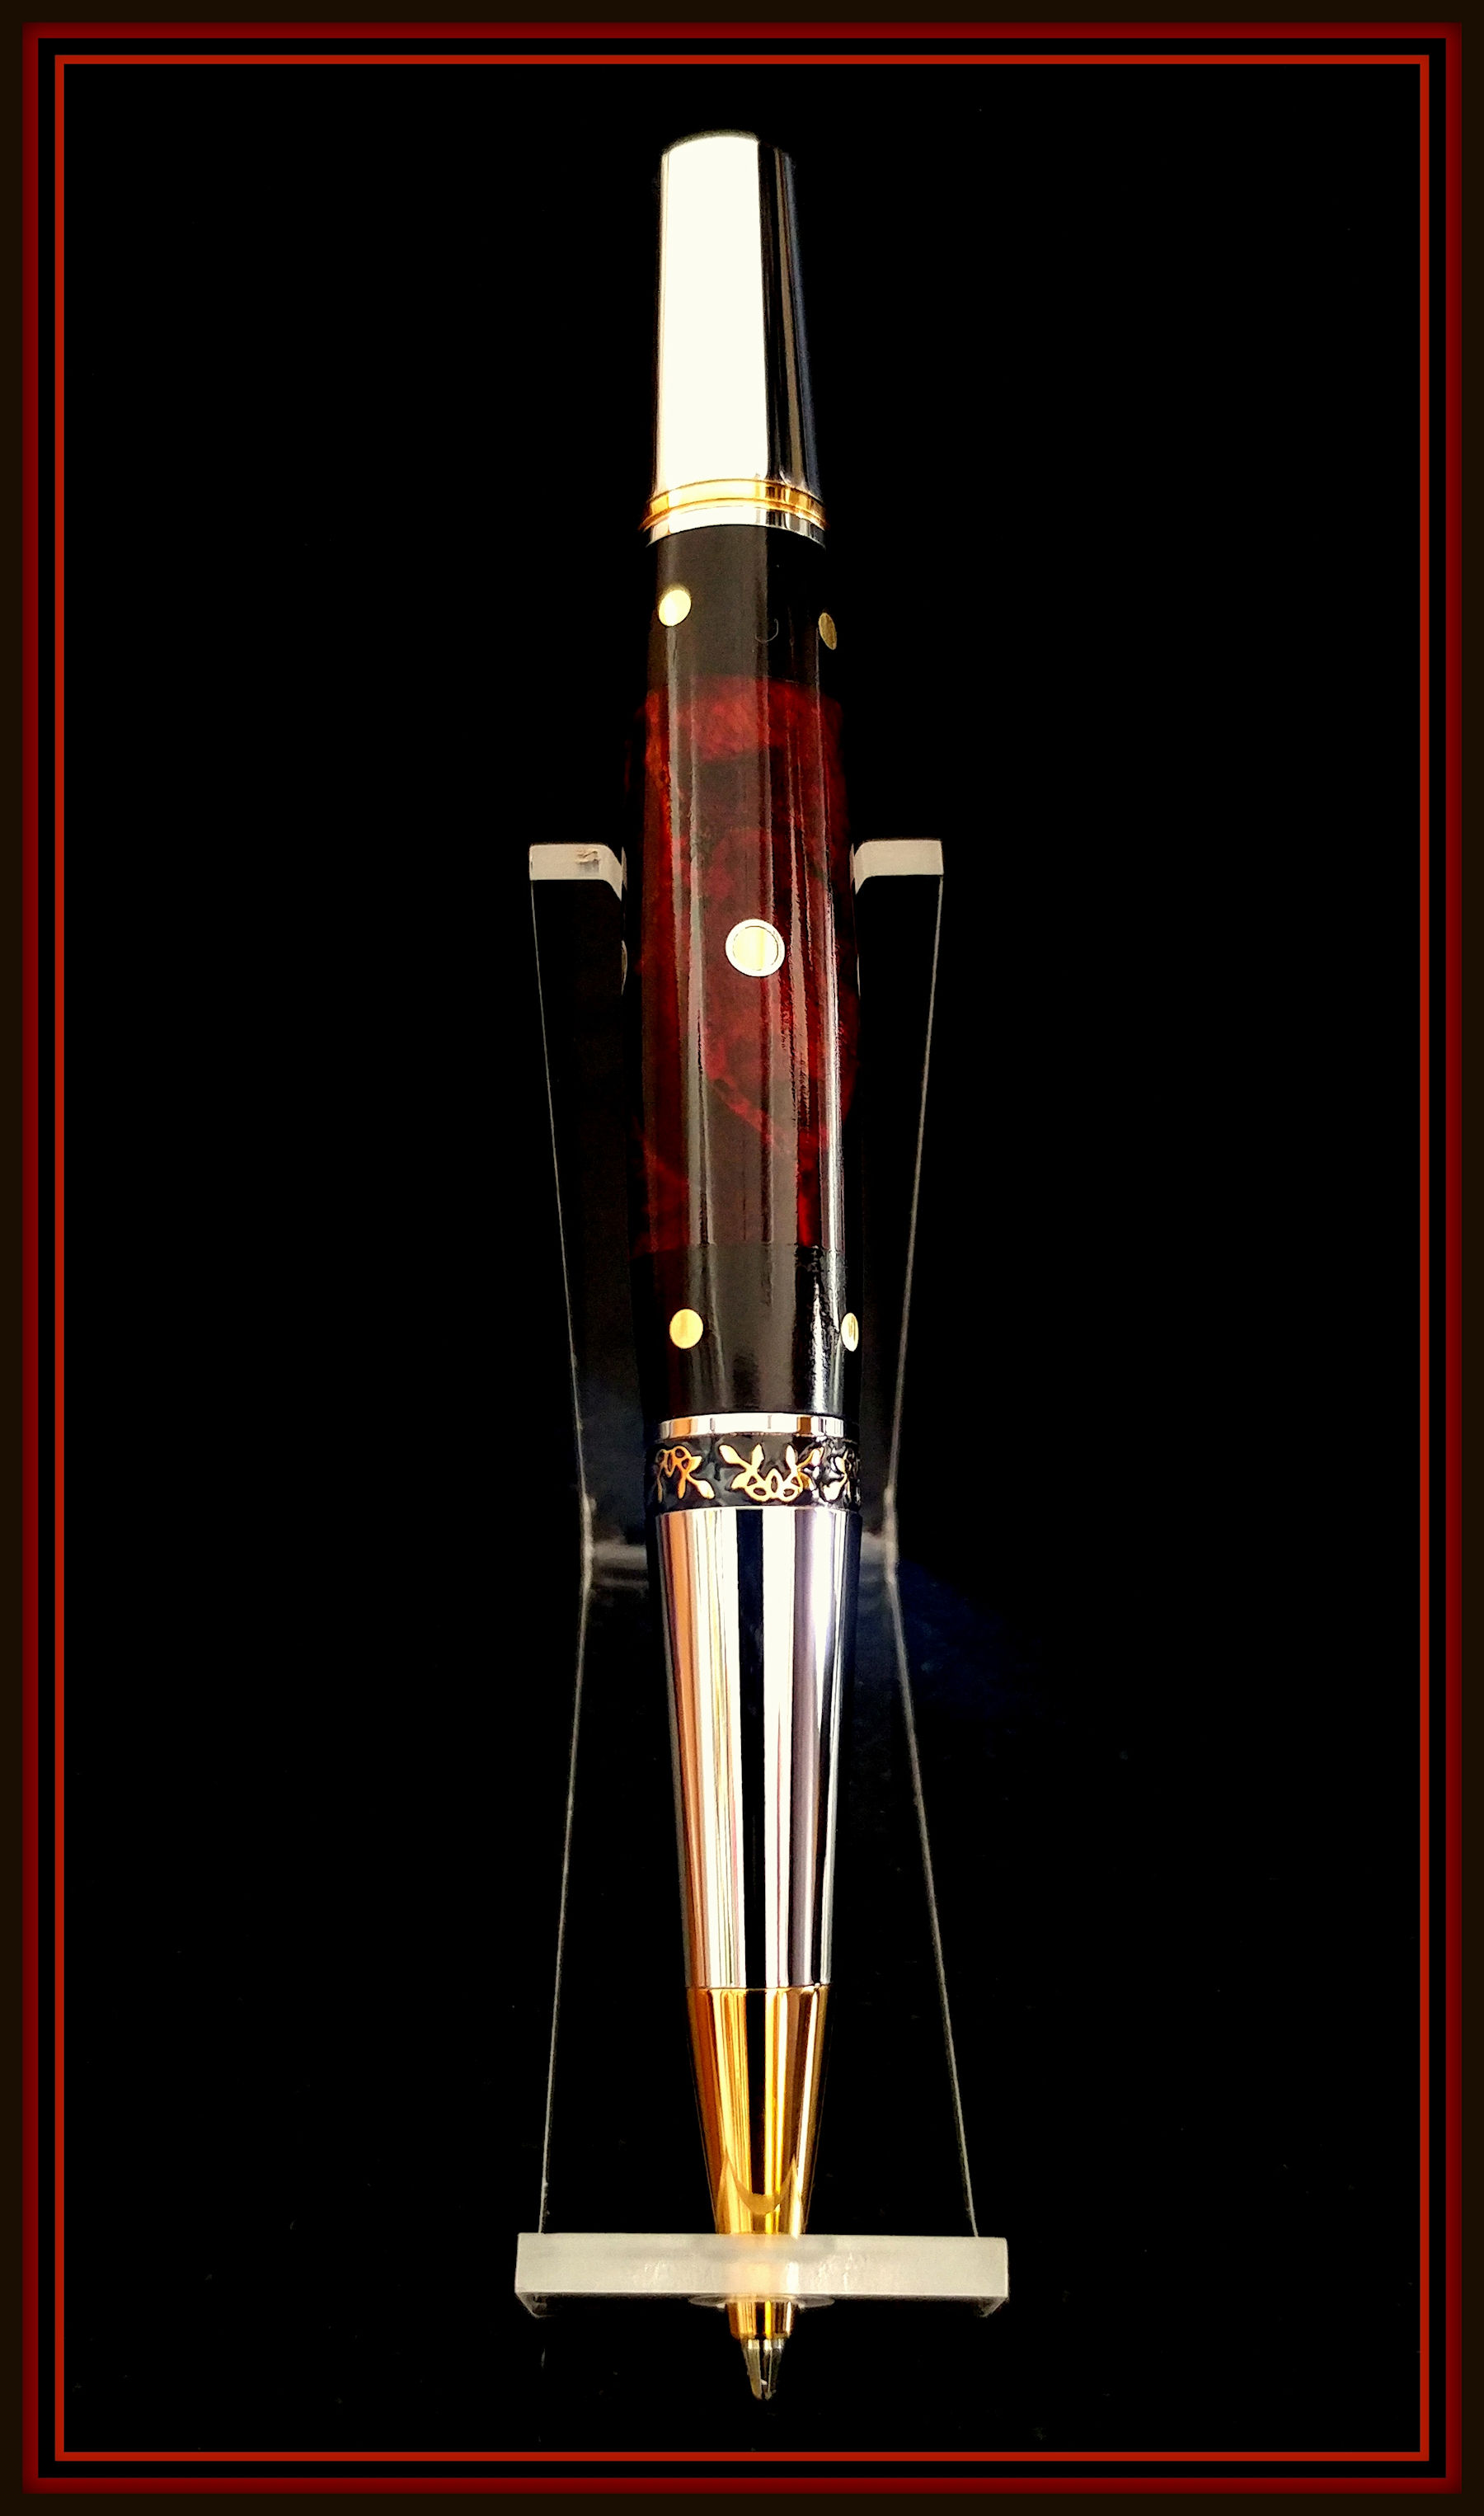
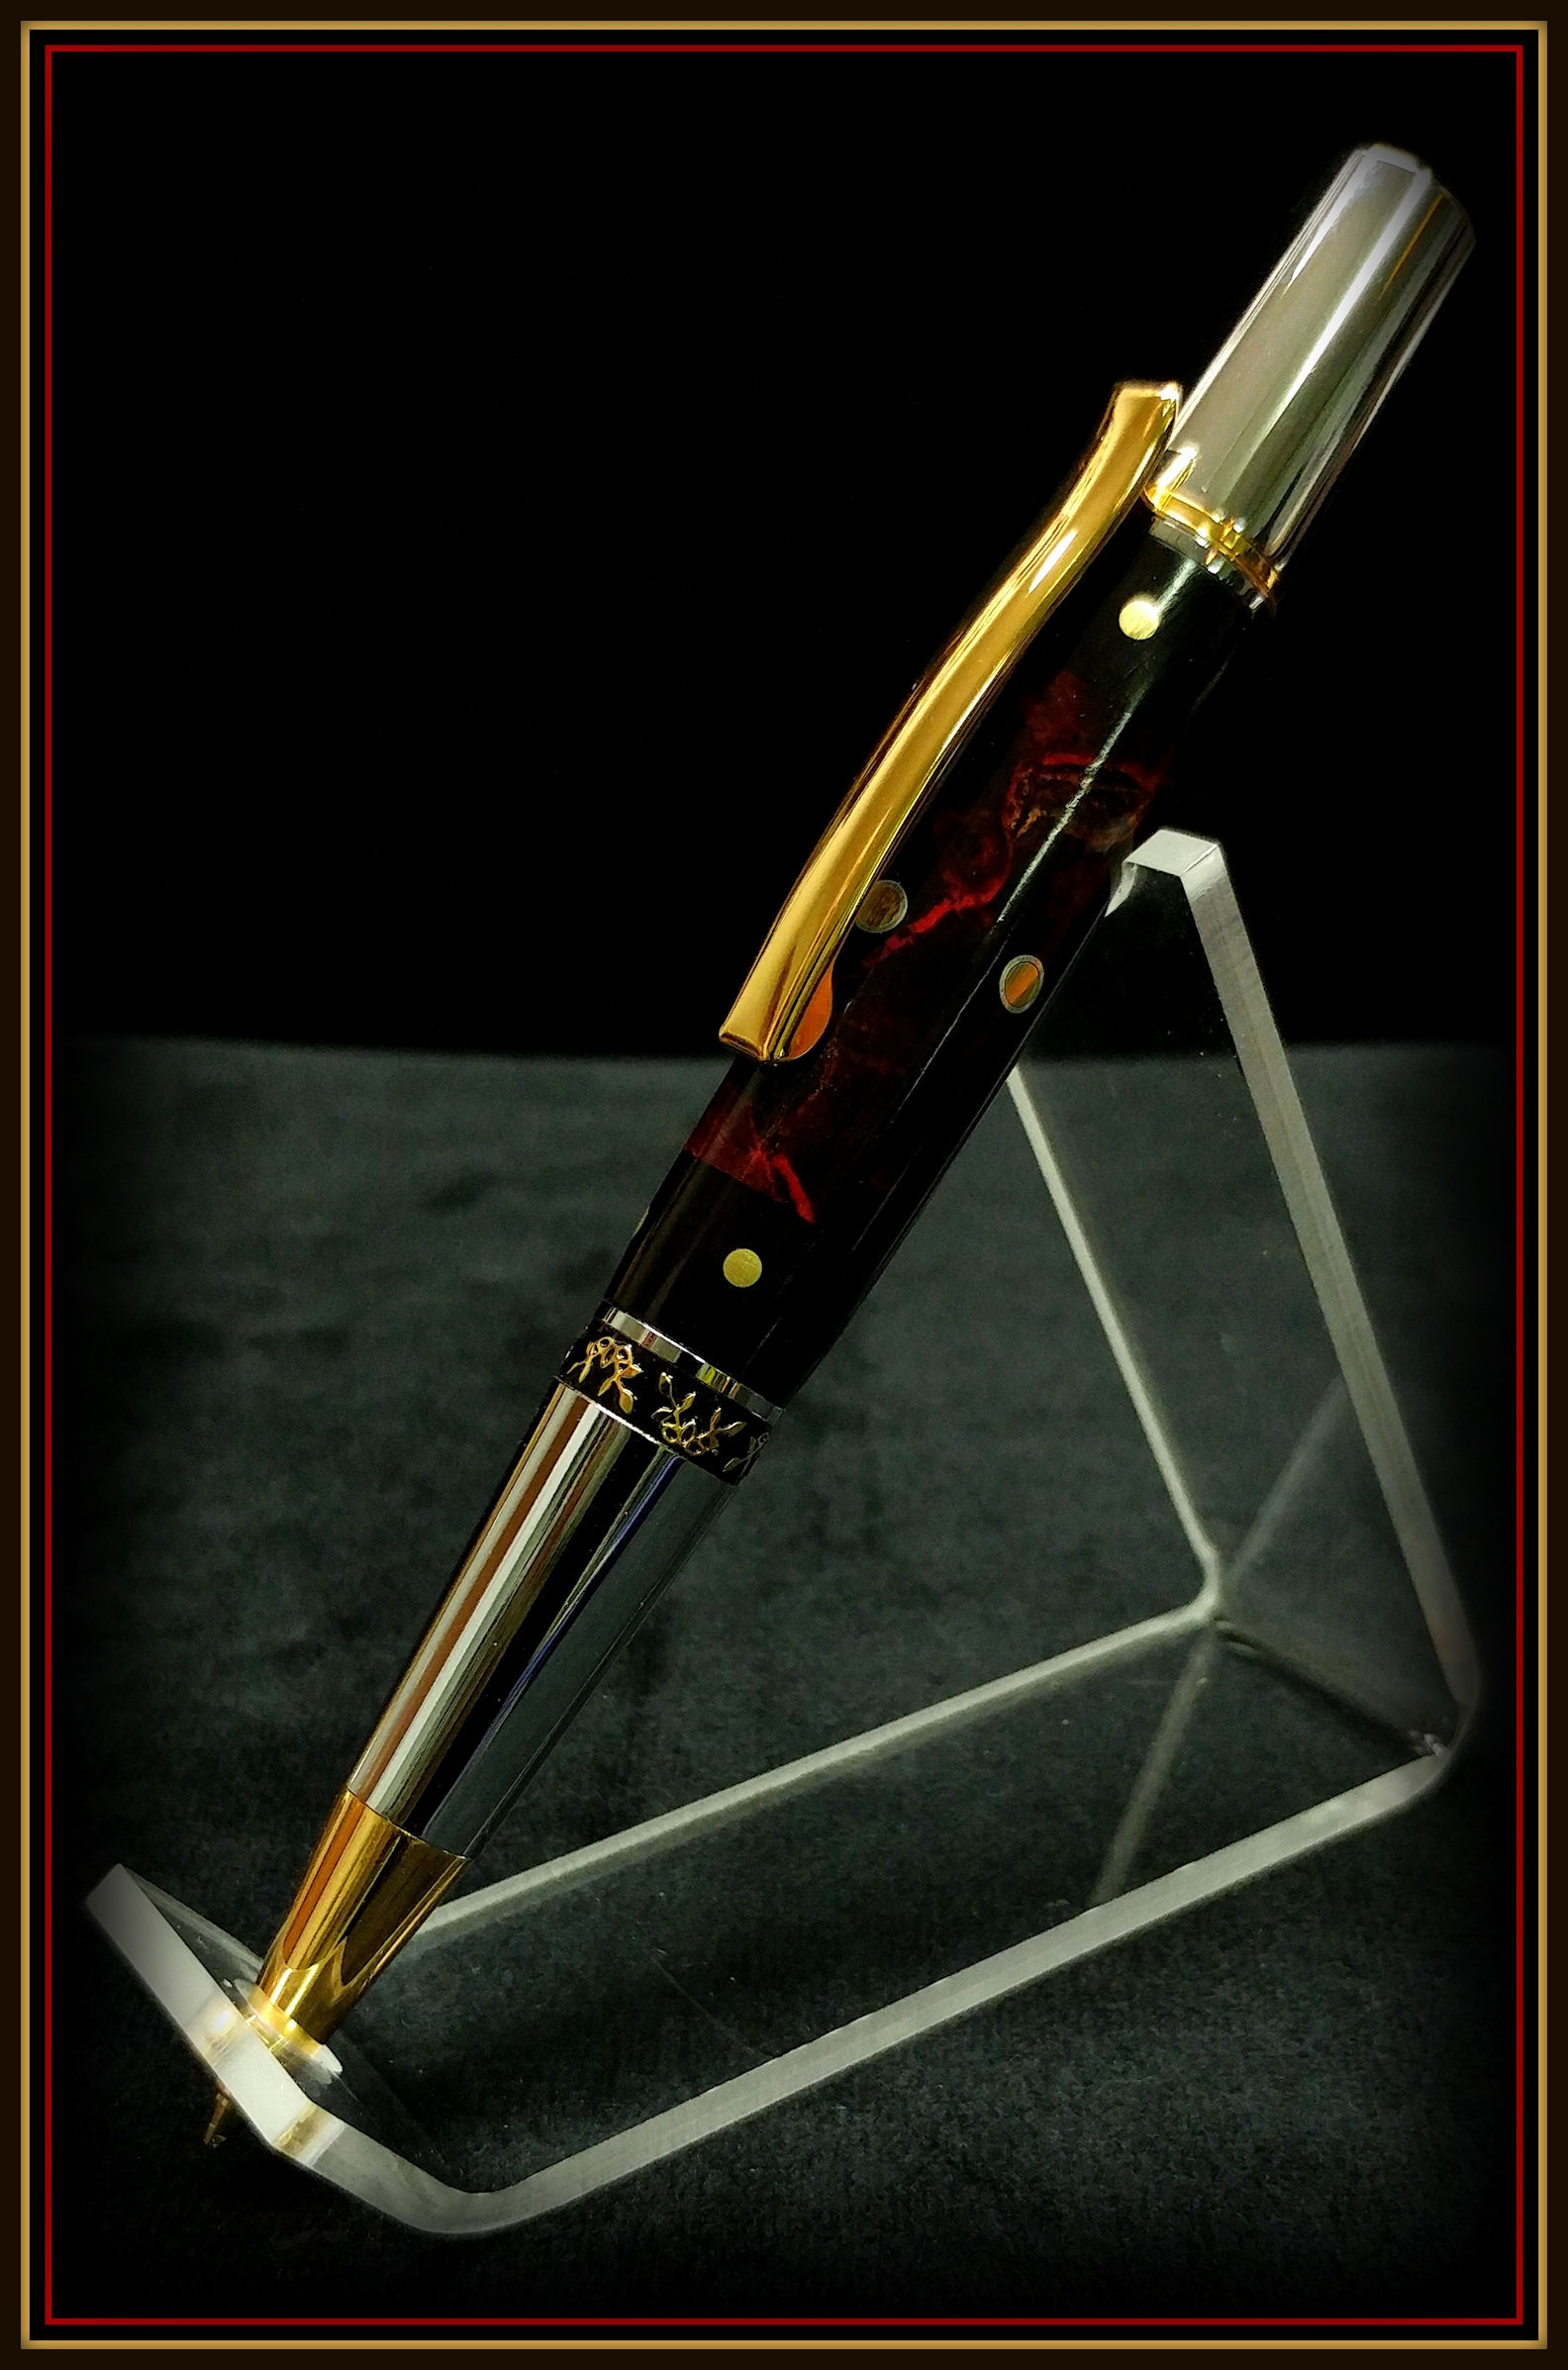
I'm pretty happy with this segmented Artisan Aero in Ebony and Maple Burl which was double-dyed Black and Red. Following the suggestion of Hank Lee (Leehljp) I put a gloss CA finish on it. I like the technique employed in this YouTube tutorial - no sanding of the CA is required: https://www.youtube.com/watch?v=orcgOf4siqc.

One lesson learned is that the alignment and placement of the brass pins is really critical if you want a high quality product. A few of my pins are off about 1/32" and it's noticeable.

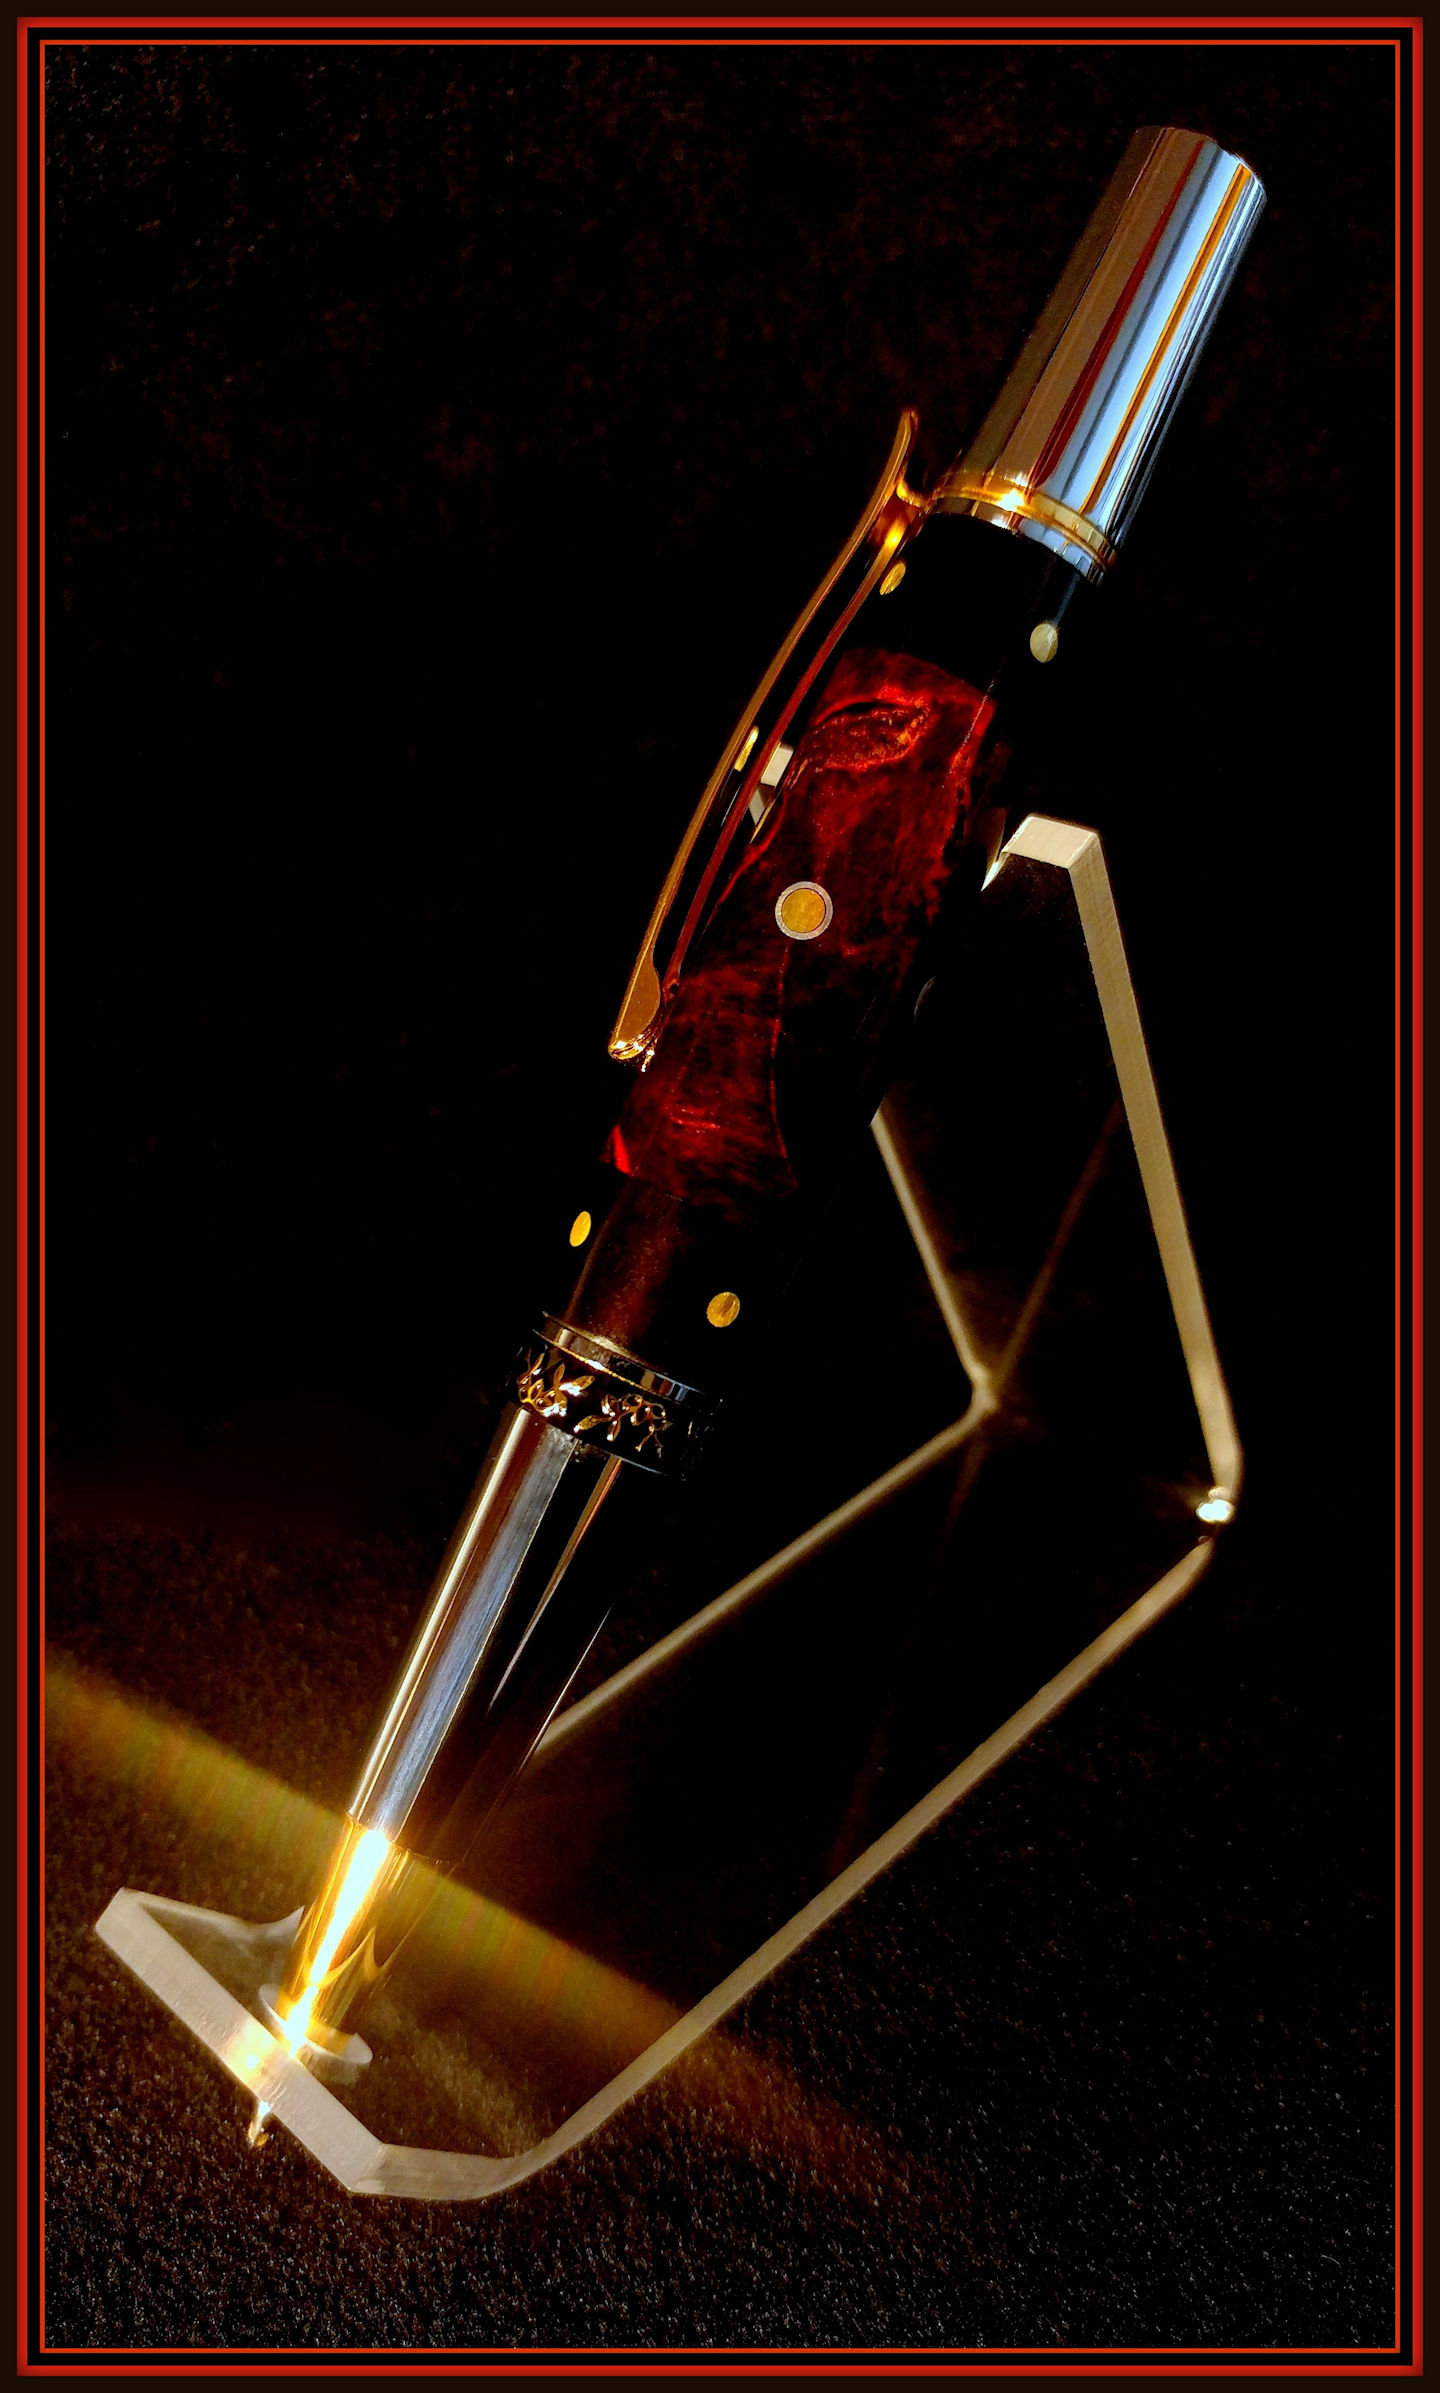
I've been experimenting with my pen photography. Comments are welcome.

 
Signed-In Members Don't See This Ad

leehljp

Member Liaison
Joined
Feb 6, 2005
Messages
9,330
Location
Tunica, Mississippi,
Great looking pen Steve. You are right about out of alignment. It is OK in some situations - where it is intentional for "free" design, but where alignment is concerned, even 1/64 off - shows up from some perspectives.

I LIKE the aluminum tube surrounding the brass! Looks great in the picture but I'll bet it is even better to see it for real.

I am working to get my DC system going to get back into pen making. Your brass rod from your last pen is what pushed me into it.

LOOKS GREAT!
 

jttheclockman

Member
Joined
Feb 22, 2005
Messages
19,148
Location
NJ, USA.
Steve I like the use of other medium in segmenting. If you explain your method of adding the brass dots maybe we can make suggestions. If you care to keep it to yourself that is OK too. I will say that when doing something like that symmetry in my eyes is key. Keeping the top and bottom rings the same thickness and keeping the dots centered if doing a 4 sided pattern. Just my opinion
 

SteveAxelrod

Member
Joined
Nov 11, 2015
Messages
640
Location
Oldsmar, Florida
Thanks for the praise and comments! I was inspired by Lynn Lacey's segmented pen posted on 5/14 entitled "Segmented Jr Gent II". Check out his video https://youtu.be/H7ejw9P7FqQ to see how he lays out his design, drills and glues in the rods. I used a 1/8" aluminum tube with a 3/32" brass rod inside. You can buy a variety of rod and tube sizes at Ace Hardware. I made my first segmented pen (posted May 27 "Segmented Pen & Custom Pins") following Lynn's procedure and the alignment of the two rows of four rods was perfect. I partially turned my blanks to round when I made my second segmented pen (posted 6/27 "My best so far") as well as this pen so I could use smaller pieces of rod/tube and also so I had to turn less metal, but alignment is harder to do on a round blank. So my next blank will be layed out and drilled while square. I use only carbide cutters and they had little trouble cutting the aluminum and brass. And finally, I agree that a symmetrical design is what it's all about.

Thanks again for the positive feedback. It really means a lot to me. I can't wait to begin designing the next pen!
https://youtu.be/H7ejw9P7FqQ
 

jttheclockman

Member
Joined
Feb 22, 2005
Messages
19,148
Location
NJ, USA.
Steve again very nicely done. As you are finding out if you are using the method shown in that video it is imperative to be dead accurate with the thickness of the blank. It has to be the exact same dimension all around. The use of stop blocks and a fence make easy work of things. But as you also noticed in the video there was runout in his drill press. What happens then is when the bit is introduced to the blank it may wind up in a slightly different axis each time thus throwing the alignment of the dots off somewhat. Usually not noticeable to the naked eye. Sometimes when drilling into heavy grained wood with such small drill bits they will follow the grain and throw off the alignment. It does make for a challenging project though.

But there are so many design possibilities with all types of segmenting. I myself have so many ideas that I want to try but need to be able to find shop time which is just not possible these days. I have to live the dream through the eyes of people like you:) So I do hope you continue and keep showing us your progress.

Just something else for you to think about is the use of a router to make those holes. That is how I do mine. I use the lathe and a router jig I made up. I was in the process of tweeking it also which I hope to show when done. I use that in conjunction with an indexing wheel so that I can do that type of segmenting on a round blank. here is an example.


OZturner

Member
Joined
Aug 5, 2013
Messages
6,662
Location
Sydney. NSW. Australia
A Spectacular Pen, Steve.
Beautiful Blank, Great Fit and Finish.
Regarding your request for comments on your photography, I prefer a single colour Background, so the Pen maintains your attention.
Photograph #2 is the one I prefer, but I would also like it without the reflection of the Pen Stand, and it could do with a little less reflected light on the Cap in particular.
Thanks for Posting.
Congratulations,
Brian.
 

PenWizard

Member
Joined
May 30, 2016
Messages
41
Location
Oldsmar, FL
I really like the cohessivness of your work, you are truly getting better and better with each pen. Great job Dad! Keep up the awesome work, I'm very proud of you.
 
Top Bottom