First post, first pen

Signed-In Members Don't See This Ad
See more from AZturner

AZturner

Member
Joined
Mar 15, 2013
Messages
30
Hello,

I just recently picked up an inexpensive HF lathe to tinker with pen turning, and found this forum after doing some online searches for information. I've never turned anything on a wood lathe before, so I have a lot to learn. This forum seems to be a wealth of information.

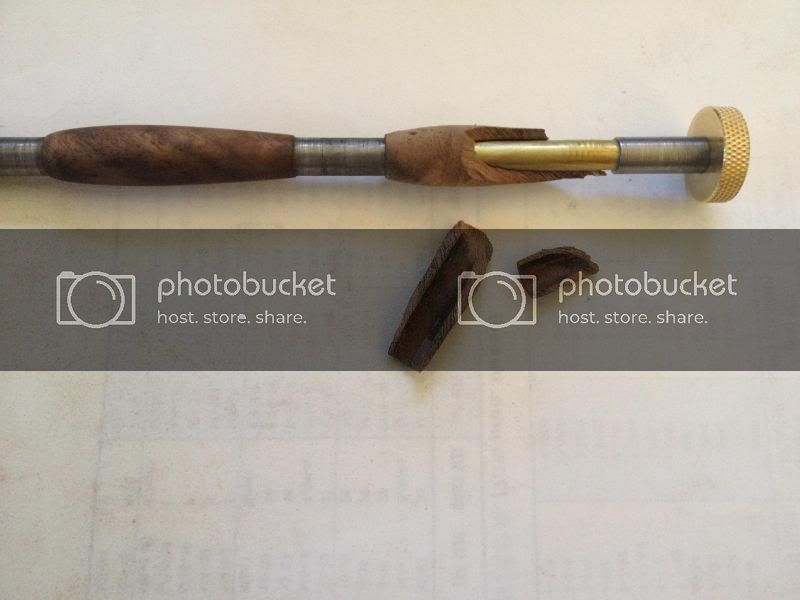
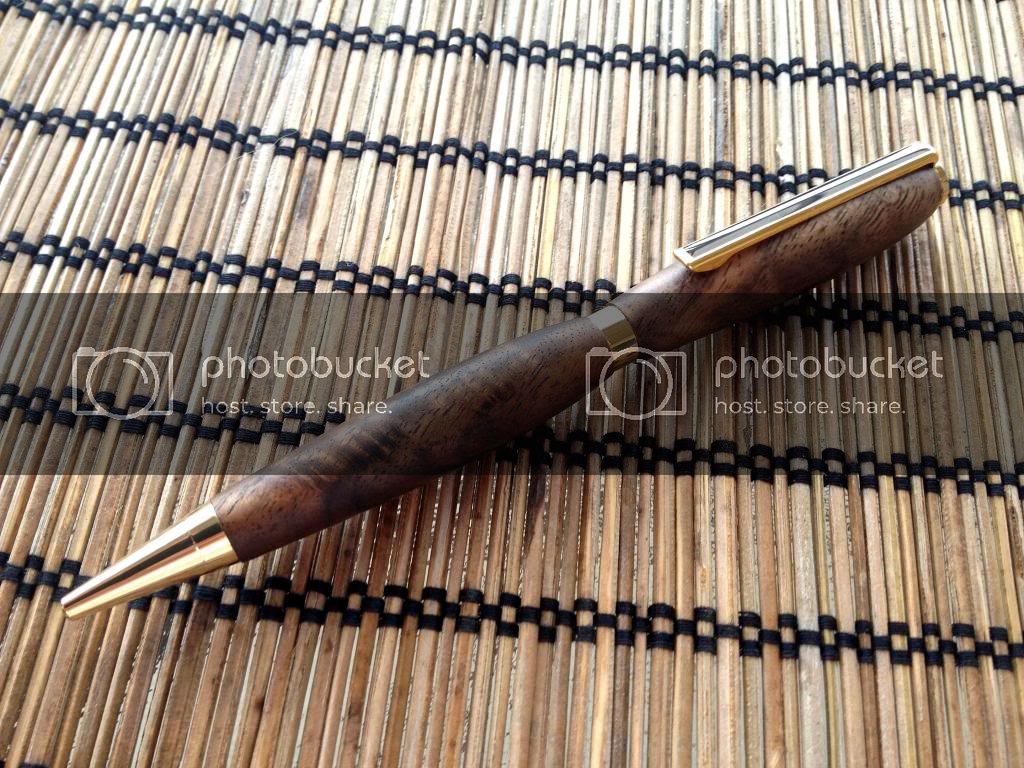
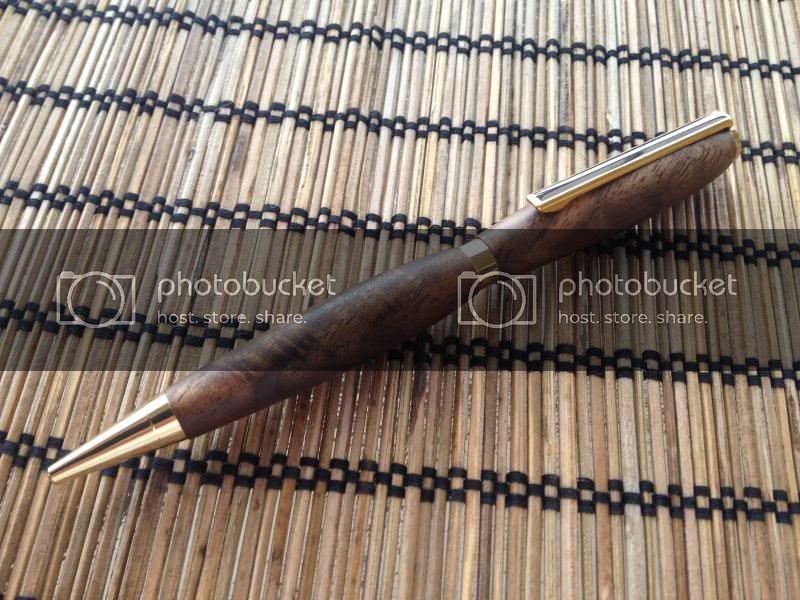
Anyway, here's my first pen...it's a slimline(?) from Woodcraft made from Black Walnut. It's not perfect, but it's my first so I feel good about it all the same. Any critique or suggestions for improvement would be much appreciated.

Thanks!

IMG_0109_zps46ed7803.jpg
 
Signed-In Members Don't See This Ad

Tanner

Member
Joined
May 17, 2006
Messages
2,307
Location
Peoria, Arizona, USA.
Nice job. It's a lot better than my first pen. Just read a lot of the tutorials in the library and watch YouTube videos from Ed and you are well on your way to being obsessed with this hobby.
 

PenPal

Member
Joined
Nov 29, 2006
Messages
2,708
Location
Canberra, A.C.T., Australia.
AZ,

Black Walnut is not an easy timber to work with so your first pen is highly commendable from where I sit, superb grain. You turned the pointed end superbly to fit notice you left the timber proud of the centre band and used a neat shape to your pen. Sometimes I do this purposely to keep that magnificent grain running as you have. Another approach can be to use the centre band of a Streamline kit it is much more full. The pic is clear, moody enhances the pen utilising the diagonal composition with the matchstick background. I admire the way you kept the focus sdo well acheiving quite a depth of field. Splash around using backgrounds some
times using plain grounds lesson the competition with the pen.

When choosing a natural finish as you have you will find most everyone you show will comment as I do now feels like wood looks like wood. Other materials will command a brighter shinier finish at times.

If you sound out your future pens with non pen makers the comments will vary from pen makers and believe me free from predudices we accumulate or some times make up after a while.

Importantly have fun as you go and sniff the flowers the fields are full of them.

Incredible early effort, congratulations, kind regards Peter.
 

GrahamColwell

Member
Joined
Feb 2, 2013
Messages
11
Location
Vancouver BC
Very nice looking pen. I particularly like the shape of the lower barrel.
I prefer a slimmer top barrel myself.
Nice grain matching. very nice job.
 
Last edited:

BradG

Member
Joined
Jul 10, 2011
Messages
1,733
Location
Blackpool -UK
Very nice first pen and certainly one to be proud of. Unfortunately its all down hill from here. More expense and more ideas to try :biggrin: carry on as you are and your peferred turning style will come naturally. Be sure to look through members photo galleries as im sure you will learn alot by seeing how the rest of us are doing things
 

bruce119

Member
Joined
Jul 30, 2007
Messages
2,978
Location
Franklin, NC, USA.
Nice job on your first pen. As Glen said save it stash it in a safe place. It will be nice to pull it out a year or 2 from now and think that was my first and reflect to ware you are now.....

Congrats
 

SDB777

Member
Joined
Feb 6, 2010
Messages
6,620
Location
Cabot, Arkansas USA
The fit looks really good on the kit! And the timber looks to be of better then average quality too. Big thumbs up for the first!!!!


Scott (good daily driver, show it off) B
 

Boz

Member
Joined
Jun 21, 2008
Messages
371
Location
St. Louis, MO.
I agree that it is a great first pen. Walnut is a very open grain wood and is difficult to work with. I too have kept my first pen and it sits on my desk at home. Many people have told me that my work is getting better but I just have to pick up that pen and I know the truth.
 
Joined
Feb 24, 2012
Messages
4,368
Location
Claremont NH
That pen looks great. Nice piece of wood, nice kit selection, good fit and finish. I think you have a real winner there. I would be very proud if that were my first pen. Great job...
 

Sataro

Member
Joined
Mar 15, 2009
Messages
3,103
Location
Mexia, TX
Great looking pen for your 1st effort. That wood really looks nice. I also like your background in your photo. Contrasts well & really shows off your pen.
 

AZturner

Member
Joined
Mar 15, 2013
Messages
30
Hey everyone,

Thanks for the warm welcome and all of the nice comments. I'm also open to critique, since I'm really not all that sure what I'm doing at this point :) A few comments/responses:

-I finished the walnut by wet sanding with Tru-oil, as I prefer wood to look like wood in most cases and it seems to do a great job on walnut.

-I had been thinking about who to gift this pen to, but hadn't thought about saving it for posterity...that's a great idea.

-I left the wood a bit proud on the upper barrel as both a learning experience and also as an aesthetic experiment...does it 'work'?

-The two pieces are not an exact match as they are about 2 1/8" apart (from the same piece of wood) This photo shows why
IMG_0085_zps914e63fb.jpg

There was some gap between the wood and the tube, which I'm sure contributed. Was there anything else I might have done wrong to cause this?

-Just tinkered with my raw image a bit in photobucket. I always struggle with photography of small things like this, so not sure it's any better. The first pic was just the raw image taken in the shade with my iPhone (works better than my digital camera) on a bamboo place mat background.

aae4ea9c-f8b3-4285-8be5-46ae1b37c0e9_zps3d576ee7.jpg


Thanks again!
 

bruce119

Member
Joined
Jul 30, 2007
Messages
2,978
Location
Franklin, NC, USA.
2 quick comments on the above post.
I see a couple things that could have contributed to that blow-out.
First sand and scuff the tubes to give the glue something to bite. If using CA (It looks that was what you used) your drill hole appearers a bit large. For CA you want an easy fit not tight as wood will move a bit but not too loose either CA doesn't like to fill gaps. Epoxy is a safer bet then you can get away with a sloppier hole. Use plenty of epoxy to completely fill the space in your drilled hole. Go slow and try to avoid a catch. Nothing will keep that from happening with a bad catch. Practice, practice, practice use cheap wood to start don't throw the tubes away turn them down and use them again. Drill a 1/4" or 7mm hole in a small piece of wood and get a feel for tools just play around.

The photo and pen looks great so dose the bamboo. The problem with that is the bamboo distracts other from what you want them to see the pen. You don't want anything in the photo that draws your attention away from the pen.

Most important have fun....wood turning is fun, fun, fun lots of info here you should fine every thing you need here.

Good Luck

(edit it will help to size your photos just a little smaller say 600x800 to fit on the screen)
 
Last edited:
Top Bottom