Maverick KB
Member
First, thanks for taking a look here. Comments, pointers or even just downright criticism are encouraged. I've got a thick skin; you can't offend me.
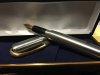
This is all new for me. I've been turning for only a couple of years, only found and joined IAP a few months ago, never tried a kitless pen before, and never worked with brass, aluminum or plastic acetal (Delrin) before. I had no idea what a BASH was, but when I saw the kitless competition I knew I would be spending a lot of time and money in the shed. In two weeks I obtained many new tools, learned many new things and read every library article or post I could find on how to make a kitless pen. Here's the result.
View in Gallery
View in Gallery

View in Gallery
View in Gallery

View in Gallery
View in Gallery
More here:
First Kitless Pen Story by MaverickKB | Photobucket
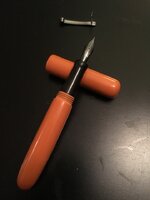
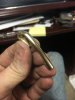
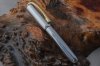
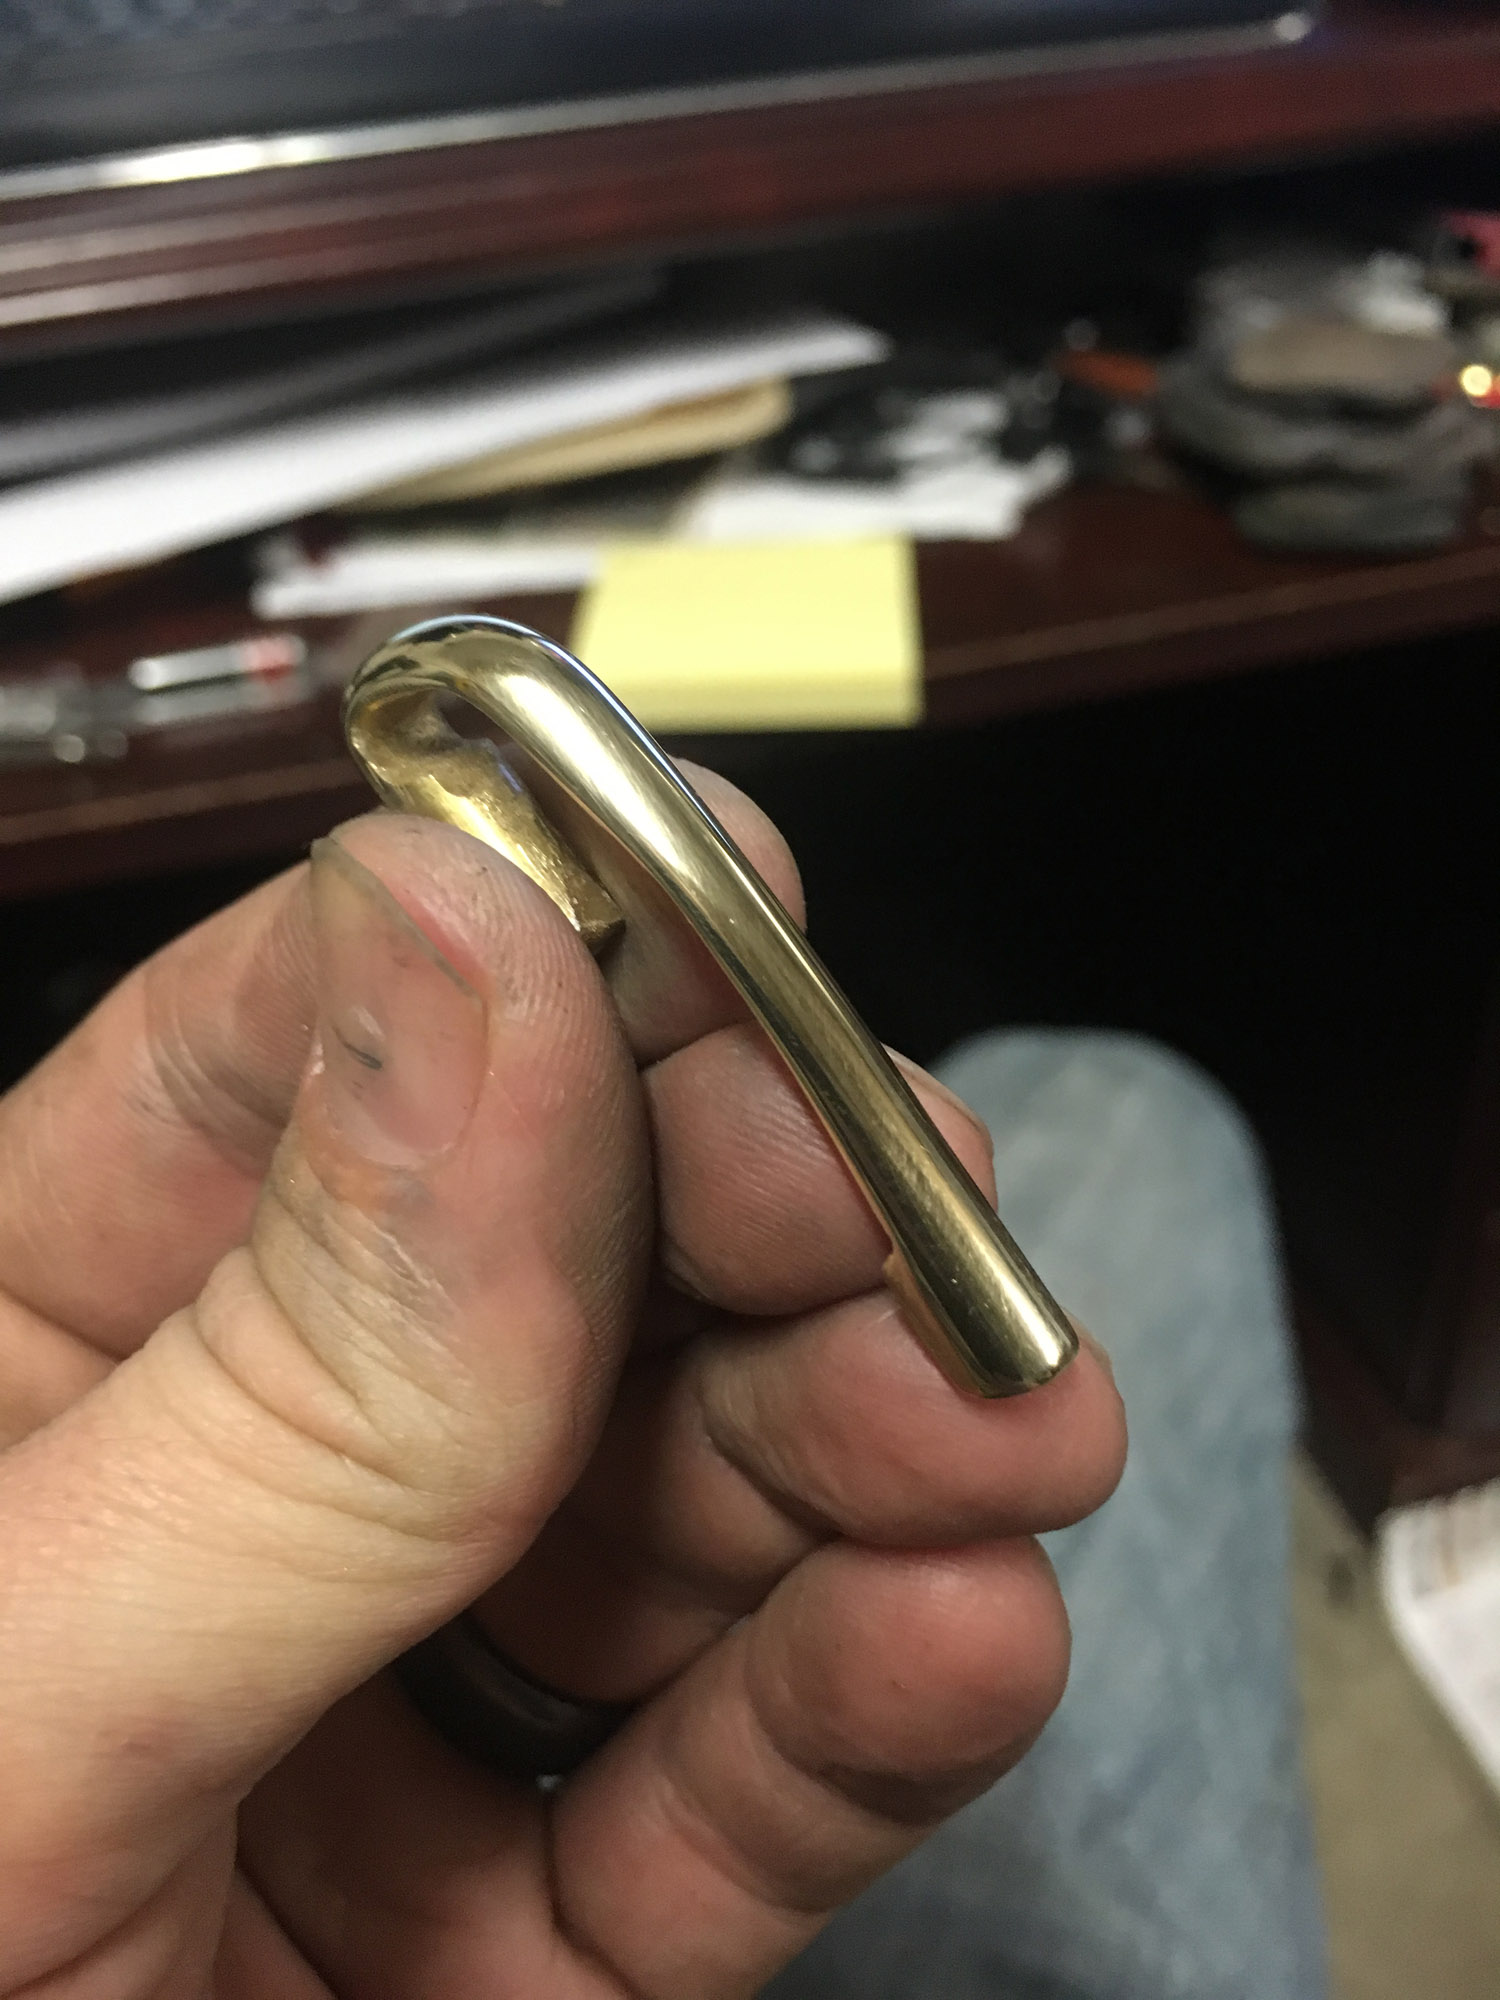
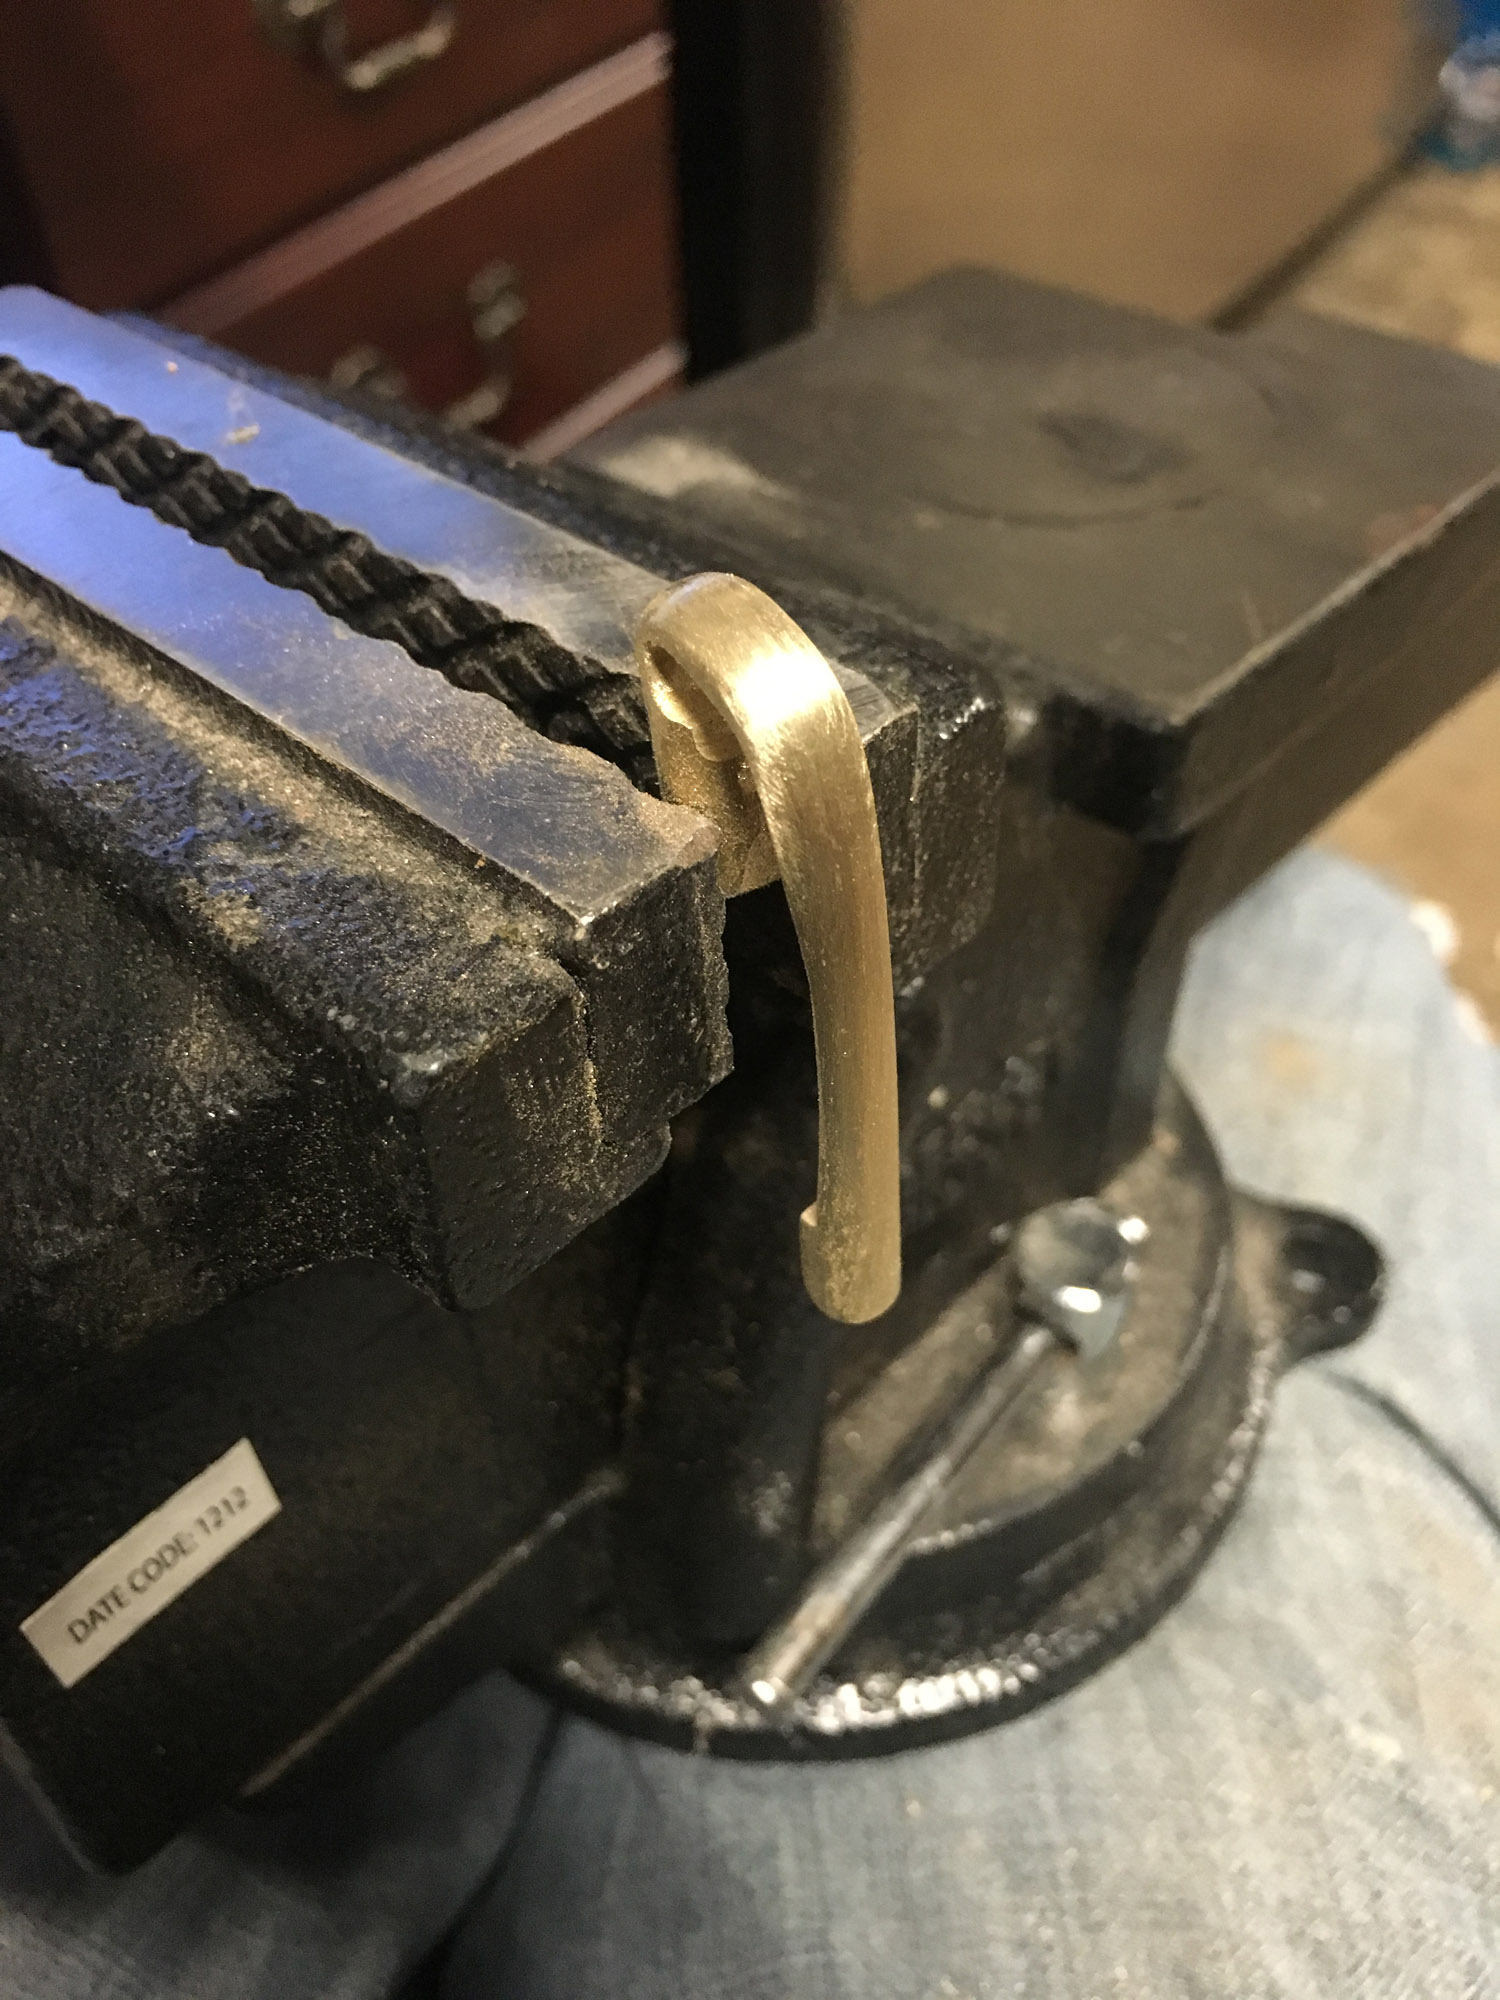
The clip was made from a 24" long solid brass rod. First I took the rod to the grinding wheel and flattened one side, leaving about a 1/4 " section on the end untouched. Then I removed a little more material where I wanted a tighter radius in my bend. With the metal still warm I placed the .25" piece on the end in a bench vice and slowly bent the shape of my clip. The extra length of the rod gave me great leverage and control. Once I had the shape close to where I wanted it I removed it from the vice and tweaked it a bit with some pliers. This left some nasty tool marks to deal with later. Next time I'll probably use a scrap of leather to protect the brass. Then over to the band saw to nibble a bit. I'd left some areas thicker after grinding so they wouldn't bend as fast as the thinner sections. Time to remove some bulk. Once I had things pretty well evened out I used a diamond needle file set to smooth everything out and remove most of the tool marks. With the tool marks gone and the shape how I wanted it, I started sanding with abranet from 180 to 500 then wet sanded Micro-Mesh pads from 1500-12,000. All this was done by hand with the clip held in a bench vice. For convenience and maximum efficiency, the vice sat in my lap at my desk and I worked on it for an entire work day. This was a great way to get through a stressful work day!
Most of my taps & dies came from a large metric kit I obtained from Northern Tool. I also acquired several other taps & dies from a few sources, but a special thanks to Silver Pen Parts for the top notch service and making sure I got my taps in time to still complete this project for the Bash!
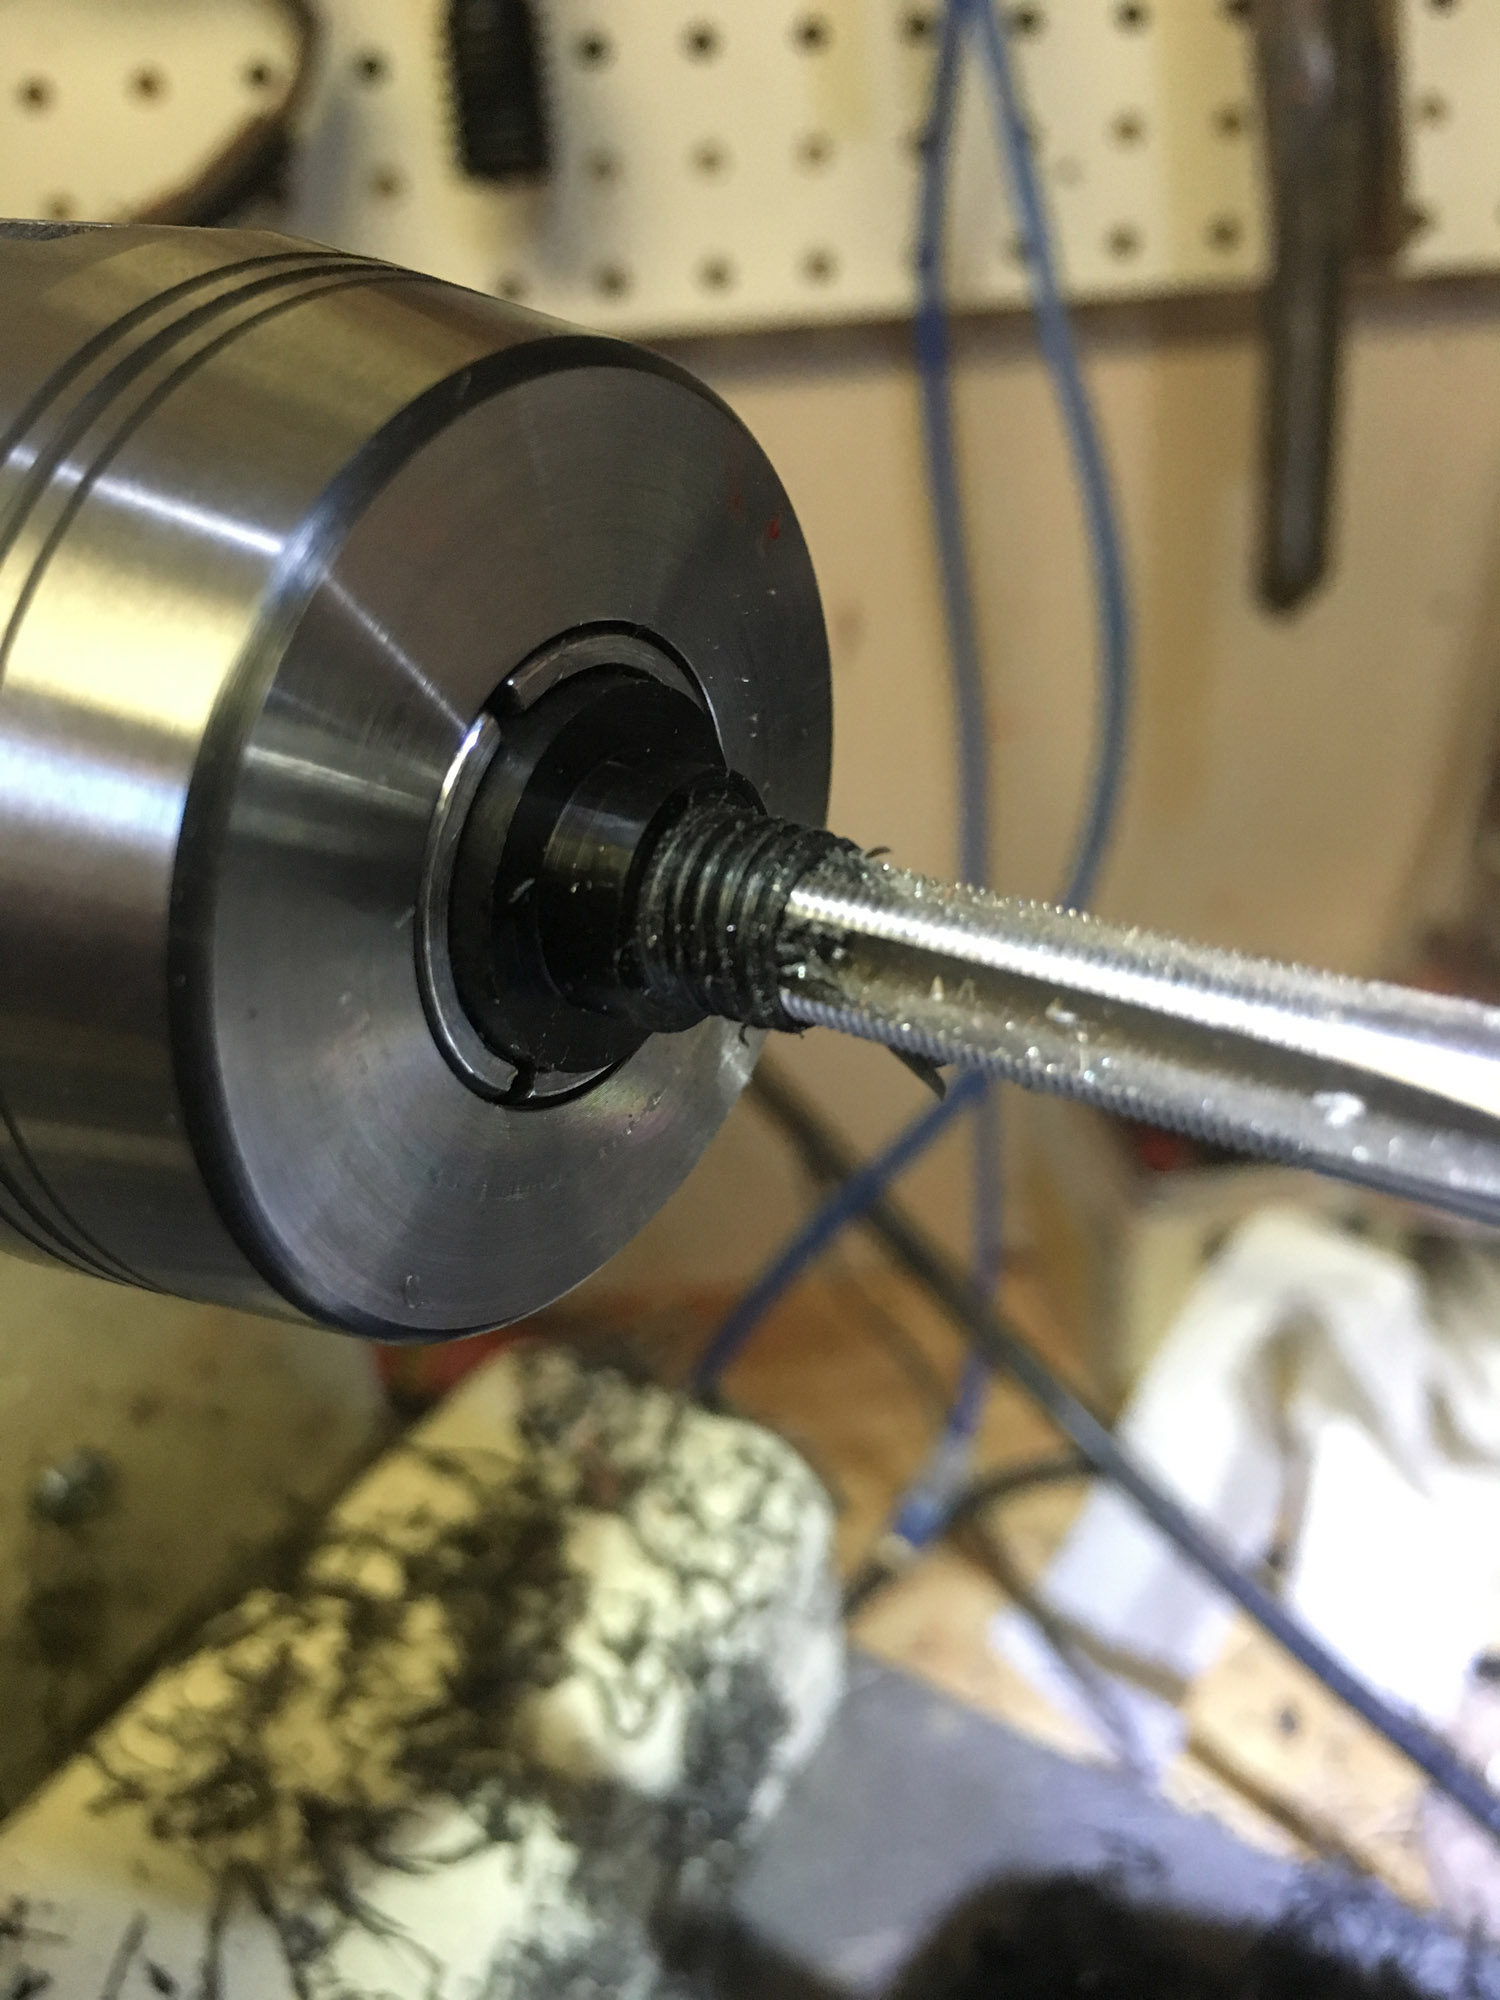
Aluminum was fun to work with. A bit difficult on the timber lathe and will dull a carbide tip in a hurry, but I will most certainly be working with it again. A note of caution though, if you haven't worked with it before… don't cut corners on safety. It doesn't take welding gloves to keep your hands safe, I used the same 7 mil and 9 mil rubber gloves I use for finish applications. (be sure it's at least 7 mil though, thinner gloves won't stand up). I still took care with the razor sharp ribbons and needle like shavings, but they never got through the gloves. A respirator is a must, you don't want to breathe in that metal dust and if you have a dust management system, be sure to use it too. A full shield helps keep the cheeks and nose from getting sand blasted, but eye pro is a must. I didn't wear gloves at first and the shavings and splinters made me itch like after working with fiberglass insulation.
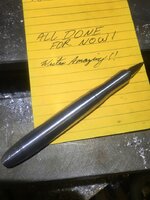
In the end, I had a kitless competition piece I was proud of, learned a lot, got some new tools and took my skills and hobby to the next level.
Thanks again for taking a look.
This is all new for me. I've been turning for only a couple of years, only found and joined IAP a few months ago, never tried a kitless pen before, and never worked with brass, aluminum or plastic acetal (Delrin) before. I had no idea what a BASH was, but when I saw the kitless competition I knew I would be spending a lot of time and money in the shed. In two weeks I obtained many new tools, learned many new things and read every library article or post I could find on how to make a kitless pen. Here's the result.
View in Gallery
View in Gallery
View in Gallery
View in Gallery
View in Gallery
View in Gallery
More here:
First Kitless Pen Story by MaverickKB | Photobucket
The clip was made from a 24" long solid brass rod. First I took the rod to the grinding wheel and flattened one side, leaving about a 1/4 " section on the end untouched. Then I removed a little more material where I wanted a tighter radius in my bend. With the metal still warm I placed the .25" piece on the end in a bench vice and slowly bent the shape of my clip. The extra length of the rod gave me great leverage and control. Once I had the shape close to where I wanted it I removed it from the vice and tweaked it a bit with some pliers. This left some nasty tool marks to deal with later. Next time I'll probably use a scrap of leather to protect the brass. Then over to the band saw to nibble a bit. I'd left some areas thicker after grinding so they wouldn't bend as fast as the thinner sections. Time to remove some bulk. Once I had things pretty well evened out I used a diamond needle file set to smooth everything out and remove most of the tool marks. With the tool marks gone and the shape how I wanted it, I started sanding with abranet from 180 to 500 then wet sanded Micro-Mesh pads from 1500-12,000. All this was done by hand with the clip held in a bench vice. For convenience and maximum efficiency, the vice sat in my lap at my desk and I worked on it for an entire work day. This was a great way to get through a stressful work day!
Most of my taps & dies came from a large metric kit I obtained from Northern Tool. I also acquired several other taps & dies from a few sources, but a special thanks to Silver Pen Parts for the top notch service and making sure I got my taps in time to still complete this project for the Bash!
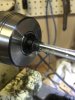
Aluminum was fun to work with. A bit difficult on the timber lathe and will dull a carbide tip in a hurry, but I will most certainly be working with it again. A note of caution though, if you haven't worked with it before… don't cut corners on safety. It doesn't take welding gloves to keep your hands safe, I used the same 7 mil and 9 mil rubber gloves I use for finish applications. (be sure it's at least 7 mil though, thinner gloves won't stand up). I still took care with the razor sharp ribbons and needle like shavings, but they never got through the gloves. A respirator is a must, you don't want to breathe in that metal dust and if you have a dust management system, be sure to use it too. A full shield helps keep the cheeks and nose from getting sand blasted, but eye pro is a must. I didn't wear gloves at first and the shavings and splinters made me itch like after working with fiberglass insulation.
In the end, I had a kitless competition piece I was proud of, learned a lot, got some new tools and took my skills and hobby to the next level.
Thanks again for taking a look.
Last edited:
 . If I did a clip like that, I'd have to use one of those small belt sanders, then some buffing wheels. As you might imagine, I hate sanding.