
mark james
IAP Collection, Curator
These have a story, so get a cup of coffee.
Last September I visited with Bruce Robbins and Herb Walke at Bruce's house. I believe it was a Wednesday, September 13, and I was running around the east coast dodging a storm trying to keep the IAP Collection dry.
That day I was with Bruce for 4-5 hours, and had no prearranged plans other than to visit. After getting reaquainted and settling into one of Bruce's "Laboratories," (Bruce is a chemist, as is my wife, so I was very comfortable) I was able to examine several buckets full of Bruce's extensive collection of his "pen experiments" - both successes and failures.
After about 45 minutes Bruce said: "So, what do you want to make?" Since I really had no agenda, I kind of stumbled and said something like: "Anything you want to make?" And Bruce replied: "I don't want to make what I can make, I want to make what you want to make..."
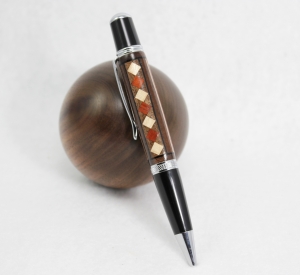
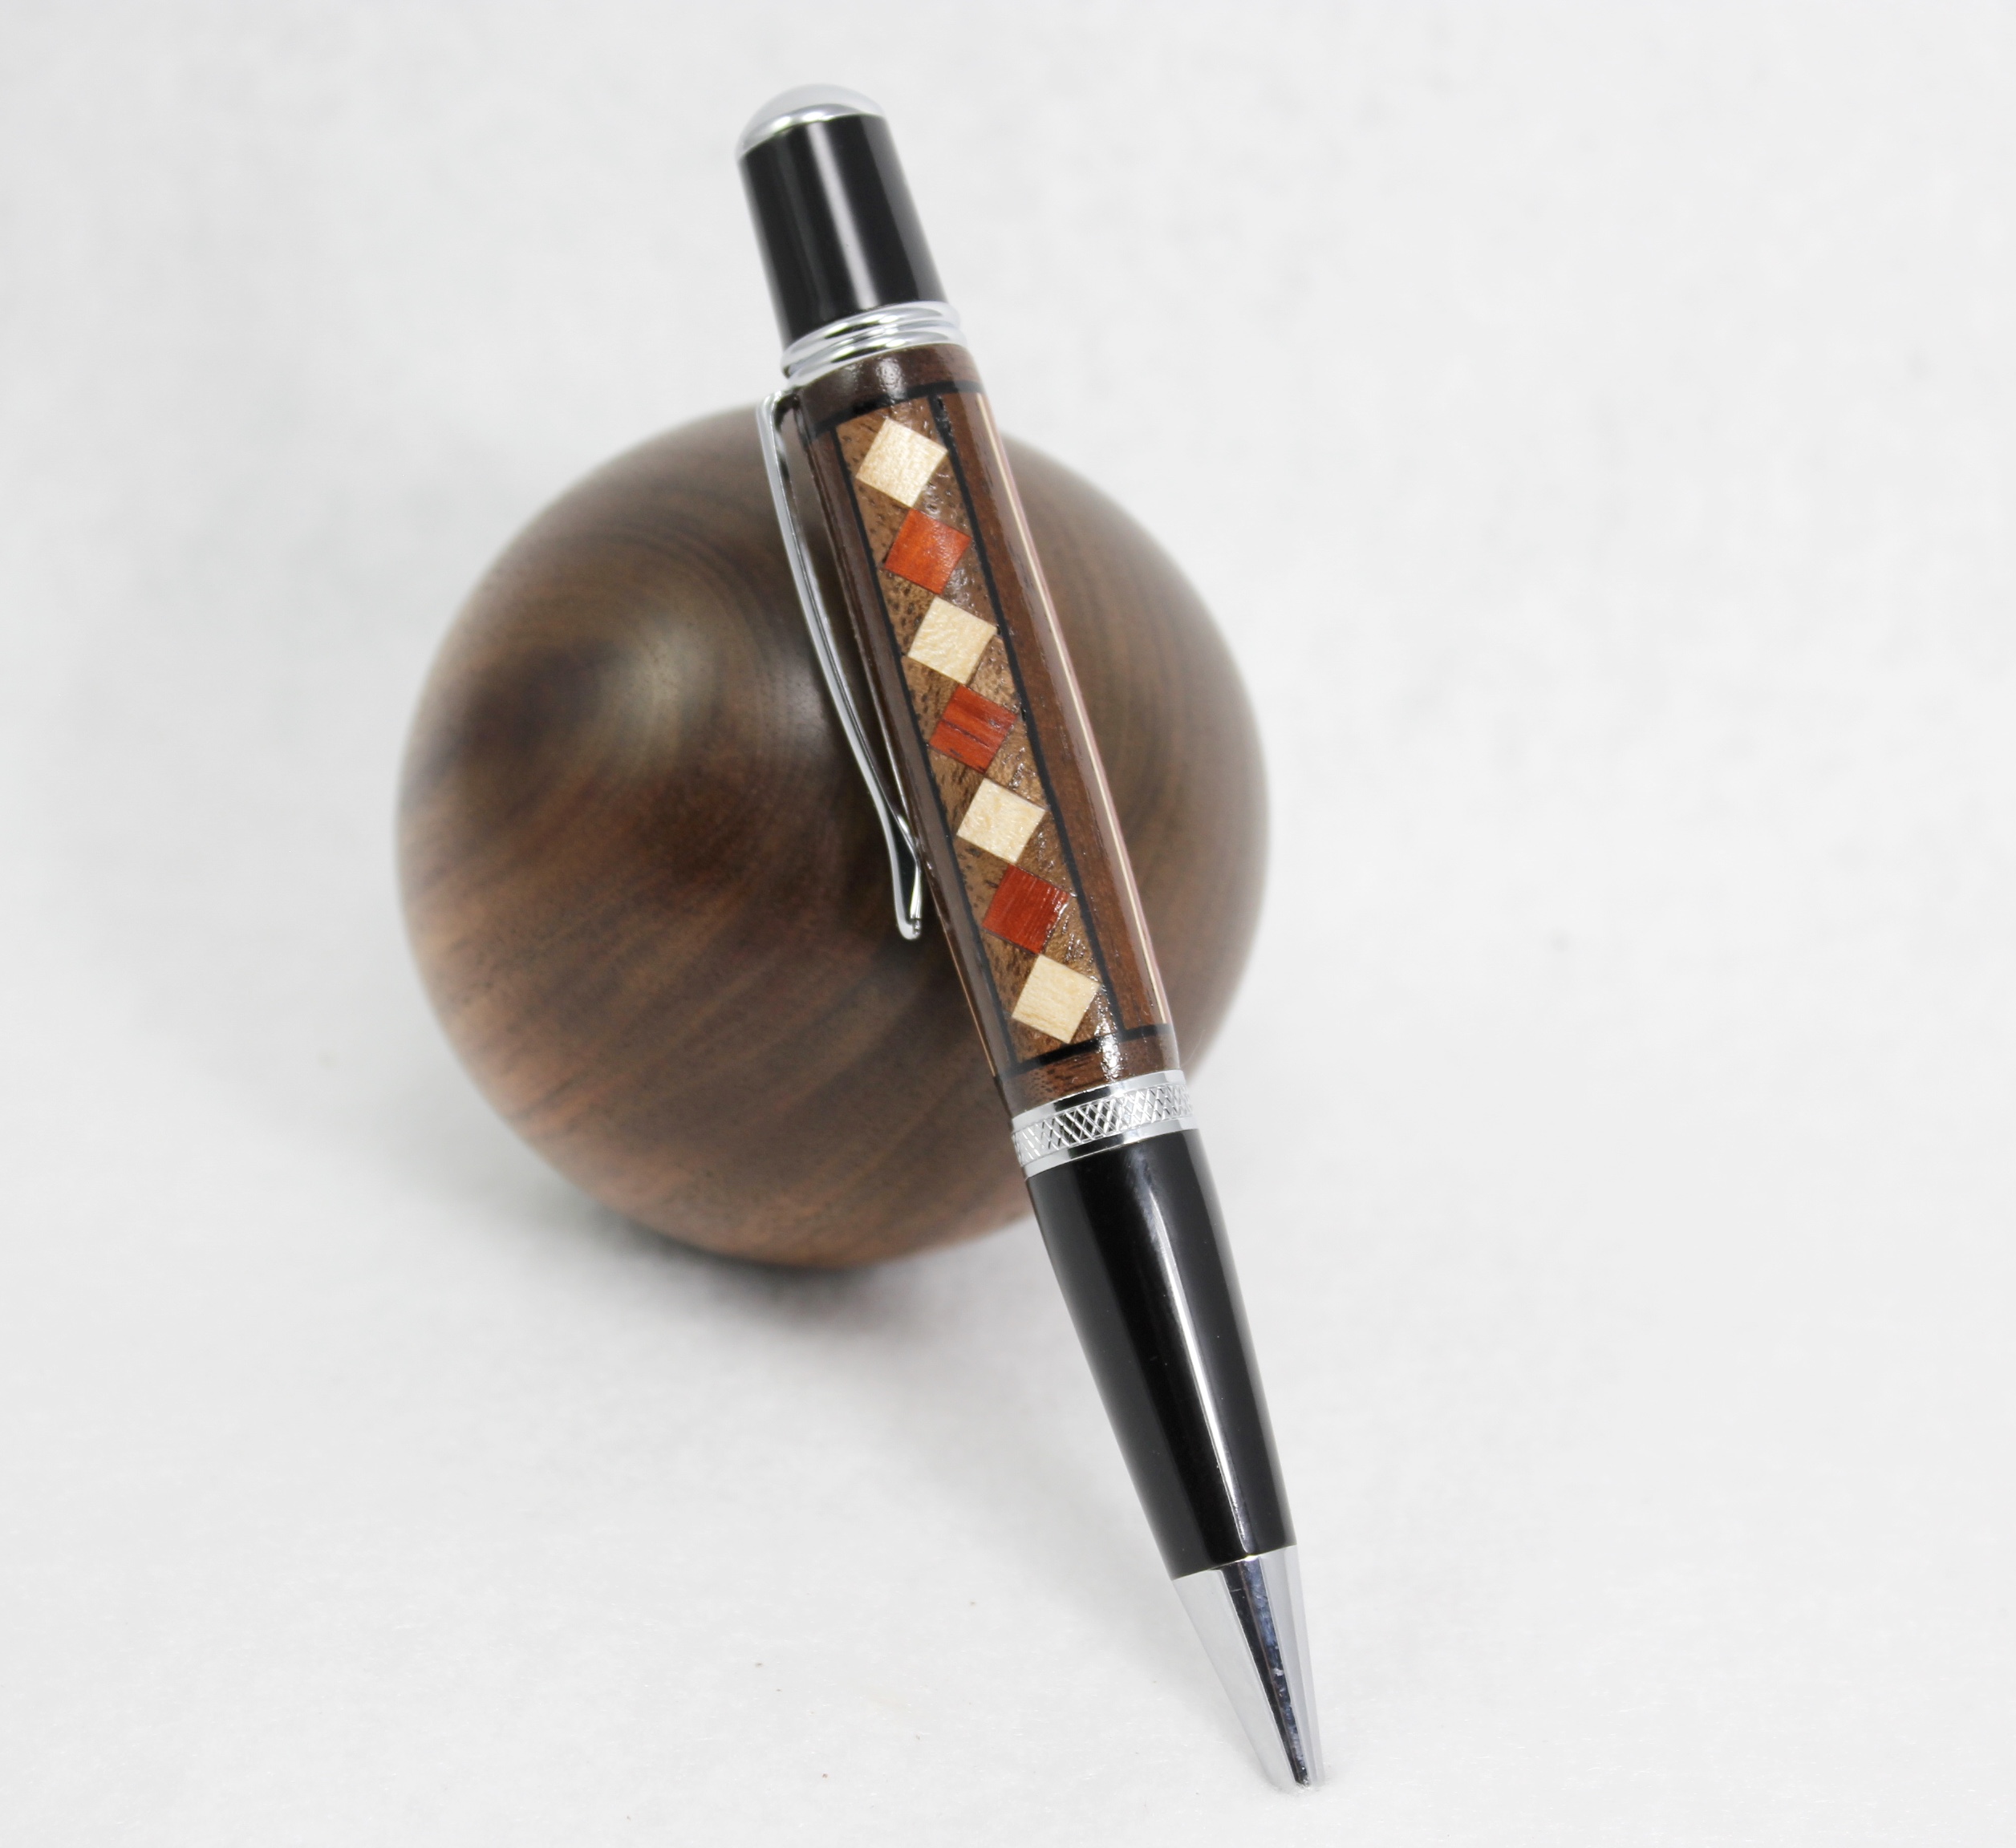
So, the first thought that came to me was a recent interest I had to incorporate diamond shapes into my segmenting, but was having difficulty. I basically wanted a line of diamonds as one of my inlays, from the finial to the nib. Bruce's eyes lit up; Herb shook his head because he knew the fun was about to begin. Bruce said: "We can do that, let's go!"
So out to the shed (aka, working "Laboratory"). I explained the technique I was using, explained my failures. Bruce said "OK, Let's try it." After cutting up the segments, gluing them and waiting a bit, we looked it over and determined... yup, that won't work.
So then Bruce said, "But I can easily get you 4 lines of diamonds using my CNC Rotary Cutter" (excuse my lack of terminology - Bruce can clarify). So Bruce started to write some computer code, played with the settings, set the alignment, waved a few wands and said some magical spells and set the machine on its mission in life.
I am not clear what the issue was, but after a while Bruce got kind of quiet (He REALLY, really wanted this to work!) We basically ran out of time before he had it tweaked - we needed to meet some other Richmond IAP members for dinner. Alas no diamond pen.
We had dinner, a great time was had by all. I even got over my gaffe when I asked: "Where is Cody Walker, I thought he was coming?" "Hi Mark, I'm right here;" Cody was across the table - facial memory sucks with pre-dementia.
So after dinner we were set to leave, and Bruce said I should swing by his house tomorrow for another go-around. Sure, why not.
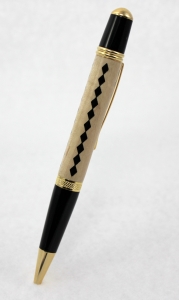
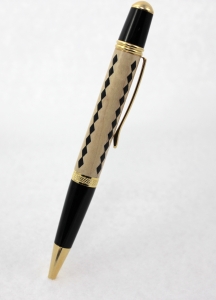
So when I arrived the next morning, Bruce handed me a beautiful finished pen with Black diamond inlays in a maple body. He said he just needed to tweak a few things.
I told Bruce that I would not post this story until I figured out how to make one myself, through segmenting.
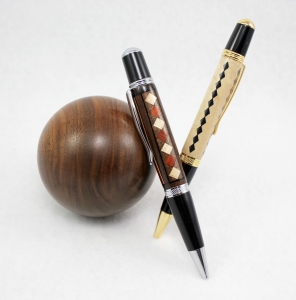
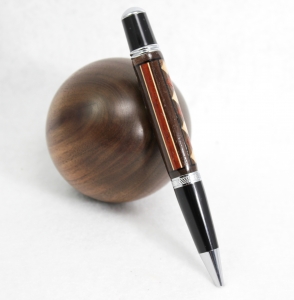
So here they are - Diamond Designs with two different skill sets; CNC Rotary Mill and segmenting. (Walnut ball courtesy of Charlie W)
View in Gallery
View in Gallery
View in Gallery
View in Gallery
View in Gallery
Last September I visited with Bruce Robbins and Herb Walke at Bruce's house. I believe it was a Wednesday, September 13, and I was running around the east coast dodging a storm trying to keep the IAP Collection dry.
That day I was with Bruce for 4-5 hours, and had no prearranged plans other than to visit. After getting reaquainted and settling into one of Bruce's "Laboratories," (Bruce is a chemist, as is my wife, so I was very comfortable) I was able to examine several buckets full of Bruce's extensive collection of his "pen experiments" - both successes and failures.
After about 45 minutes Bruce said: "So, what do you want to make?" Since I really had no agenda, I kind of stumbled and said something like: "Anything you want to make?" And Bruce replied: "I don't want to make what I can make, I want to make what you want to make..."
So, the first thought that came to me was a recent interest I had to incorporate diamond shapes into my segmenting, but was having difficulty. I basically wanted a line of diamonds as one of my inlays, from the finial to the nib. Bruce's eyes lit up; Herb shook his head because he knew the fun was about to begin. Bruce said: "We can do that, let's go!"
So out to the shed (aka, working "Laboratory"). I explained the technique I was using, explained my failures. Bruce said "OK, Let's try it." After cutting up the segments, gluing them and waiting a bit, we looked it over and determined... yup, that won't work.
So then Bruce said, "But I can easily get you 4 lines of diamonds using my CNC Rotary Cutter" (excuse my lack of terminology - Bruce can clarify). So Bruce started to write some computer code, played with the settings, set the alignment, waved a few wands and said some magical spells and set the machine on its mission in life.
I am not clear what the issue was, but after a while Bruce got kind of quiet (He REALLY, really wanted this to work!) We basically ran out of time before he had it tweaked - we needed to meet some other Richmond IAP members for dinner. Alas no diamond pen.
We had dinner, a great time was had by all. I even got over my gaffe when I asked: "Where is Cody Walker, I thought he was coming?" "Hi Mark, I'm right here;" Cody was across the table - facial memory sucks with pre-dementia.
So after dinner we were set to leave, and Bruce said I should swing by his house tomorrow for another go-around. Sure, why not.
So when I arrived the next morning, Bruce handed me a beautiful finished pen with Black diamond inlays in a maple body. He said he just needed to tweak a few things.
I told Bruce that I would not post this story until I figured out how to make one myself, through segmenting.
So here they are - Diamond Designs with two different skill sets; CNC Rotary Mill and segmenting. (Walnut ball courtesy of Charlie W)

View in Gallery

View in Gallery

View in Gallery
View in Gallery

View in Gallery
Last edited:


 . And they did start as squares. This 2-sided inlay was close to .335" thick, so I need to get this same pattern closer to .225" to get to my 4 sided inlay, or .20" to get to the 6 sided like the "arrows blank".