
crabcreekind
Member
So this is made from my blue pine cone pen blanks. They are made from blue spruce cones from my front yard.
1) First mark the blank to the tube size, and cut on the bandsaw (standard stuff)
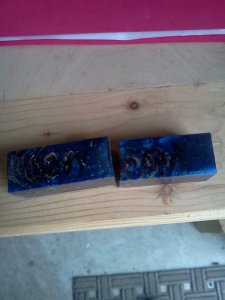
You can see the ends don't have any voids or bubbles. So it should be an easy turn.
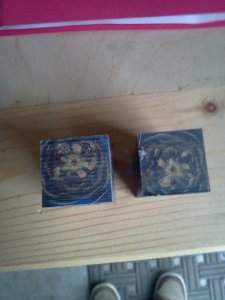
2) mark the ends for drilling

3) Drill
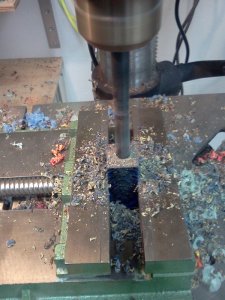
Blanks with holes, no blowouts or anything. I drilled these at normal just like any other acrylic blank. No special treatment.
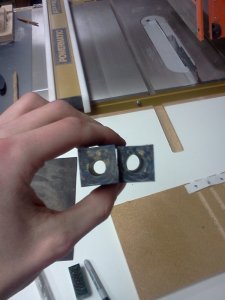
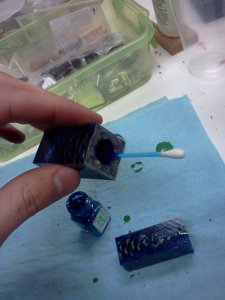
4) Reverse paint the drilled blanks with blue testors paint. Now remeber you can change the color of most acrylic blanks depending on the the color you reverse paint with. For example if I painted this one white it would be a light blue when turned. I use a stiff q-tip for painting, easy, cheap, and disposable.
5) Glue in the tubes.
6) Barrel trim the ends. I use a barrel trimmer, I didnt have any trouble with blowouts on any of the pens I have made so far. just make sure its not super dull. Also, I mark the inside of the tubes on 1 side with a sharpie for alignment later when I assemble it.

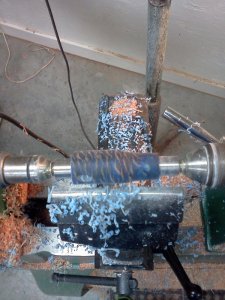
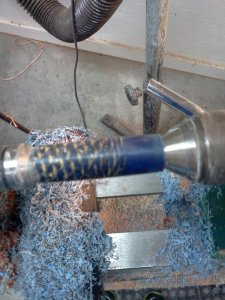
7) Mount it up and turn it. I went at about 2000 rpm and just went at it with my carbide tool, it is somewhat dull too. I treated it with about the carefulness of a pr blank, or a little bit harder. But I had no problems.
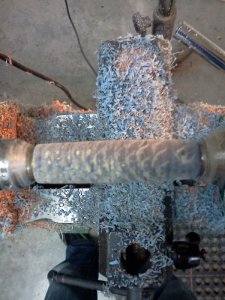
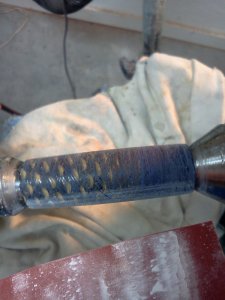
8) if you run into little pit holes, that is fine those take no time to fix. I just sand with 200 grit, the the holes fill in with dust. I go up to the second pad of micromesh before I finish.
200 grit
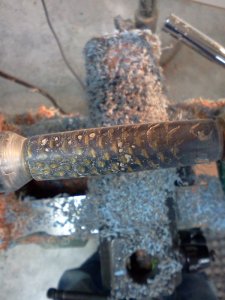
through the green pad of micromesh 1800 grit (I think)
9) wipe down with dna. Most of the dust will go away, but the deep pockets of dust will stay there. And will get finished over with ca.
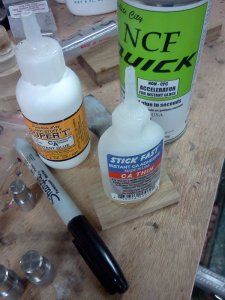
10) Apply your ca finish. I think I did 3 coats of thin. And about 6-7 coats of medium. Accelerator in between coats. I wont go into ca finishing, because everyone has there own way of doing it. And that is fine.
11) after applying ca, I sand with 600. And you can see the shiny spots left. Those are bad, I stop the lathe and sand lengthwise to get rid of them. Then go all the way through the micromesh pads and plastic polishes.
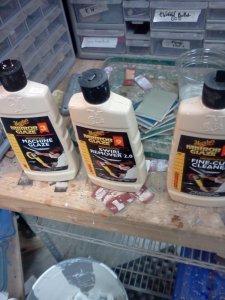
I use these 3 plastic polishes, but most of you will use other ones and they all work about the same.
12) assembly.
I assemble the body first, because alignment does not matter at this point. I then take the couple centerpeice and screw it onto the threads, then take the cap(remember your alignment marks inside the tube so you know which way it goes) and line it up by eye. Then press it in.
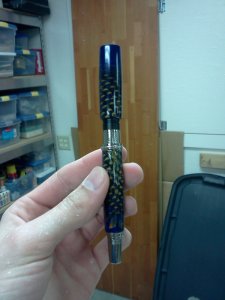
13) Finished pen pics
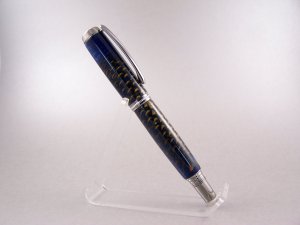
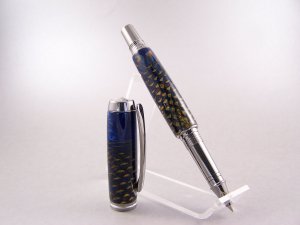
Hope this helps someone out there. Thanks for reading the whole things. Let me know what you think of the pen too. :biggrin:
1) First mark the blank to the tube size, and cut on the bandsaw (standard stuff)
You can see the ends don't have any voids or bubbles. So it should be an easy turn.
2) mark the ends for drilling
3) Drill
Blanks with holes, no blowouts or anything. I drilled these at normal just like any other acrylic blank. No special treatment.
4) Reverse paint the drilled blanks with blue testors paint. Now remeber you can change the color of most acrylic blanks depending on the the color you reverse paint with. For example if I painted this one white it would be a light blue when turned. I use a stiff q-tip for painting, easy, cheap, and disposable.
5) Glue in the tubes.
6) Barrel trim the ends. I use a barrel trimmer, I didnt have any trouble with blowouts on any of the pens I have made so far. just make sure its not super dull. Also, I mark the inside of the tubes on 1 side with a sharpie for alignment later when I assemble it.
7) Mount it up and turn it. I went at about 2000 rpm and just went at it with my carbide tool, it is somewhat dull too. I treated it with about the carefulness of a pr blank, or a little bit harder. But I had no problems.
8) if you run into little pit holes, that is fine those take no time to fix. I just sand with 200 grit, the the holes fill in with dust. I go up to the second pad of micromesh before I finish.
200 grit
through the green pad of micromesh 1800 grit (I think)
9) wipe down with dna. Most of the dust will go away, but the deep pockets of dust will stay there. And will get finished over with ca.
10) Apply your ca finish. I think I did 3 coats of thin. And about 6-7 coats of medium. Accelerator in between coats. I wont go into ca finishing, because everyone has there own way of doing it. And that is fine.
11) after applying ca, I sand with 600. And you can see the shiny spots left. Those are bad, I stop the lathe and sand lengthwise to get rid of them. Then go all the way through the micromesh pads and plastic polishes.
I use these 3 plastic polishes, but most of you will use other ones and they all work about the same.
12) assembly.
I assemble the body first, because alignment does not matter at this point. I then take the couple centerpeice and screw it onto the threads, then take the cap(remember your alignment marks inside the tube so you know which way it goes) and line it up by eye. Then press it in.
13) Finished pen pics
Hope this helps someone out there. Thanks for reading the whole things. Let me know what you think of the pen too. :biggrin: