Looks great Ron! I'll try to not sound biased...but that blank is bada$$!!
Here's a few tips to help with the areas you're not completely happy with:
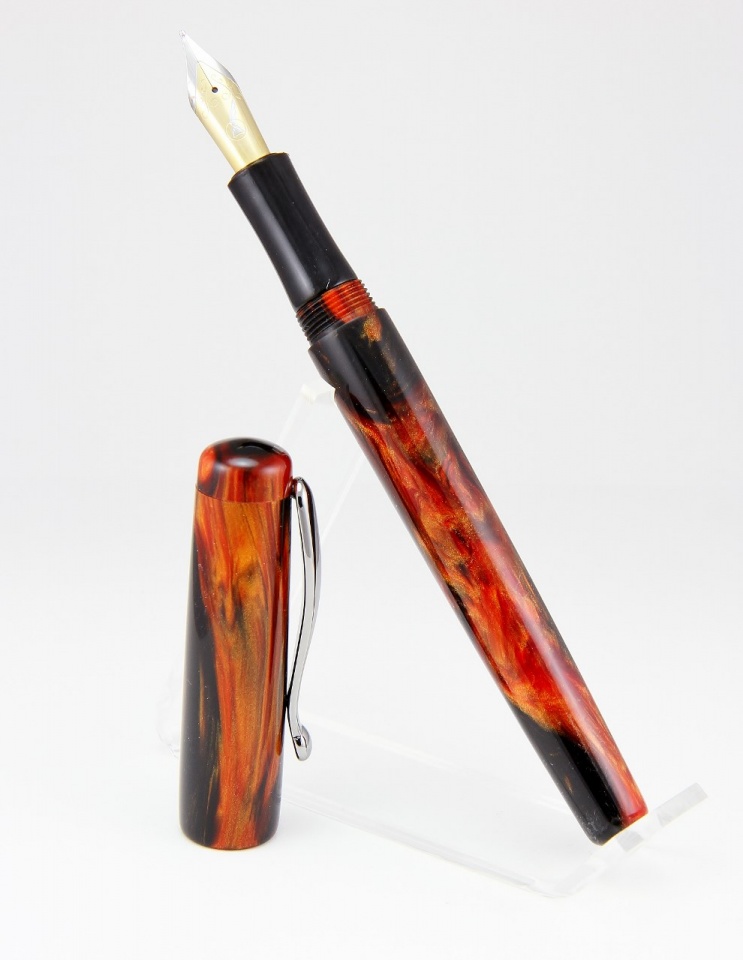
On the cap finial. One thing to be sure of is that the blank is totally round prior to threading. Even though the blank is round to start out it's not perfect. Turn it down just a hair and you should see some improvements. Also, do you cut a relief at the base of the threads on the finial? If not, try that. It'll help it to seat square.
Tight threads. If you know you're using the correct drill bit and tenon size there are a couple things you can do on top of that. I always chase my threads after turning (by hand). If mine are still tight I'll chase again, but give slight pressure against the sides as I spin the tap. I also chase the cap/body threads on the body as well. It's a bit trickier so take your time to make sure you're lined up before chasing. You can also flip the die around and chase that way. MUCH more difficult to do, but you will take more material off this way.
Rounding the section. I'm assuming you mean on the back end where it meets the body? How are you turning that part? Was it rolled with turning or sanding? If you have a collet set and it really is bugging you. Chuck it up and square that end back off.
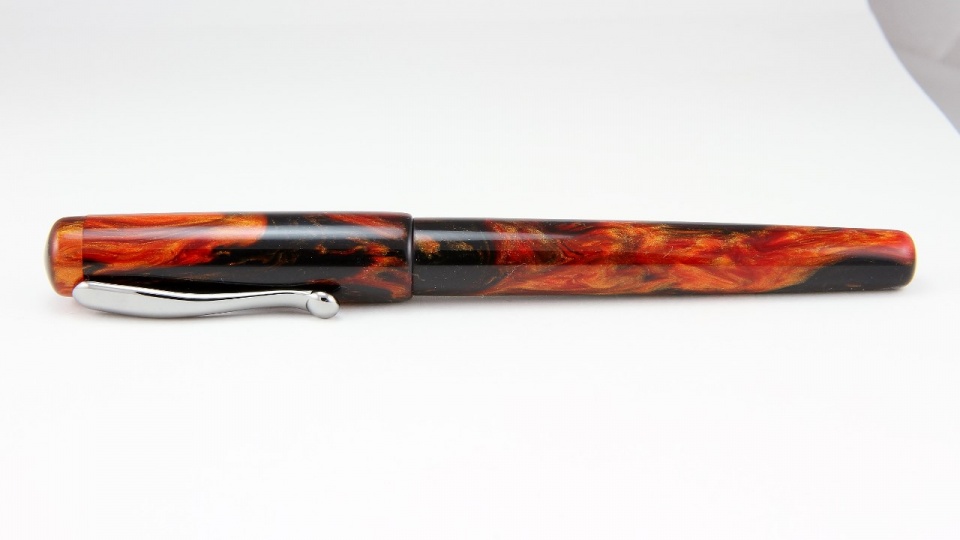
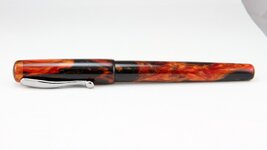
One part I want to compliment you on (besides material choice

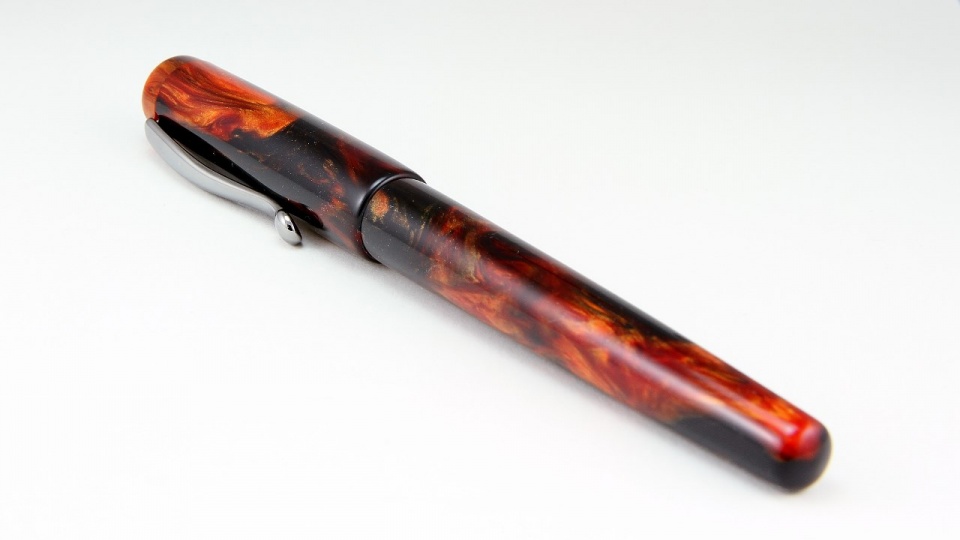
) is on how you rolled the end of the cap over. Sharp edges are a big no no on custom pens.
If you still have my # give me a call if you need me to explain any of that in more detail.